Learn how to scrapbook photos of your hiking trips. I’ll show you how to add texture using simple techniques with designer papers. Have fun creating a bunting title with dies and rubber stamped lettering. Elevate your scrapbook layouts with little die cut details.
Keep on reading for my tips and techniques to create your own scrapbook pages.
Designer Scrapbook Papers
I treated myself and Little Miss to some new designer papers from The Range. We picked out this gorgeous autumnal paper pack from Craft Sensations, it’s called Welcome to Paradise.
I got a bit carried away as these paper pads are great quality and they are only £2.99 each.

How to Tear Paper Edges
Instead of cutting my papers with my paper trimmer like I usually would I’ve torn them instead.
To do this you need a flat surface and a ruler.
I like to use a good steel ruler as the plastic ones aren’t as strong and may break under the pressure.

Place your paper on the flat surface.
Place your ruler on top of the paper positioning it where you want the paper to tear. The paper that is underneath the ruler will be the paper you use on your project.
Spread out your fingers to hold the ruler firmly in place with one hand.
Take hold of the top of the other side of the paper with your other hand.
Gently tear the paper. Keep the pressure on the ruler, don’t let it move if you want a straight torn edge.

How to Use Distress Inks
Once you have torn your papers to the size and shape you want you can add a little hint of colour to the exposed white core using distress inks.
With torn edges the best way to do this is to hold your ink pad in one hand and your paper in the other. Simply run the surface of the ink pad along the torn edge of the paper.
Go lightly at first, you can always make a second pass if you’d like the colour to be more intense.
On this scrapbook layout I’ve used Milled Lavender and Frayed Burlap distress inks.


Scrapbook Embellishments
I left like my scrapbook page needed a little something extra. The sketch I’ve followed features some little circles dotted here and there. For the big circles I’ve used some leftover paper scraps. But for the smaller circles I’ve used little die cut flowers instead.
I treated myself to Tim Holtz’s Tattered Florals Die Set from Sizzix. It’s proving to be as fantastically useful as I expected it to be. I’m on a tight budget so I’m always very careful about choosing dies to invest in. I tend to avoid dies that are specific to a particular event, season or theme. Flowers make great little embellishments to add interest to cards and scrapbook pages. Layering the flowers really makes them pop off the page – because they quite literally do!

I also like to add a little something to the centre of the flowers. In this case I’ve reached for a little adhesive pearl.
I typically use distress inks to stop my flowers looking to flat. I also use a ball tool to shape them so that the flowers stand up.


Scrapbook Page Title
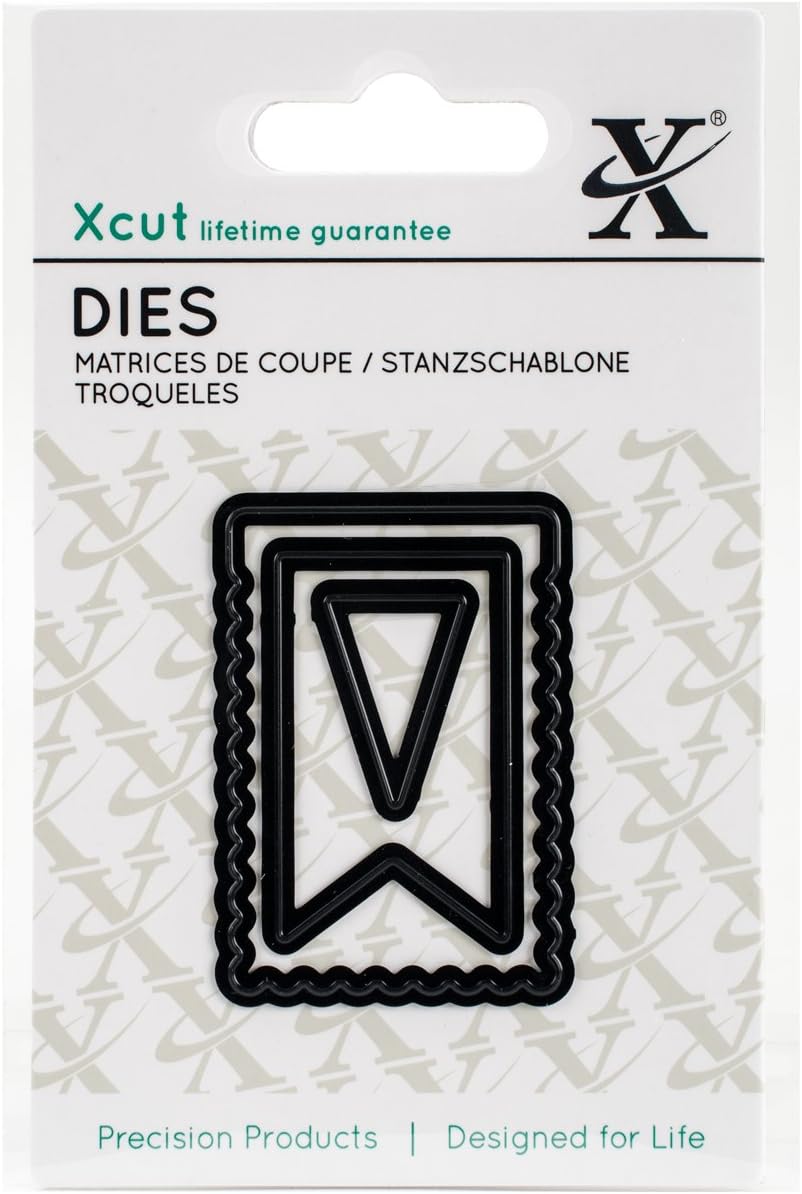
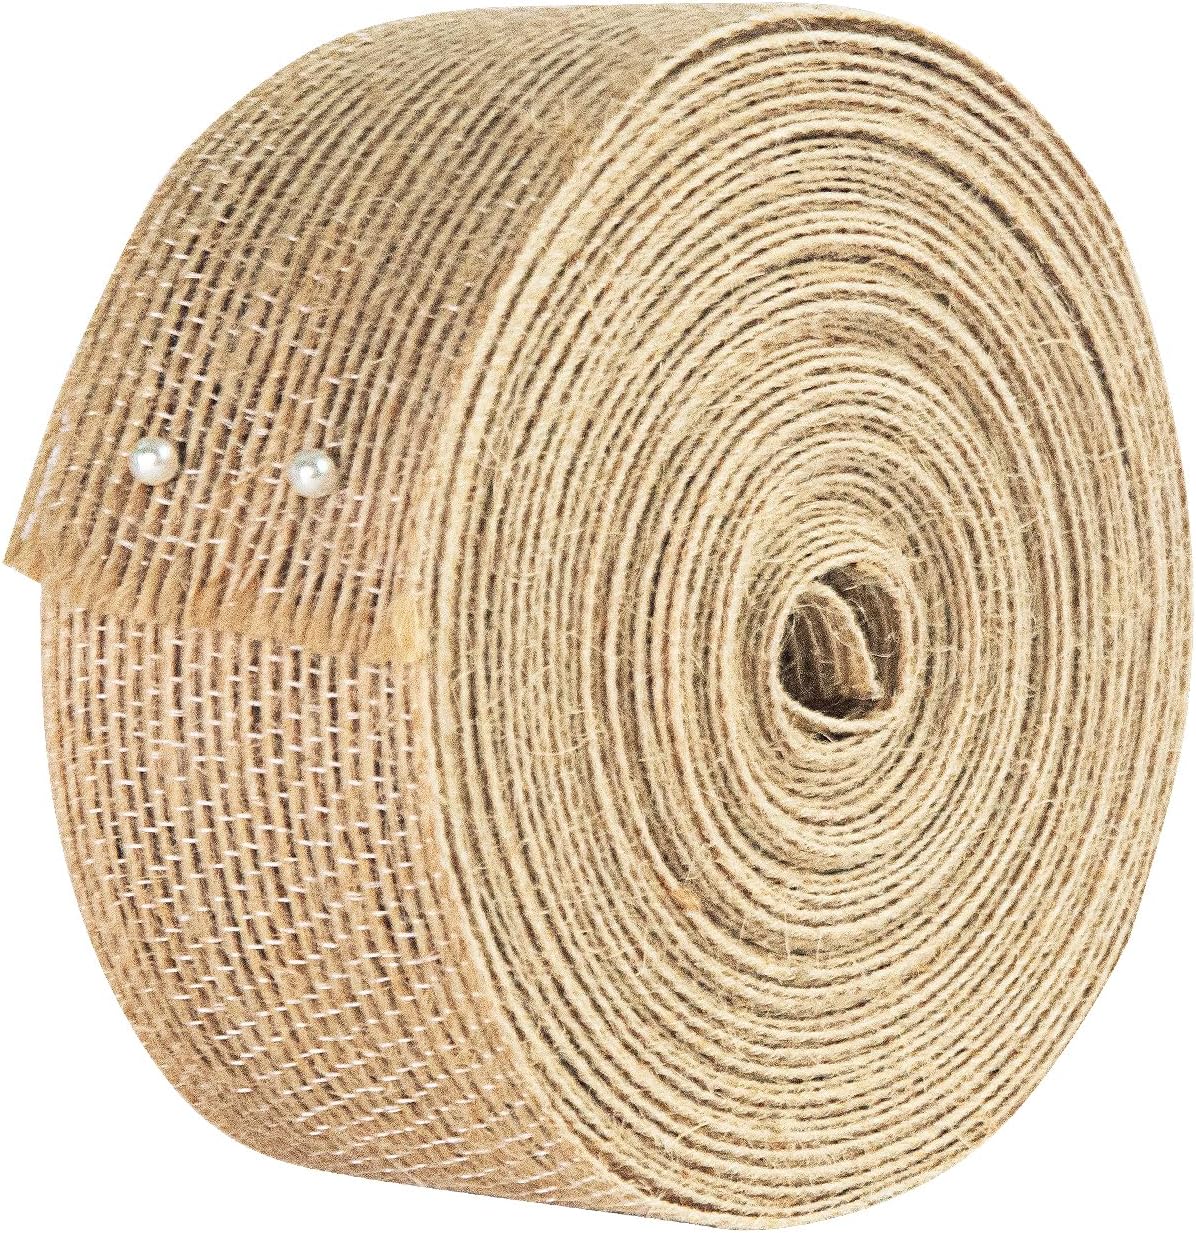
I’m really proud of how this scrapbook page title turned out. I used this lovely burlap effect paper and die cut pennant shapes using an old XCut mini die. Then I stamped my title onto the bunting using an old Papermania stamp set.

I didn’t like the look of the flat burlap ribbon so I threaded a length of covered wire through the middle of it. This made a perfect base for my bunting to “hang” from.

I’ve stuck the bunting title in place with 3D Foam pads so that it looks like it’s hanging from the covered wire.


How to Assemble this Scrapbook Layout
I like to use 6mm double sided tape for most of my scrapbook layouts. It’s cheaper than the usual 12mm tape but it sticks just as well.
I use a pokey tool to remove the backing from the tape. It’s nice and easy and saves my finger nails from getting split.
For teeny tiny little embellishments I generally use silicone glue. I use my pokey tool to roll a little blob of silicone from the end of the tubes and then roll it onto my page.


Follow me on your favourite social media channel for more scrapbooking inspiration and ideas.

Copy This Scrapbook Layout
Here’s a sketch of my scrapbook layout if you’d like to copy it.

Shop This Scrapbook Layout


More Outdoor Scrapbooking Projects

![Park with Grandad [Scrapbook Layout Inspiration]](https://i0.wp.com/hearthearthcrafts.com/wp-content/uploads/2024/10/instagram-post-scrap-make-create-vintage-feelings-park-with-grandad.png?resize=1080%2C1080&ssl=1)

Pin It Now, Scrapbook It Later
I do hope you have enjoyed having a peak at my latest scrapbooking layout. Please feel free to use my scrapbook pages to inspire your own creations, pin it to your Pinterest for later.


A Little Bit About Me . . .
Hi there! Thank you so much for stopping by my little corner of the interweb. I’m Bridie.
I’ve been crafting since I was toddling around craft shows while my mum sold knitting yarn. She used to buy me a new craft kit to keep me busy. When I grew up I set up my own online craft shop and loved every minute of it. There’s is nothing like the thrill of getting to be one of the first people to see new craft collections. I sold my business to focus on raising my two children.
They’re still young so for now I’m blogging my scrapbooking layouts and sharing tutorials to inspire you. I love scrapbooking to preserve precious memories of my kids childhoods. But scrapbooking can be such an expensive hobby! I hope that I can teach you how to scrapbook on a budget, even how to make scrapbook layouts for Free.
I’ll show you all the best ways to craft on a tight budget so you can still create a life you love.

I’ve included links to my favourite retailers for the products I’ve used to make my crafts. Click on any of the product images and links for full details. If you decide to buy any of these products I may get a small percentage of what you spend. There’s no cost to you at all.
Aran Knitting Baby Baby Scrapbooking Batch Cooking Beginner Scrapbooking Beginner Sewing Pattern Birthday Cards Budget Recipes Cards for Children Cards for Girls Chicken Recipes Christmas Christmas Cards Craft Sensations Dovecraft Easy Sewing Pattern Elasticated Channel First Edition Free Knitting Pattern Free Sewing Pattern Healthy Eating Healthy Recipe My Minds Eye Papermania Peek-a-Boo Patterns Polkadoodles ProMarkers Scrapbooking Sewing Sewing for Kids Sewing Pants Sewing Tops Sewing with Jersey Sewing with Wovens Simply Creative Sizzix Slow Cooker Recipes Soup Recipes Spellbinders Stitch Upon a Time Tim Holtz Top Stitching Vegetable Gardening Winsor Newton XCut





Leave a Reply