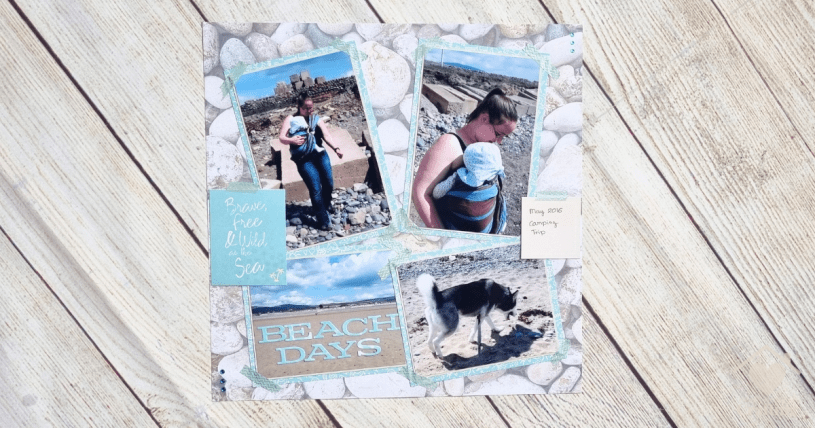
Learn how to scrapbook your beach photos with this step by step guide. I’ll show you exactly how I’ve made this scrapbook layout including all the papers I’ve cut and how I’ve made the custom title so that you can create your own scrapbook and treasure your beach vacation memories. You’ll also learn how to keep your crafts on budget with affordable supplies and money saving tips.
Designer Scrapbook Papers
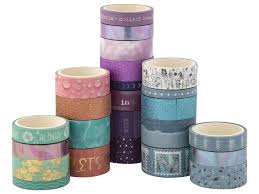
I love the designer papers from Craft Sensations. There are loads and loads of different designs to choose from. I’m literally spoilt for choice. The quality is great, they don’t feel thin or flimsy but they are fantastically good value.
I get them from the Range and typically pay just £2.99 a pack. Even on a tight budget I can afford to have a whole stack to choose from.

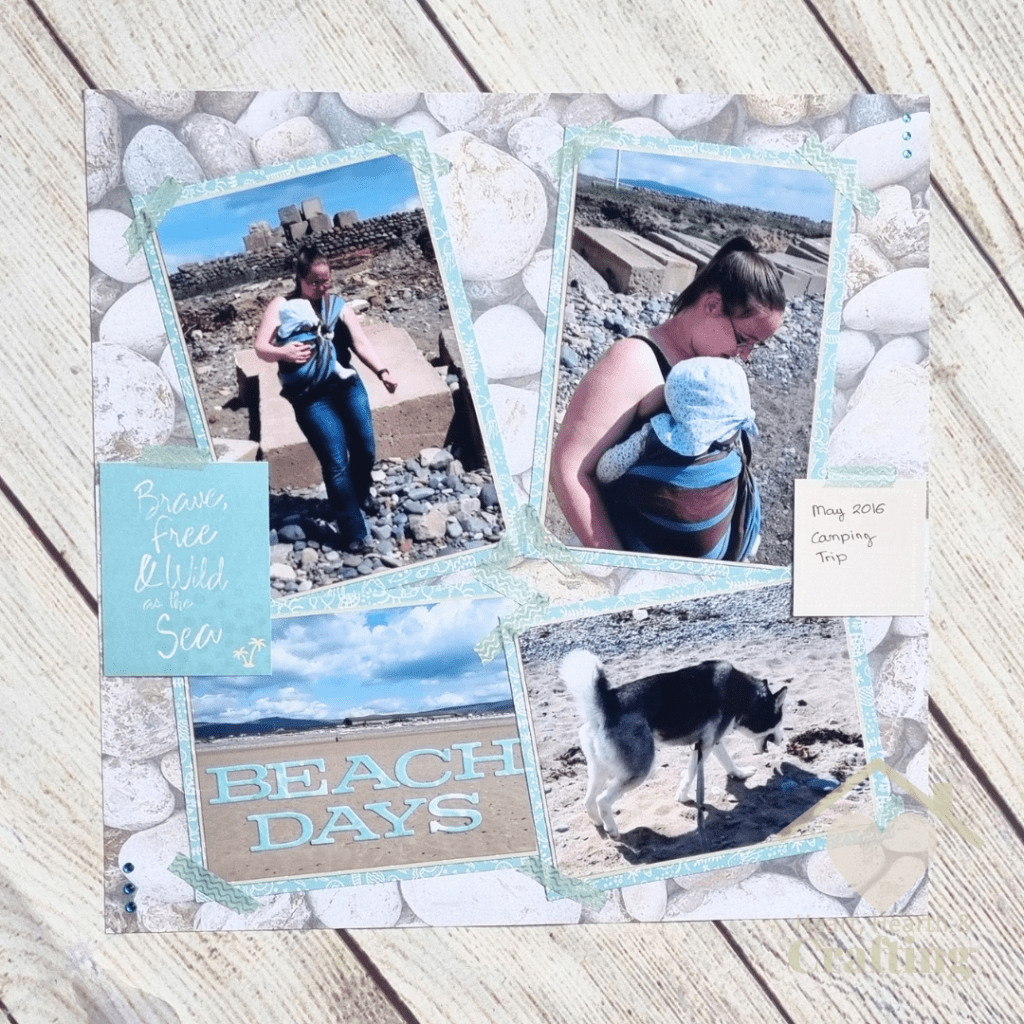
Of course I chose these Brave, Free and Wild as the Sea papers for my beachy photos. The blue and sandy tones as well as the nautical elements were perfect.
Scrapbook Embellishments
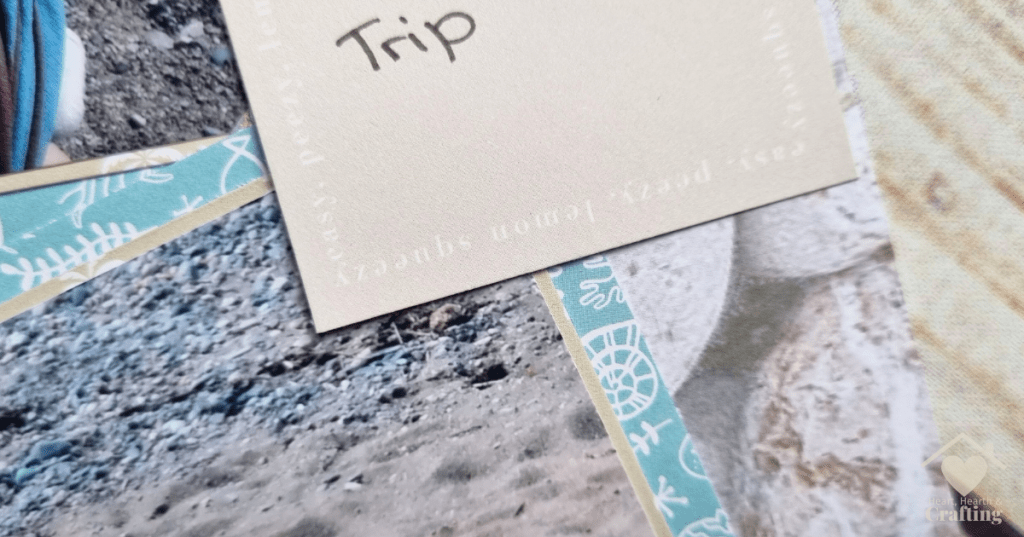
One of the many things I like about the Craft Sensations paper packs in that they often include extra elements like tags and small images. On this scrapbook layout I’ve cut out one of the little tags and stuck it onto my page.
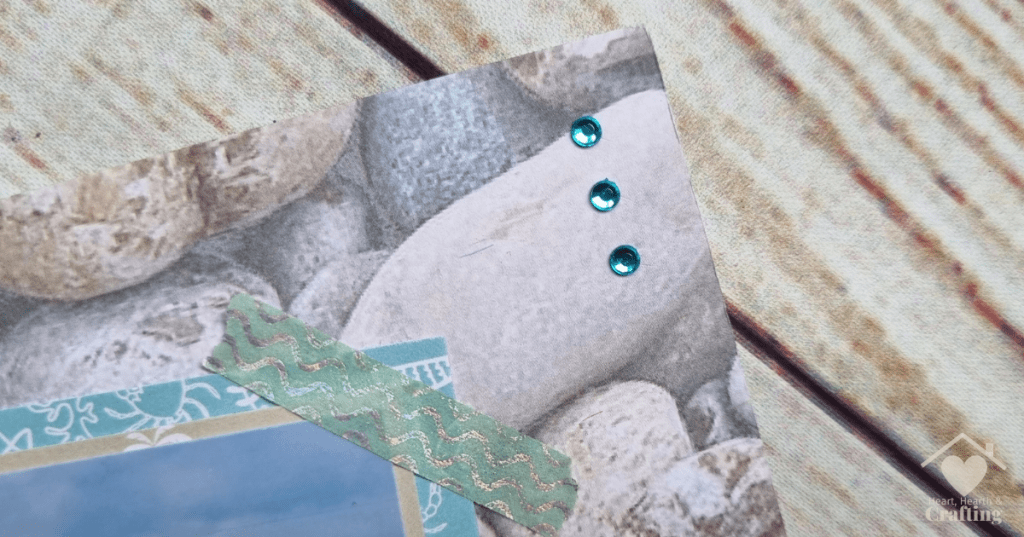
I’ve also added some little strips of washi tape to my scrapbook layout and some little gems to add a touch of seaside sparkle.

Scrapbook Page Title
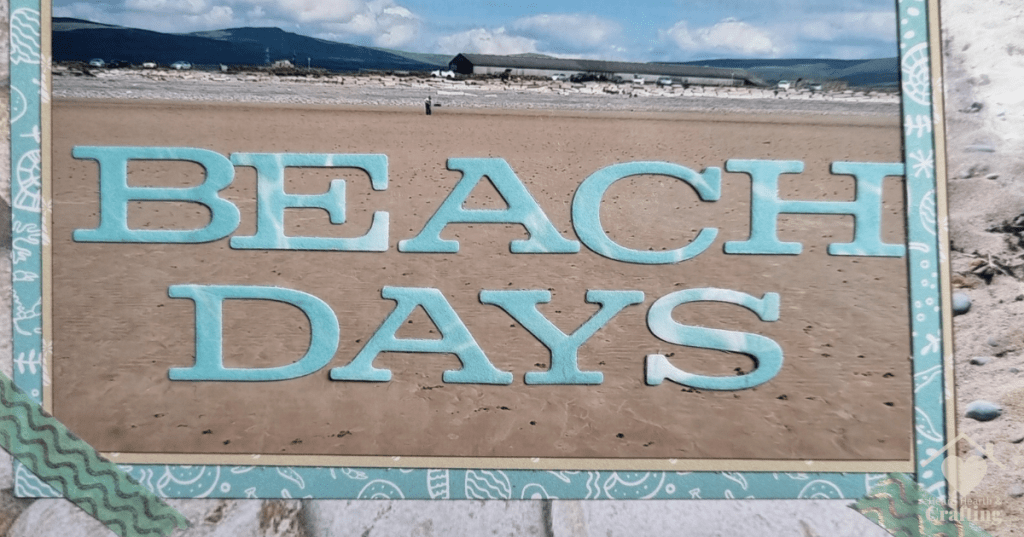
For the scrapbook page title I reached for one of my favourite dies, the Mid West Alphabet from XCut. I die cuts the letters from some scraps of Brave, Free and Wild as the Sea papers. Because my page is quite full I stuck the letters on top of one of my photos.

How to Make this Scrapbook Layout
Follow these step by step instructions to recreate this scrapbook layout with your own photos.
How to Prepare Your Papers
Start with a pebbles paper as the base.
Cut your 2 portrait photos to measure 3 3/4 x 5 3/4 inches. and your 2 landscape photos to measure 3 3/4 x 4 3/4 inches.
Choose and cut your papers. You can substitute any papers you wish. I have used blue and creamy sheets.
Choose a couple of tags from the Brave, Free and Wild as the Sea paper pack and cut them out.
For the Photo Mats
- Blue 4 1/4 x 6 1/4 inches x 2 pieces
- Cream 3 7/8 x 5 7/8 inches x 2 pieces
- Blue 5 1/4 x 4 1/4 inches x 2 pieces
- Cream 3 7/8 x 4 7/8 inches x 2 pieces
How to Assemble this Scrapbook Layout
Stick each photo onto the corresponding cream mat. Then stick the mounted photos onto the slightly larger blue mat.
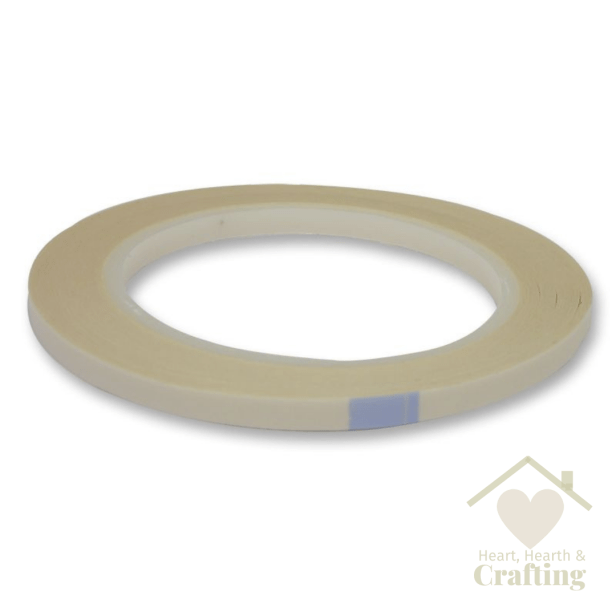
I like to use 6mm double sided tape for most of my scrapbook layouts. It’s cheaper than the usual 12mm tape but it sticks just as well.
I use a pokey tool to remove the backing from the tape. It’s nice and easy and saves my finger nails from getting split.

Arrange the mounted photos onto your base paper. Add your tags then stick each piece in place with double sided tape.
Add some strips of washi tape to the corners of each photo and the top of each tag. Add a few gems to the top right and bottom left corners of your scrapbook layout.
Shop This Scrapbook Layout

Follow me on your favourite social media channel for more scrapbooking inspiration and ideas.
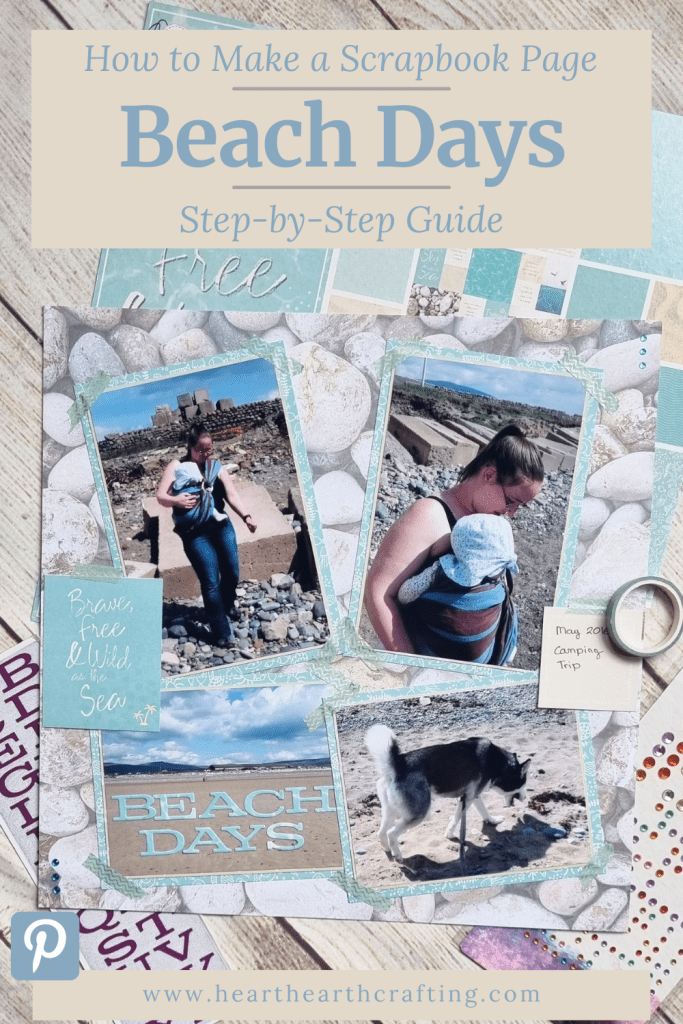
Pin It Now, Scrapbook It Later
I do hope you have enjoyed having a peak at my latest scrapbooking layout. Please feel free to use my scrapbook pages to inspire your own creations, pin it to your Scrapbooking Pinterest board so you can find it later.
A Little Bit About Me . . .
Thank you so much for stopping by my little corner of the interweb. I’m Bridie, mum to two small humans, full time homemaker and full time craftaholic – which totally explains why I’m always short on time!

I’ve included links to my favourite retailers for the products I’ve used to make my crafts. Click on any of the product images and links for full details. If you decide to buy any of these products I may get a small percentage of what you spend. There’s no cost to you at all.
