The Spellbinding Witches range of digital stamps by Polkadoodles are great for Witchy Birthday Cards. I love the cute and sassy little Witches. I’ve paired them with Crafty Things Foiled paper in shades of Purples and Teals.
Keep on reading and I’ll show you how to make your own handmade cards. I’m including ProMarker blends and all the craft stash and crafting techniques I’ve used.

Step 1 – Choose Your Digital Stamp
The Digital Stamp image is from Polkadoodles, part of their Spellbinding Witches range.

There are thousands of different digital stamps availible online. Click here to take a look at my favourites.
I get most of my digital stamps from Polkadoodles. I fell in love with their designs many, many years ago. They are a joy to colour and I always really enjoy card making with them. Sign up for their newsletter for weekly deals and money off new releases.

If you’ve not used digital stamps before take a look at this step by step guide to using digital stamps in your card making.

Step 2 – Print Your Digital Stamp
I print my digital stamps onto Ultimate Graphic 160gsm paper. It’s bright white so my colours really pop and it’s super smooth surface makes blending easier.
You don’t need a fancy or expensive printer to print digital stamps. I use a Canon Pixma, any inkjet printer will do.

Step 3 – Choose Your Designer Papers
It’s usually a good idea to choose your designer papers before you colour your digital stamp this way you can use the colours of the paper to choose your markers.
I also like to choose some co-ordinating plain paper. I use this as a mat to frame my designer papers.
I’ve been searching for just the right papers to go with the Spellbinding Witches digital stamps. Eventually I found these foiled Crafty Things papers at Home Bargains. The shades of purple and teal seemed like they had a Halloween vibe so I picked up a few packs.
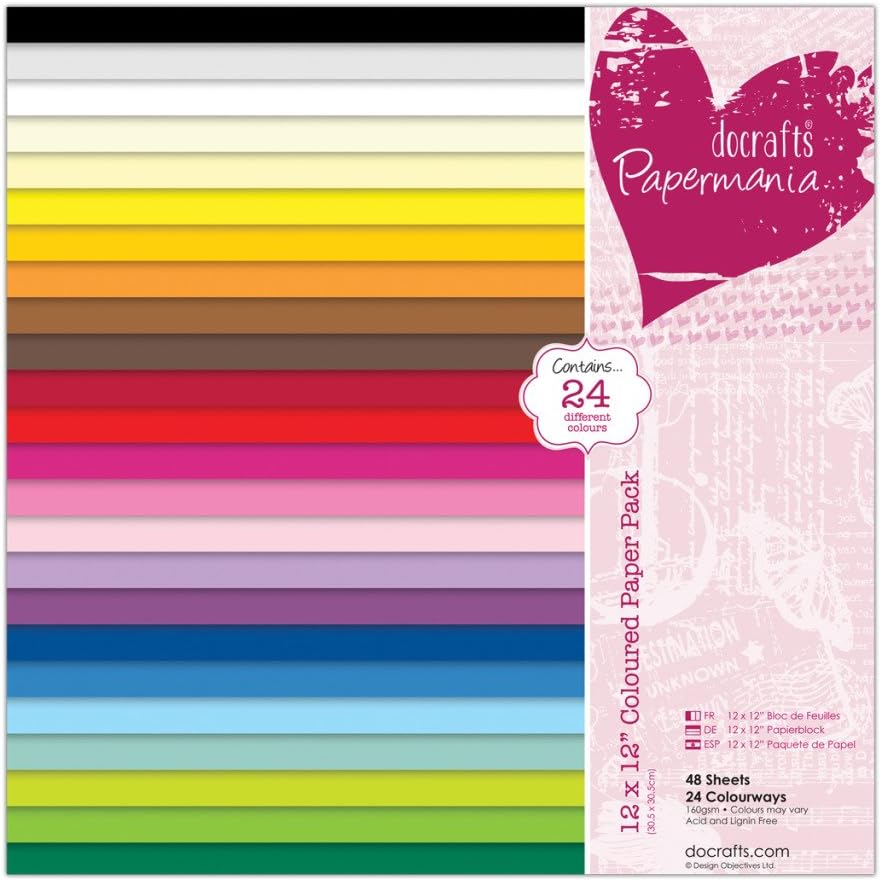
I’ve mounted the foiled papers onto plain papers from the Dovecraft Colours Paper Pack.

Step 4 – Colour Your Digital Stamp
I’ve coloured these digital stamps with my Winsor & Newton BrushMarkers. They are much more affordable than other brands of alcohol markers but are still of excellent quality. I prefer the brush nib as it allows me more control over my pen strokes and makes it easier to blend.
I use Winsor & Newton Promarker Brush pens to colour most of my digital stamp card making projects and I highly recommend them.

I tend to choose three shades of each colour, a dark, mid tone and a lighter shade for highlights. I often include a grey or a pale brown shade to deepen a colour and create a shade that I don’t have.
You need to work quite quickly with alcohol markers. So It’s best to tackle one area at a time. I tend to leave each area to dry and work on a different part of the image to avoid the colours mixing.
I usually start with the darkest shade and colour where there would be a shadow or the part furthest from an imaginary light source. Then I go over this with the mid tone, flicking the pen to add more colour into the centre of the shape I’m colouring. Finally I go over the whole area with the lightest tone.
After my image has dried a bit I often find I’ve blended too well and I go over the darkest areas again to deepen the shadow.
You really don’t need a lot of markers. I think I have about 60 different colours. However I would advise you not to skrimp on the greys and muted shades, they are so useful for adjusting other colours. If you click on the image above you can see all of the colours I have in my collection. These are the shades I would recommend investing in to get a good range of colours without buying the full set.
Here’s the shade’s I’ve used:
Promarker Brush Colours – Teal


Promarker Brush Colours – Blue


Promarker Brush Colours – Skin


Step 5 – Die Cut Your Image
I use dies to make frames around my digital stamps. I always colour my image first in case I make a mess of it.
Then I choose a die shape and size that suits my image and run it through my die cutting machine.

On this card I have used plain and scalloped Oval Dies.


Step 6 – Choose Your Greeting
I’ve printed the greeting from a different set of digital stamps also by Polkadoodles, Serenity Fairy Wishes Sentimentals.


Step 7 – Choose a Card Blank
I’ve chosen a scalloped card blank for this witchy card. I feel like scalloped card blanks are better suited to feminine cards.

Step 8 – Design Your Card
Gather your supplies together and lay them out on your card blank. Move them around, twist and turn your papers. Swap out papers for different designs. Play with your design and have fun!
I find that my designs are much more creative when I have scraps of papers. A scrap of the right paper is often a specific size or shape and the rest of the layout comes together around that one scrap.
Here are some of my designs to give you some inspiration:


Copy This Card Layout
A card sketch is like a blueprint or template that shows where the papers, images and embellishments are positioned on the card. Instead if designing your card from scratch you can use a sketch as a guide. Customise the design with your own stamps and patterned papers.
Here’s a sketch of my card if you’d like to copy it.

Step 9 – Distress the Edges
I use the same colour of distress ink to shade the edges of my papers. It gives my cards a co-ordinated look.
I start by laying my paper onto a piece of acetate. You can buy acetate in sheets or you can cut it from packaging which is just as good. You do need a flat sheet ideally bigger than the edge of your paper or card.
After choosing my ink colour I dab the ink blending tool onto the ink pad and sweep it from the acetate onto the edge of my paper. I always use a smooth sweeping motion starting and finishing on the acetate sheet.
There are lots of blending tools availible. I have the Ranger one and I’ve been happy with it so I haven’t tried any of the other brands. I use one ink pad for each colour.


Step 10 – Choose Your Embellishments
I recently treated myself to a new die set, Sizzix Thinlits Dies Garden Greens by Tim Holtz. I die cut some of the leaves from holographic card to add a little more shimmer to my Witchy cards.

I raided my stash of ribbon scraps and found these beautiful silver ribbons. They were probably cut from some gift wrapping. I also used some scraps of twine that I’ve saved over the years.
No Witchy card would be complete without a few gems in the corners!


Step 11 – Assemble Your Card
I like to use 6mm double sided tape for most of my cards. It’s cheaper than the usual 12mm tape but it sticks just as well.
I use a pokey tool to remove the backing from the tape. It’s nice and easy and saves my finger nails from getting split.
For teeny tiny little embellishments I generally use silicone glue. I use my pokey tool to roll a little blob of silicone from the end of the tubes and then roll it onto my page.


Applying Ribbon and Lace
Ribbon can be tricky to stick onto cards. This is my favourite technique for neatly hiding the raw ends and stopping them from fraying.
I start by sticking the strip of paper to the matt using double sided tape. It’s quick and easy to use and it always leaves a neat finish. Removing the back of the tape can be tricky so I use a pokey tool to lift up a corner. I recently retired my old pokey tool and replaced it with the Design Knife, it’s a pokey tool, craft knife and embossing tool all in one.
Next I lay my strip of mounted paper flat on my craft mat and stick a length of double sided tape where I want my ribbon. I make sure that the ends of the tape extend over the ends of the paper and left them stick lightly to the mat.
Then I place my length of ribbon to the exposed tape and press it onto the paper.
Finally I gently lift the paper off the craft mat and turn it over. It’s easy to press the ribbon and the extra tape to the back of the paper so that the ends are neatly hidden from the front of the card.
Step 12 – Decorate the Inside Too
I think it’s such a shame to receive a beautifully decorated card only to open it and be faced with a blank page. So I use more of my designer papers to decorate the insides of my cards. I mostly use scraps leftover from the main design and a 10cm square of plain paper to write a nice message onto.e a beautifully decorated card only to open it and be faced with a blank page. So I use more of my designer papers to

Follow me on your favourite social media channel for more card making ideas and inspiration.
Shop this Card Making Project
Take a Look at my Etsy Shop
This handmade greeting card is available to buy in my Etsy shop.

More Card Making Projects


Cut the Cost of Crafting
Get budget-friendly craft projects and batch cook recipes in your inbox.
Pin it Now, Craft it Later
I do hope you have enjoyed having a peak at my latest card making project. Please feel free to use my handmade cards to inspire your own creations, pin it to your Pinterest for later.


A Little Bit About Me . . .
Hey there I’m Bridie, a busy mum to two amazing humans, a spirited border collie puppy and a pair of sweet guinea pigs. We homestead in a cherished Edwardian terrace in not so sunny Lancashire, England.
When I’m not spending time with my children and menagerie, I’m usually to be found in my craft room creating and blogging or in the kitchen cooking up a big batch of something tasty. I’m always looking for thrifty hacks to save money on my crafts and recipes. Crafting doesn’t have to cost a fortune!
I’m obsessed with card making with digital stamps and ProMarkers. On my blog you’ll learn how to use digital stamps, how to colour them and how to turn them into stunning hand made cards. I share all my best tips and tricks to cut the cost of your card making.
Digital stamps are one of the cheapest ways of making cards. They are cheap to buy (sometimes they’re even free) and endlessly reusable. With a small investment in quality markers you can make hundreds of cards. I’m aways on the look out for deals and thrifty hacks to cut the cost of card making. The further you can stretch your budget, the more craft supplies you can collect!

I’ve included links to my favourite retailers for the products I’ve used to make my crafts. Click on any of the product images and links for full details. If you decide to buy any of these products I may get a small percentage of what you spend. There’s no cost to you at all.

Aran Knitting Baby Baby Scrapbooking Batch Cooking Beginner Scrapbooking Beginner Sewing Pattern Birthday Cards Budget Recipes Cards for Children Cards for Girls Chicken Recipes Christmas Christmas Cards Craft Sensations Dovecraft Easy Sewing Pattern Elasticated Channel First Edition Free Knitting Pattern Free Sewing Pattern Healthy Eating Healthy Recipe My Minds Eye Papermania Peek-a-Boo Patterns Polkadoodles ProMarkers Scrapbooking Sewing Sewing for Kids Sewing Pants Sewing Tops Sewing with Jersey Sewing with Wovens Simply Creative Sizzix Slow Cooker Recipes Soup Recipes Spellbinders Stitch Upon a Time Tim Holtz Top Stitching Vegetable Gardening Winsor Newton XCut




Leave a Reply