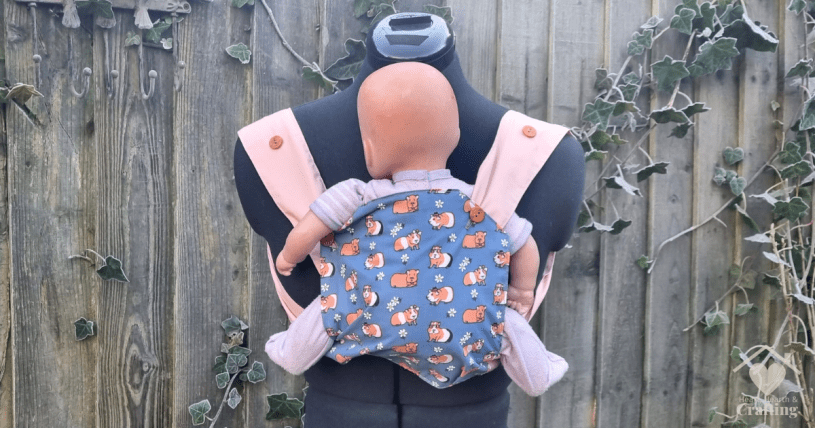
My kids like to take their dolls with us on days out. Of course I usually get left “babysitting” so I’ve designed a Baby Doll Carrier to make it easier for my kids to take responsibility for their own dolls whilst still enjoying their days out. It’s based on real buckle style carriers and can be adjusted to fit around the shoulders or with the straps crossed in the back. Instead of fiddley buckles or ties that would require assistance I’ve made the straps adjustable with buttons so that a child should be able to take the carrier on and off by themselves.
Keep on reading for full step by step instructions on how to make your own Baby Doll Carrier from your favourite fabric.
Tools and Materials You Will Need
You don’t need anything special to sew your own Baby Doll Carrier. Just basic sewing and cutting tools, fabric and four buttons.
![Step by Step Guide to Sew a Baby Doll Carrier [Free Sewing Pattern]](https://hearthearthcrafts.com/wp-content/uploads/2024/03/blog-ingredients-sew-doll-carrier-blue.png?w=1024)
I’ve stitched this Baby Doll Carrier on a sewing machine for speed and convenience. It is perfectly possible to sew this by hand, it will just take a lot longer.
In addition to your sewing machine and basic sewing tools (such as pins and an iron) you will need the following:
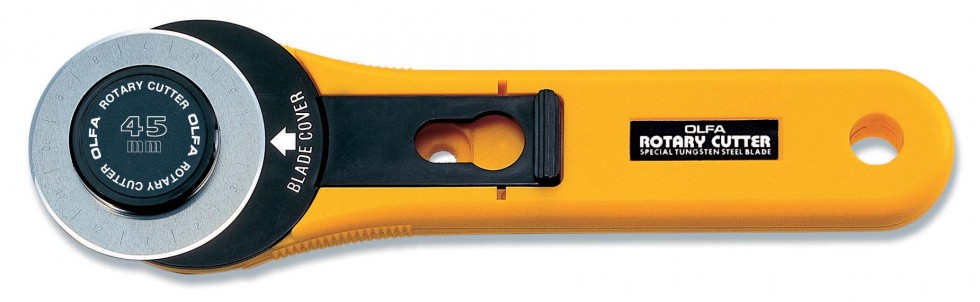
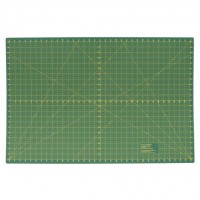
Cutting Tools
For cutting fabric I’m a huge fan of rotary cutters, self healing mats and quilters rulers. You can absolutely make this Baby Doll Carrier with traditional marking tools and scissors but it is much quicker and simpler if you invest in a rotary cutting set. The same could be said of most sewing projects so it’s definitely a worthwhile investment.

Marking Tools
If you haven’t yet heard about Pilot Frixion pens, you’re in for a treat. I first discovered them for Bullet Journaling but I soon bought another set for my sewing box.
They work just like a normal gel pen. You can make super accurate lines on your fabric. They are really clear and smooth especially on lighter fabrics.
But when you iron the fabric the ink magically disappears. It will also disappear in the wash.

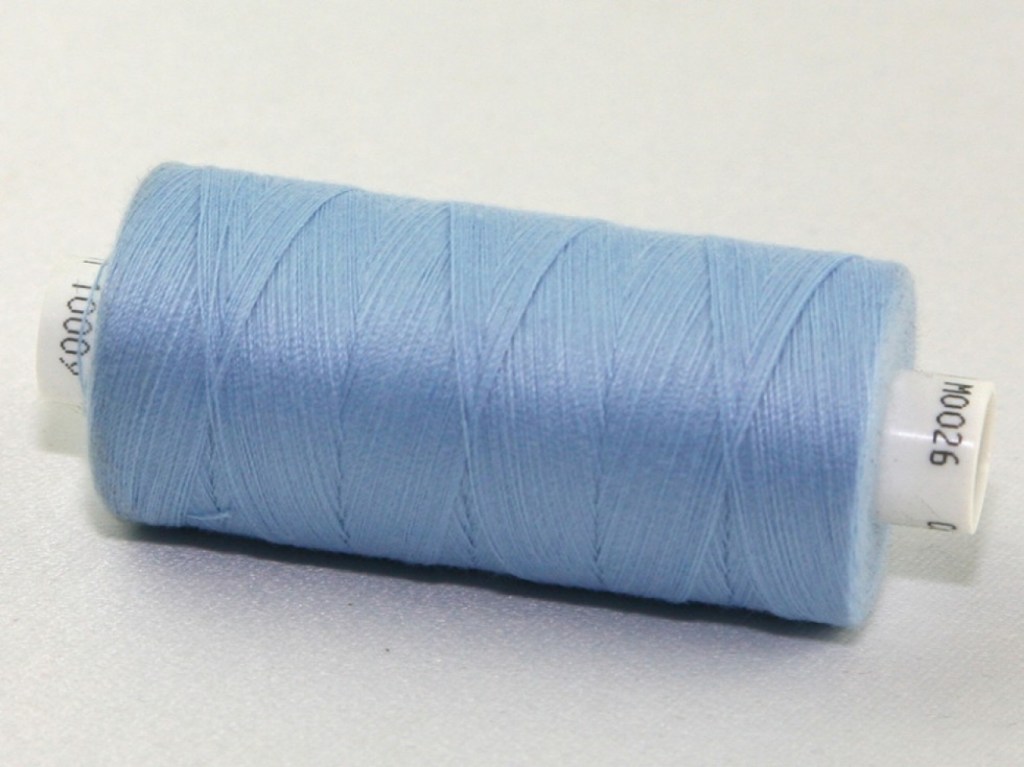
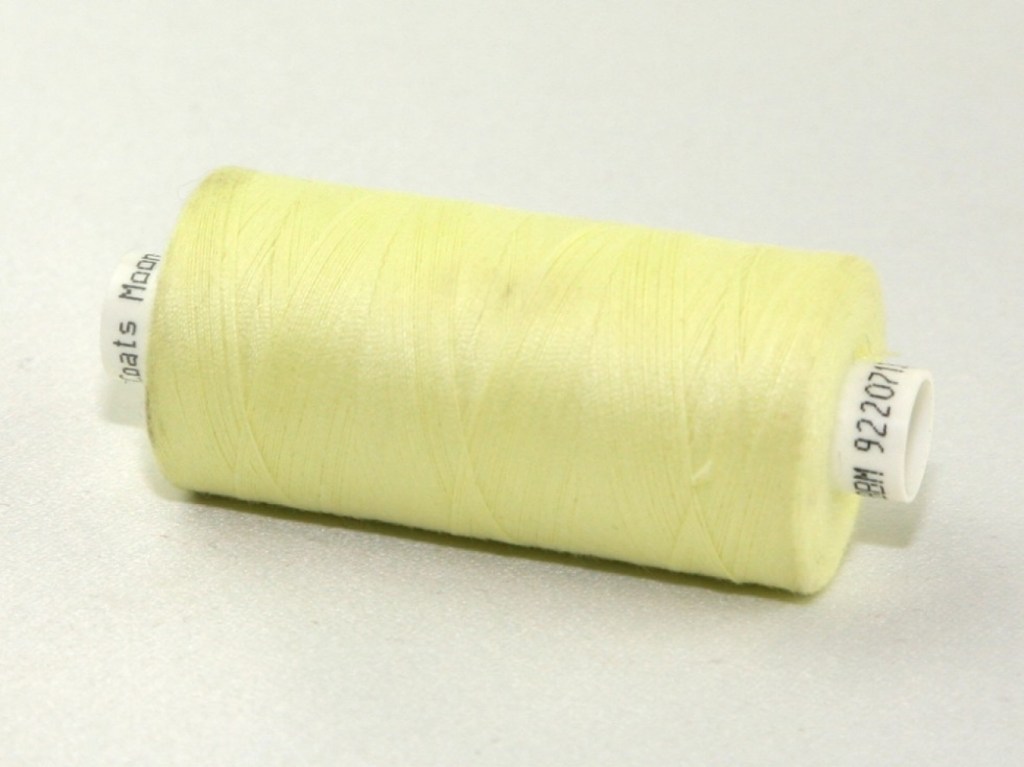
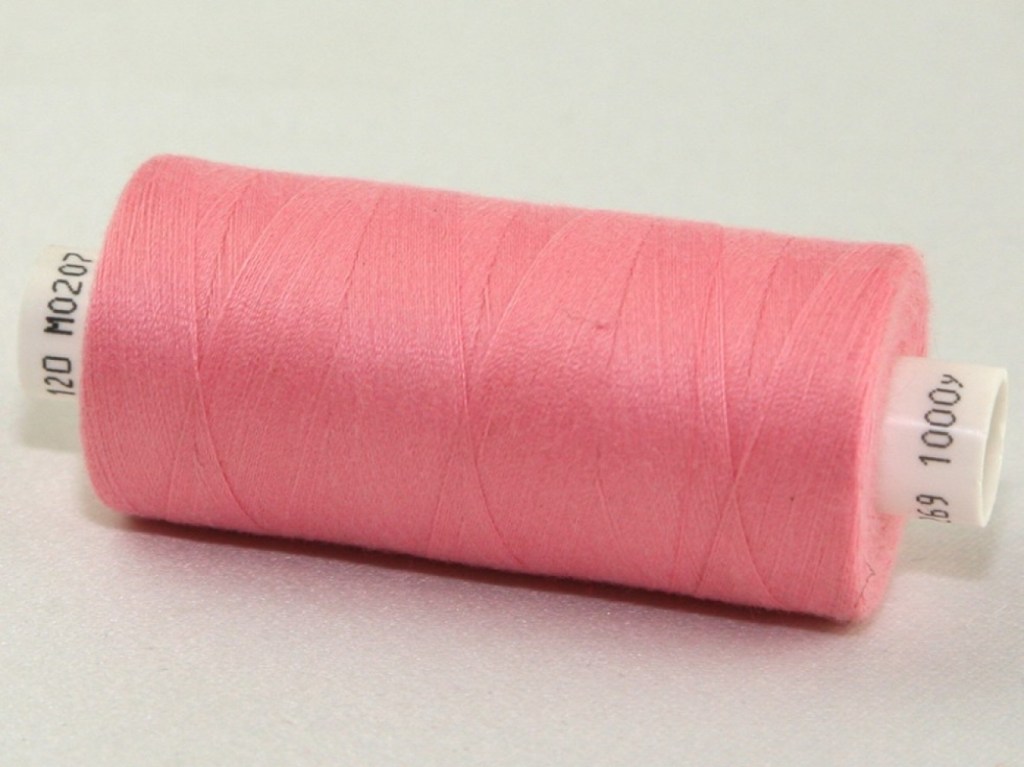
Thread
I use Coats Moon Thread for just about every one of my sewing projects. There’s lots of colours to choose from in my Etsy shop.
Fabric
I’m sewing my Baby Doll Carrier in this cute Guinea Pig print polycotton fabric. For the lining I’m making use of an old table cloth.
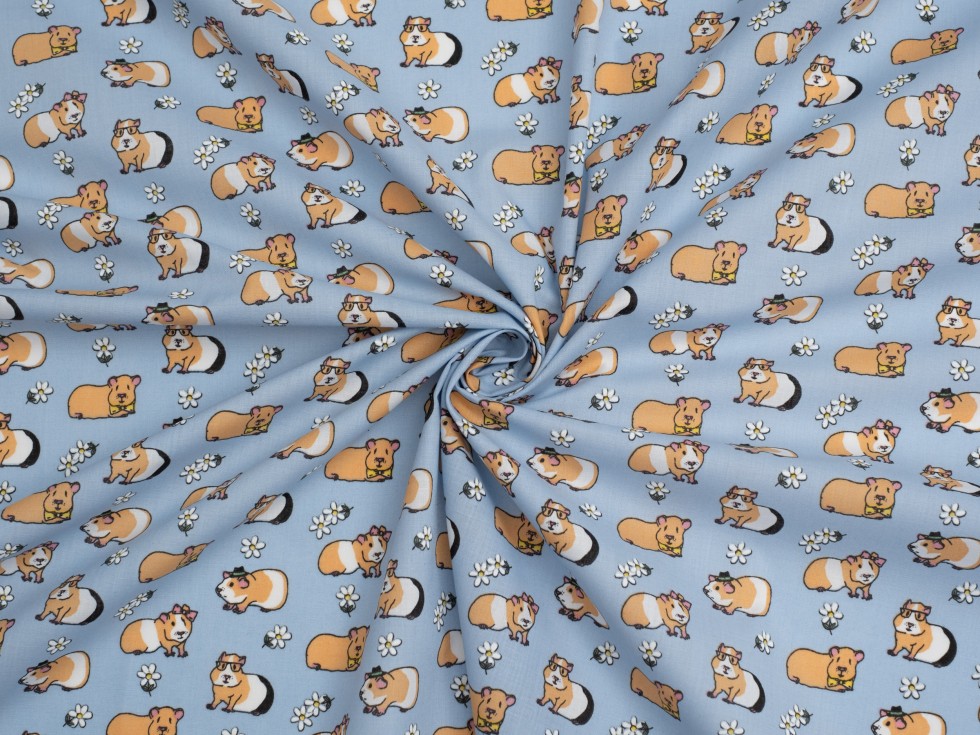
It doesn’t matter if you want to use contrasting fabrics like I have or if you would prefer to use the same fabric for the outer, lining and straps.
Any lightweight woven fabric such as cotton or polycotton will be perfect.
Buttons
I’ve picked the buttons out of my inherited button stash. I’ve gone for some really simple wood look buttons in a slightly larger size than I’d like to use. Sizing up the buttons makes it easier for little fingers to use them.
I’ve included a link to some similar buttons from my favourite haberdashery supplier.

Baby Doll Carrier Free Sewing Pattern
Step 1 – Cutting Your Fabric
Start by cutting out the fabric pieces.
You will need a front panel and lining and two straps, one for each side.
- Panel 10″ x 10″ Fabric
- Panel 10″ x 10″ Lining
- Straps 6″ x 25″ x 2 Pieces Lining
Step 2 – Marking Your Fabric
You will be shaping the panels with a pleat so that they fit the doll’s bottom better and give it more support.
![Step by Step Guide to Sew a Baby Doll Carrier [Free Sewing Pattern]](https://hearthearthcrafts.com/wp-content/uploads/2024/03/blog-step-1-sew-doll-carrier-blue.png?w=1024)
Place a mark 2″ and 3″ in from each edge on both the panel and the lining.
![How to Sew a Baby Doll Carrier [Free Sewing Pattern]](https://hearthearthcrafts.com/wp-content/uploads/2024/03/blog-step-2-sew-doll-carrier-lilac.png?w=1024)
Step 3 – Shape the Panels
Trim the top corners of each panel.
Measure 2 inches from each corner along both edges. Cut between these two measurements. A rotary cutter, ruler and mat makes this super quick and easy.
![How to Sew a Baby Doll Carrier [Free Sewing Pattern]](https://hearthearthcrafts.com/wp-content/uploads/2024/03/blog-step-3-sew-doll-carrier.png?w=1024)
Cut the main fabric in just the same way.
![Step by Step Guide to Sew a Baby Doll Carrier [Free Sewing Pattern]](https://hearthearthcrafts.com/wp-content/uploads/2024/03/blog-step-3-sew-doll-carrier-blue.png?w=1024)
Step 4 – Pin the Pleats
Take the 2″ line you marked in step 2 and match it up with the 3″ line. Pin the two lines together.
![How to Sew a Baby Doll Carrier [Free Sewing Pattern]](https://hearthearthcrafts.com/wp-content/uploads/2024/03/blog-step-4-sew-doll-carrier.png?w=1024)
You’ll also need to pin the main fabric in the same way.
![Step by Step Guide to Sew a Baby Doll Carrier [Free Sewing Pattern]](https://hearthearthcrafts.com/wp-content/uploads/2024/03/blog-step-2-sew-doll-carrier-blue.png?w=1024)
Step 5 – Sew the Straps
Fold your straps in half lengthwise with the right sides of the fabric together.
Sew around one side and along the long edge.
![How to Sew a Baby Doll Carrier [Free Sewing Pattern]](https://hearthearthcrafts.com/wp-content/uploads/2024/03/blog-step-5-sew-doll-carrier-1.png?w=1024)
Trim the excess seam allowance from each corner. This makes your corners neater when you turn the strap the right way out.
![How to Sew a Baby Doll Carrier [Free Sewing Pattern]](https://hearthearthcrafts.com/wp-content/uploads/2024/03/blog-step-6-sew-doll-carrier.png?w=1024)
Turn the strap right side out by pushing the fabric through the unstitched end. Give it a good press with your iron.
![How to Sew a Baby Doll Carrier [Free Sewing Pattern]](https://hearthearthcrafts.com/wp-content/uploads/2024/03/blog-step-7-sew-doll-carrier.png?w=1024)
Top stitch around the three sides of the straps. Top stitching means stitching close to the edge of the fabric. It makes your strap look neater and gives it more strength.
Step 6 – Sew the Panels
Place your fabric panel face up. Position your straps in place. Place the unstitched end of each strap close to the bottom of the panel, one on each side. Fold the straps out of the way so that they won’t get caught when you stitch around the edge of the panel.
![Step by Step Guide to Sew a Baby Doll Carrier [Free Sewing Pattern]](https://hearthearthcrafts.com/wp-content/uploads/2024/03/blog-step-4-sew-doll-carrier-blue.png?w=1024)
Place the lining panel on top of the main fabric panel, right side facing downwards towards the right side of the main fabric. Pin the panels together around the edges. Make sure that your straps and pleats are pinned in place.
![How to Sew a Baby Doll Carrier [Free Sewing Pattern]](https://hearthearthcrafts.com/wp-content/uploads/2024/03/blog-step-8-sew-doll-carrier.png?w=1024)
You might find it easier to tack (baste) the pleats and straps in place but I just use pins because I’m lazy!
![How to Sew a Baby Doll Carrier [Free Sewing Pattern]](https://hearthearthcrafts.com/wp-content/uploads/2024/03/blog-step-9-sew-doll-carrier.png?w=1024)
Sew around the edges of the pinned panels, leaving a gap in your stitching for turning. Make sure you are sewing through the pleats and stitching the straps too. I reversed my stitches over the straps to make sure they were extra secure.
Trim the seam allowance from the corners.
![How to Sew a Baby Doll Carrier [Free Sewing Pattern]](https://hearthearthcrafts.com/wp-content/uploads/2024/03/blog-step-10-sew-doll-carrier.png?w=1024)
Turn the panel the right side out and give it a good press. Top stitch around the edges closing the hole you left for turning.
![Step by Step Guide to Sew a Baby Doll Carrier [Free Sewing Pattern]](https://hearthearthcrafts.com/wp-content/uploads/2024/03/blog-step-5-sew-doll-carrier-blue.png?w=1024)
Step 7 – Sew the Buttons On
Sew a button hole onto each corner of the panel.
![Step by Step Guide to Sew a Baby Doll Carrier [Free Sewing Pattern]](https://hearthearthcrafts.com/wp-content/uploads/2024/03/blog-step-6-sew-doll-carrier-blue.png?w=1024)
Sew your buttons onto the ends of each strap.
When positioning your buttons it’s best if you have your child handy and can position the straps to their liking. If you’re sewing this Baby Doll Carrier as a gift sew one button near the end of the strap and the second button a few inches further in from the end. This should mean that you can lengthen or shorten the straps as the child grows or they use the Baby Doll Carrier differently.
Using Your Baby Doll Carrier
Use the longest straps for crossing over the child’s back for maximum comfort. You’ll want to do this for long days out.
![How to Sew a Baby Doll Carrier [Free Sewing Pattern]](https://hearthearthcrafts.com/wp-content/uploads/2024/03/blog-step-7-sew-doll-carrier-lilac.png?w=1024)
For everyday use I leave the straps buttoned up on the shortest setting. This means that the child can put the Baby Doll Carrier on and off independently. They just need to put their arms through each strap like a backwards backpack.
![How to Sew a Baby Doll Carrier [Free Sewing Pattern]](https://hearthearthcrafts.com/wp-content/uploads/2024/03/blog-step-5-sew-doll-carrier-lilac-1.png?w=1024)
The Baby Doll Carrier works for back carrying too. With either crossed straps over the chest or just on the shoulders.
Because the buttonholes are on the front of the carrier the child will be able to adjust the Baby Doll Carrier themselves once they have mastered buttons.
I hope you have enjoyed this Free Baby Doll Carrier Sewing Pattern.
Follow me on your favourite social media channel for more free sewing patterns and projects.
![Step by Step Guide to Sew a Baby Doll Carrier [Free Sewing Pattern]](https://hearthearthcrafts.com/wp-content/uploads/2024/03/instagram-post-sew-doll-carrier-blue.png?w=1024)
I do hope my sewing project has inspired you to have ago at sewing your own Baby Doll Carrier.
Pop this post in your Pinterest board so you can find it when you get some sewing time.
![Step by Step Guide to Sew a Baby Doll Carrier [Free Sewing Pattern] Pinterest Pin](https://hearthearthcrafts.com/wp-content/uploads/2024/03/pin-2-sew-doll-carrier-blue.png?w=683)
A Little Bit About Me . . .
Thank you so much for stopping by my little corner of the interweb. I’m Bridie, mum to two small humans, full time homemaker and full time craftaholic – which totally explains why I’m always short on time!

I’ve included links to my favourite retailers for the products I’ve used to make my crafts. Click on any of the product images and links for full details. If you decide to buy any of these products I may get a small percentage of what you spend. There’s no cost to you at all.
