I’m scrapping these photos of my baby girl “helping” me with some shelf stacking in my Craft Shop. She was happy playing with the boxes. I’ve made a super easy scrapbook page using Craft Sensations papers. To cut the cost of this scrapbook layout I’ve used lots of matts and layers instead of pricey embellishments.
Keep on reading for full step by step instructions.
Designer Scrapbook Papers
I love the designer papers from Craft Sensations. There are loads and loads of different designs to choose from. I’m literally spoilt for choice. The quality is great, they don’t feel thin or flimsy but they are fantastically good value.
I get them from the Range and typically pay just £2.99 a pack. Even on a tight budget I can afford to have a whole stack to choose from.

This Fresh Florals paper pack is one of my favourites. I love the teal and neutral shades. They were the perfect match for my baby girl’s teal top and the neutral boxes.

Matting Photos
Matting means to layer a photo or piece of paper onto top of a larger piece of paper to create a border. This helps to anchor the image onto your scrapbook page and makes it stand out form the background.
Follow these simple steps to mat your photos:
Pick a contrasting or complementary cardstock or patterned paper to form the base. Solid colours that pull a tone directly out of your photo work great. You can also try using a piece of patterned paper.
Choose the size of your mat. A quarter of an inch or 3mm is great for a small border. Play around with your papers until you get a border width that you like.
Measure your photo then add the size of border you want multiplied by 2. For example if your photo measures 4 x 6 inches and you want an eighth of an inch border you would cut your mat to measure 4.25 x 6.25 inches.
Use an acid free adhesive such as double sided tape to stick your photo onto the mat. Carefully align one corner of your photo with the corresponding corner of the mat before lowering the rest of the photo into place.
You can create a bolder effect by double matting. Place your photo on a mat with a narrow border then place this mat onto a larger mat with a wider border.
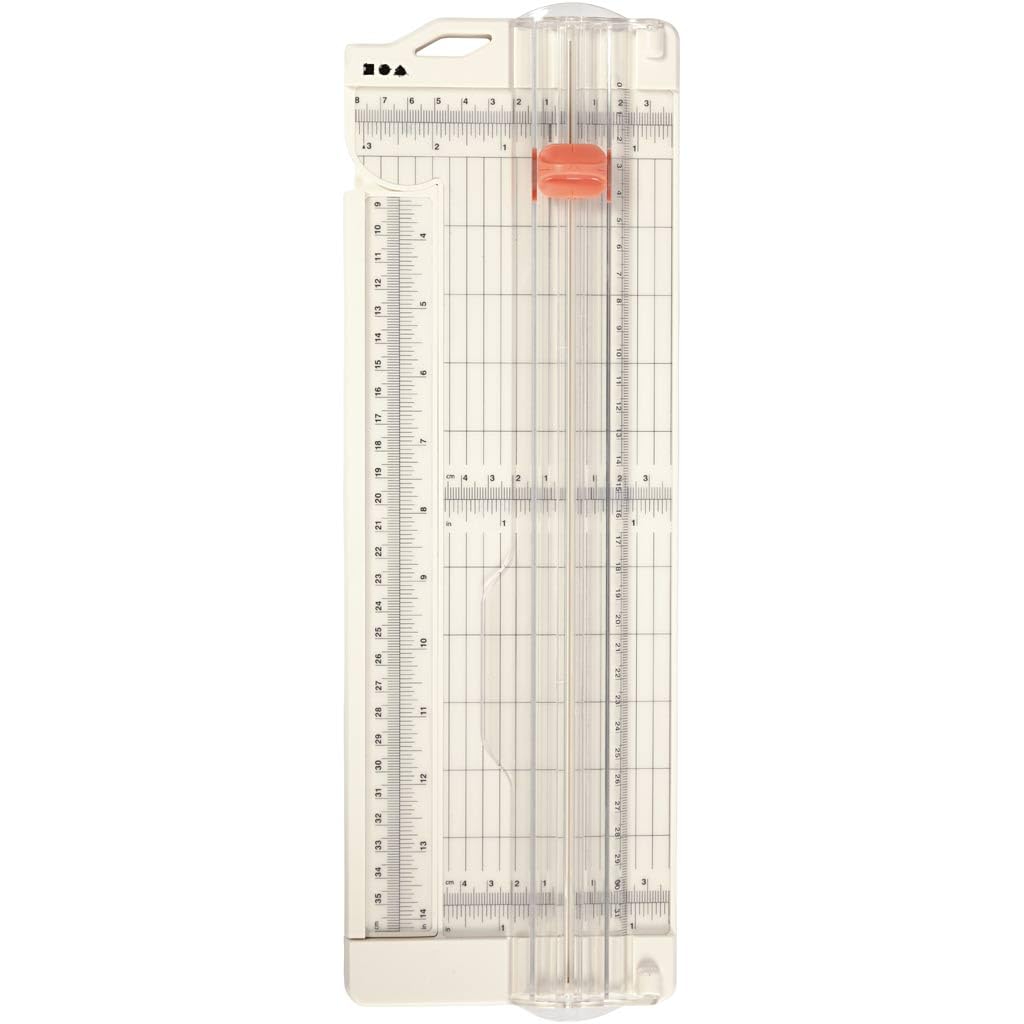

Scrapbook Embellishments
I’ve kept the embellishments to a minimum on this scrapbook layout, instead I’ve used lots of layers of designer papers.

But of course I couldn’t resist a few pearls in the corner of one photo.

Here’s lots more embellishment ideas for your scrapbook layouts.

Scrapbook Page Title

I wanted a big bold title and so I reached for one of my favourite alphabet dies, the Midwest from XCut. I’ve cut the letters from a scrap of Fresh Florals paper so that they co-ordinate perfectly with my scrapbook layout.

I’ve got lot’s more scrapbook title ideas for you to try.

How to Make Your Own Scrapbook Layouts
Follow these step by step instructions to recreate this scrapbook layout with your own photos.
- Choose Your Photos and Memorabilia
- Choose Your Papers
- Choose Your Embellishments
- Design Your Layout
- Add a Title
- Stick it All Together
For more in depth instructions take a look at my Scrapbooking Course for Beginners.

Follow me on your favourite social media channel for more scrapbooking inspiration and ideas.

Copy This Scrapbook Layout
Here’s a sketch of my scrapbook layout if you’d like to copy it.

I’ve got loads more scrapbook layout sketches that you can use to get started with your own scrapbook pages.

Shop This Scrapbook Layout

More Baby Scrapbooking Projects


Crafty Link Ups
[Really Crafty Link Party] [Craftastic Monday Link Party] [Crafter’s Link Party] [Spread The Kindness Link Up] [Wonderful Wednesday] [Happiness Is Homemade] [Creative Muster] [Share Your Style] [Creatively Crafty Linky Party] [Love Your Creativity Link Party]
Pin It Now, Scrapbook It Later
I do hope you have enjoyed having a peak at my latest scrapbooking layout. Please feel free to use my scrapbook pages to inspire your own creations, pin it to your Scrapbooking Pinterest board so you can find it later.


A Little Bit About Me . . .
Hey there I’m Bridie, a busy mum to two amazing humans, a spirited border collie puppy and a pair of sweet guinea pigs. We homestead in a cherished Edwardian terrace in not so sunny Lancashire, England.
When I’m not spending time with my children and menagerie, I’m usually to be found in my craft room creating and blogging or in the kitchen cooking up a big batch of something tasty. I’m always looking for thrifty hacks to save money on my crafts and recipes. Crafting doesn’t have to cost a fortune!
I scrapbook to preserve precious memories of my kids childhoods. I use upcycled and budget supplies along with thrifty hacks to make Scrapbook layouts that don’t break the bank.

I’ve included links to my favourite retailers for the products I’ve used to make my crafts. Click on any of the product images and links for full details. If you decide to buy any of these products I may get a small percentage of what you spend. There’s no cost to you at all.
Aran Knitting Baby Baby Scrapbooking Batch Cooking Beginner Scrapbooking Beginner Sewing Pattern Birthday Cards Budget Recipes Cards for Children Cards for Girls Chicken Recipes Christmas Christmas Cards Craft Sensations Dovecraft Easy Sewing Pattern Elasticated Channel First Edition Free Knitting Pattern Free Sewing Pattern Healthy Eating Healthy Recipe My Minds Eye Papermania Peek-a-Boo Patterns Polkadoodles ProMarkers Scrapbooking Sewing Sewing for Kids Sewing Pants Sewing Tops Sewing with Jersey Sewing with Wovens Simply Creative Sizzix Slow Cooker Recipes Soup Recipes Spellbinders Stitch Upon a Time Tim Holtz Top Stitching Vegetable Gardening Winsor Newton XCut



Leave a Reply