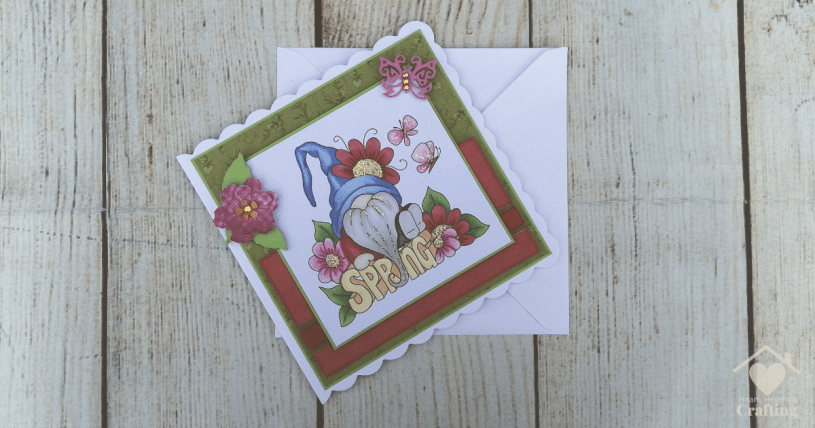
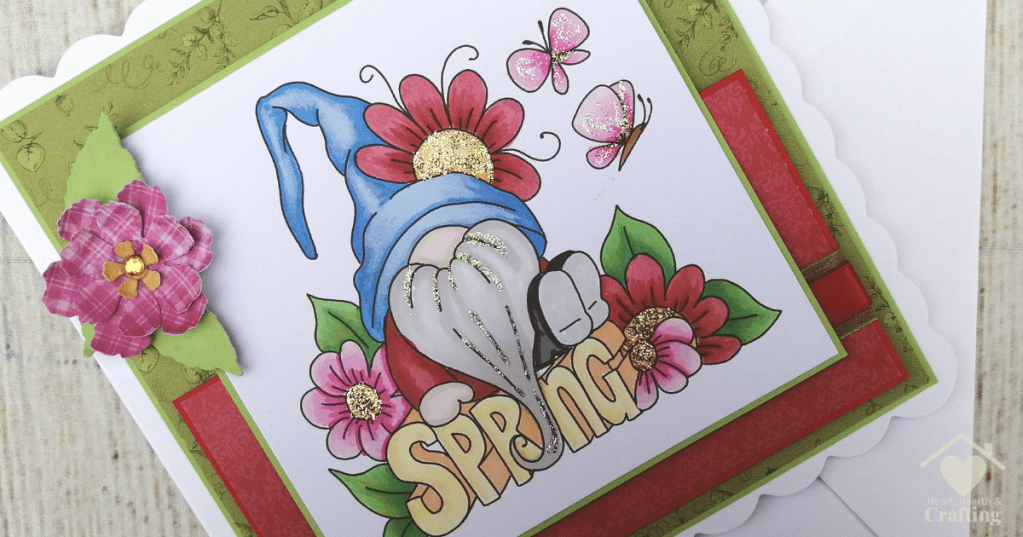
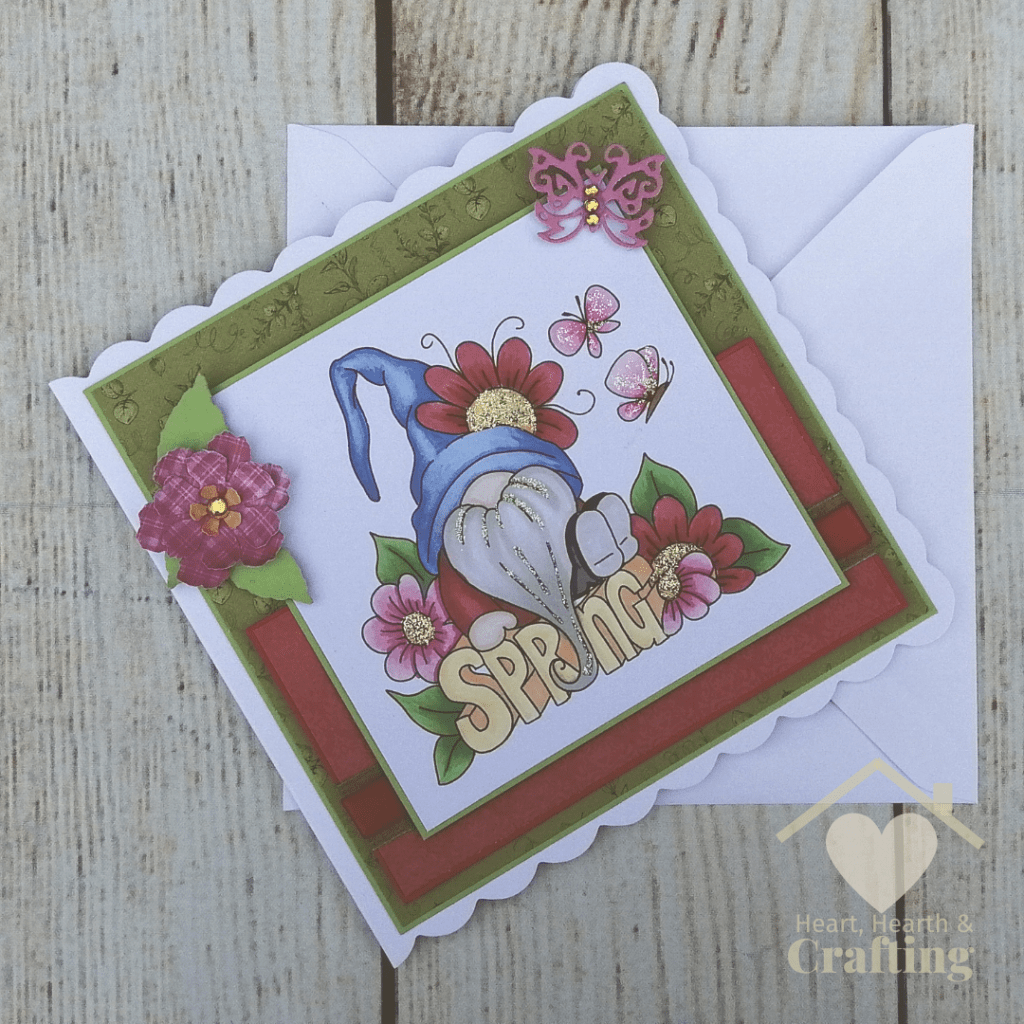
I couldn’t resist these super cute little gnomes celebrating the joys of spring. The digital stamps are really easy to colour but so effective. I’ve paired them with some bright spring themed papers and die cut details for a collection of adorable handmade greetings cards.
Keep on reading and I’ll show you how to make your own handmade cards. I’m including ProMarker blends and all the craft stash and crafting techniques I’ve used.
Digital Stamping
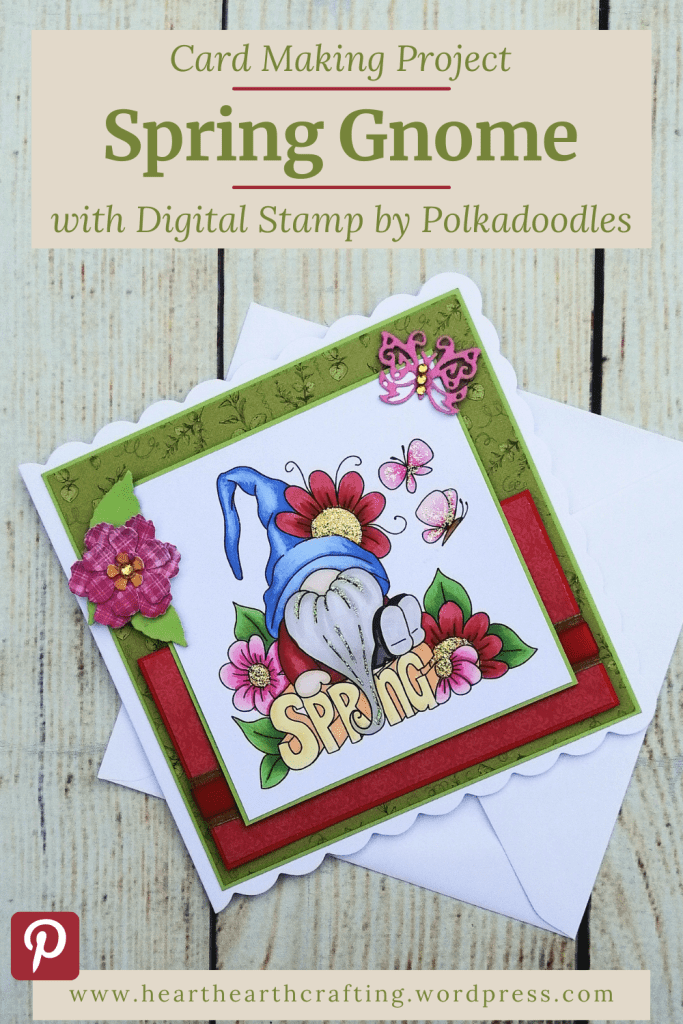
The Digi image is from Polkadoodles, part of their adorable Gnome for Spring range.

There are thousands of different digital stamps availible online. Click here to take a look at my favourites.
I print my digital stamps onto Ultimate Graphic 160gsm paper. It’s bright white so my colours really pop and it’s super smooth surface makes blending easier.
You don’t need a fancy or expensive printer to print digital stamps. I use a very old HP Officejet, any inkjet printer will do.
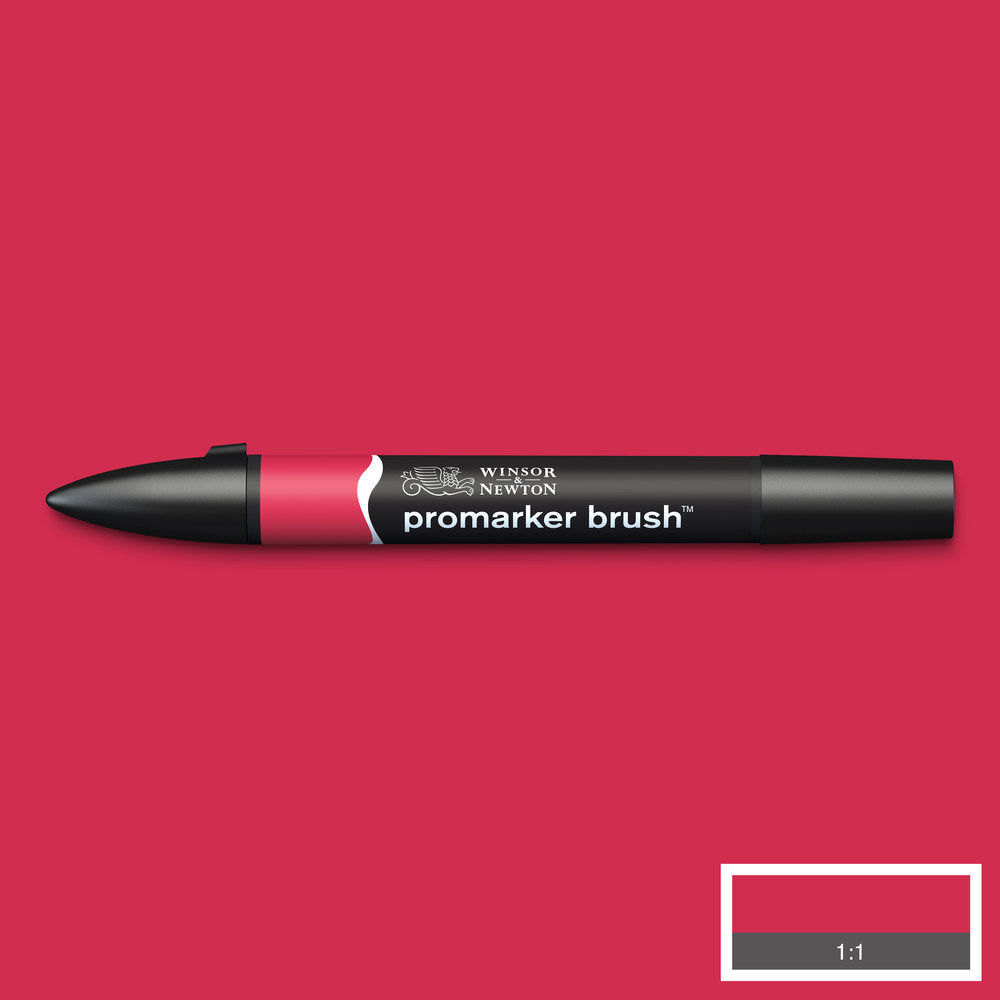
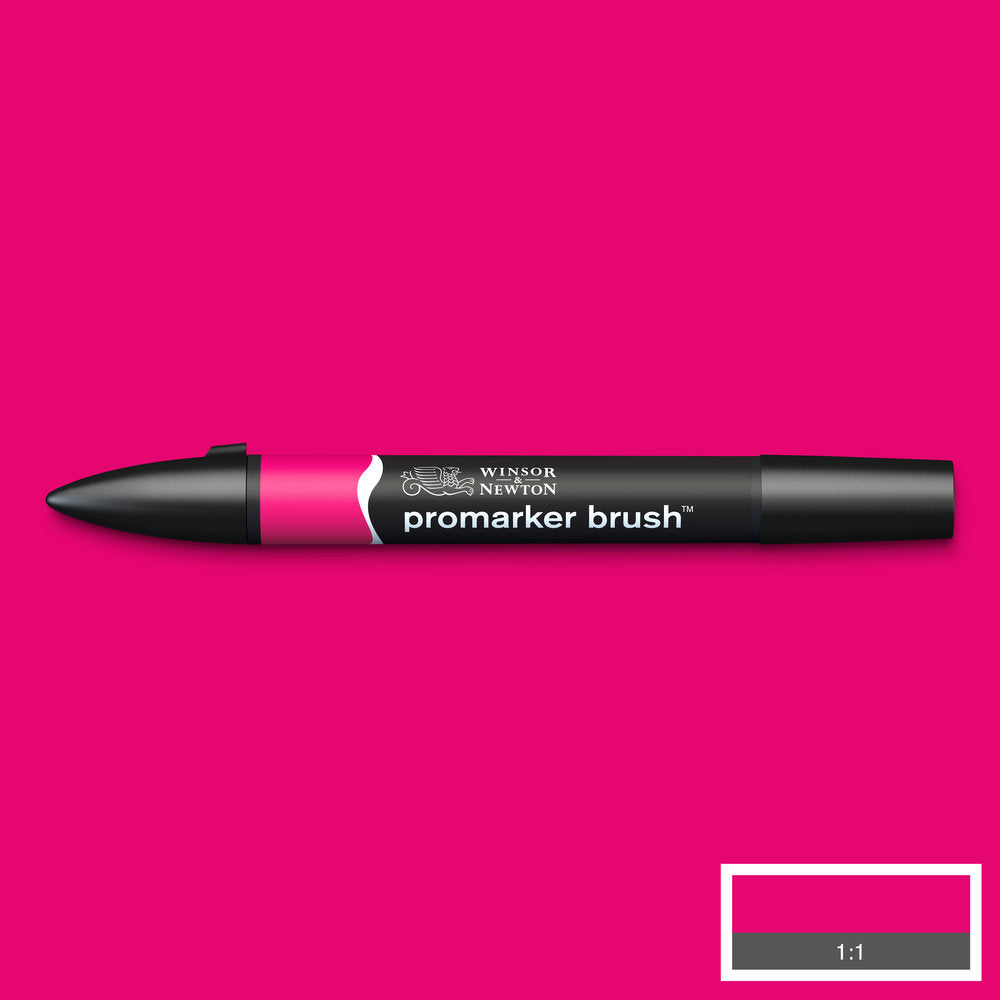
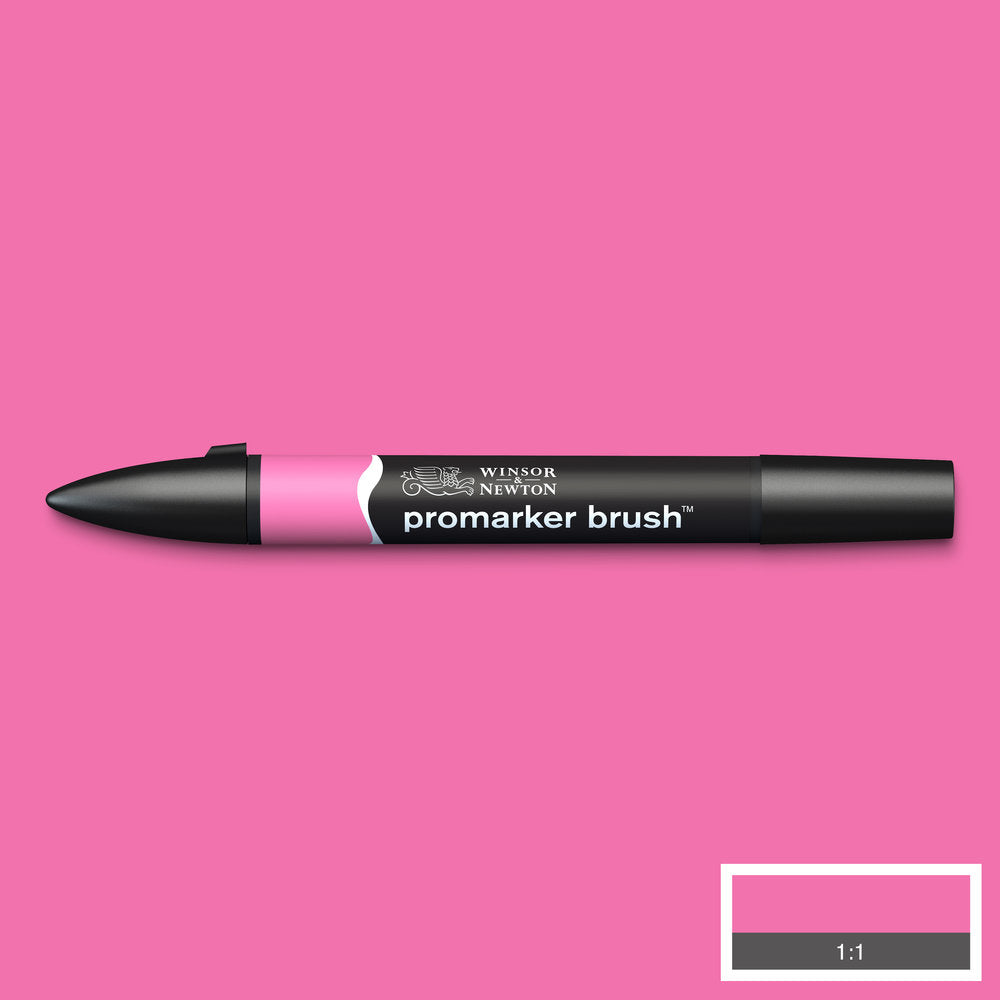
I’ve coloured this little cutie with my Winsor & Newton BrushMarkers.
Here’s the shade’s I’ve used:
Promarker Brush Colours – Reds


Promarker Brush Colours – Pinks

Promarker Brush Colours – Blues
Promarker Brush Colours – Greens


Promarker Brush Colours – Oranges

Designer Papers
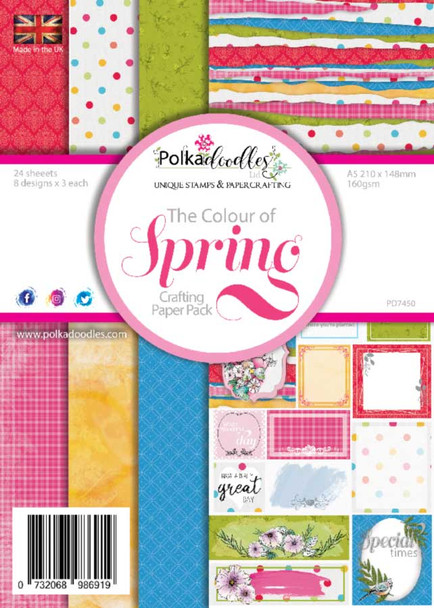
I’m using the Colours of Spring A5 paper pack which I picked up on sale from Polkadoodles.
I’m loving the bright and cheerful springtime colours. They felt like the perfect fit for these Gnome for Spring digital stamp designs.
Embellishments
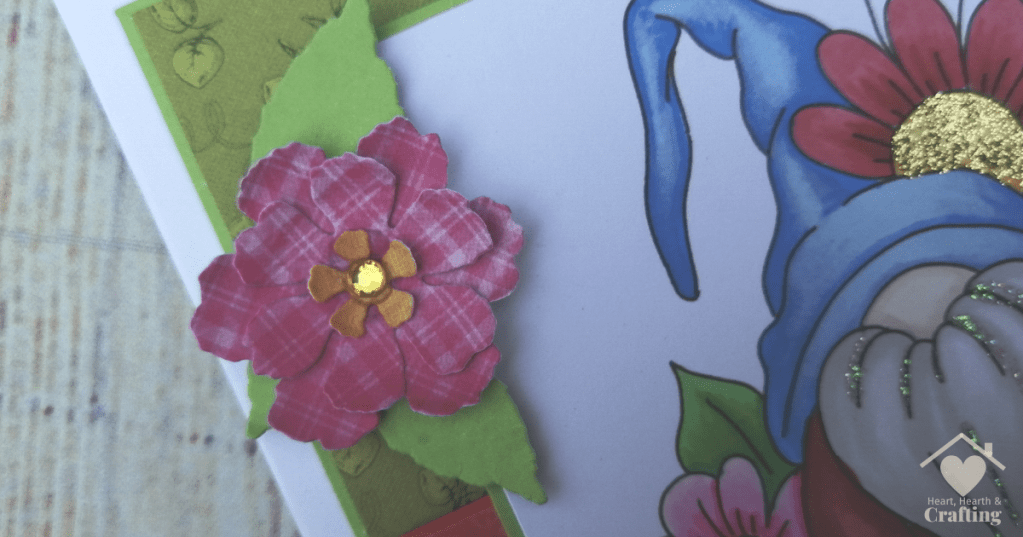
Keeping with the spring theme I’ve reached for another of my favourites the Sizzix Thinlits Die Set Tattered Floral by Tim Holtz. The flowers are small and cute, perfect for framing the main digital stamped image.
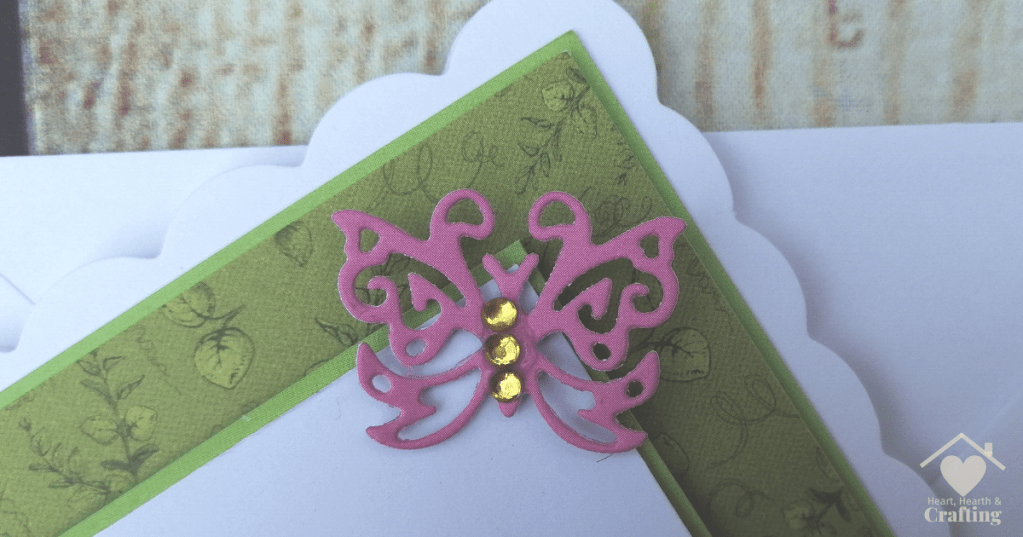
I’ve echoed the butterflies in the digital stamp designs and added a little die cut butterfly. I think they give my cards some dimension and a little something extra where there was a plain looking space. I’ve used one of my favourite die sets, Spellbinders Jewel Flowers and Flourishes. Aside from my frame dies, this one is my most used die set making it the best value set I’ve ever invested in.
I’m always saving ribbon from packaging and gift wrap to use on my cards. I raided my stash and found a variety of ribbons in bright spring colours.
I’ve also used gold gems to accent the die cut flowers and the butterfly.


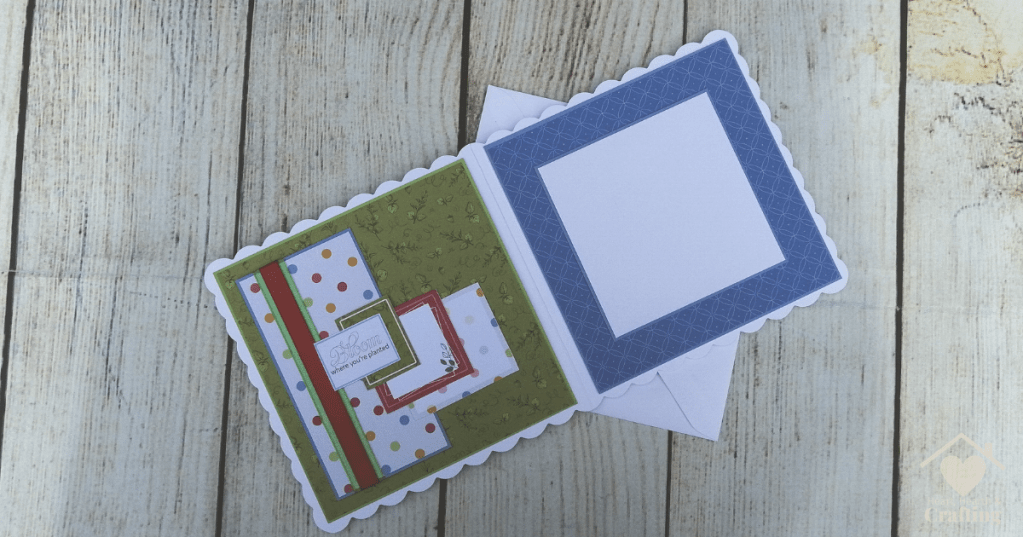
Take a Peak Inside
I think it’s such a shame to receive a beautifully decorated card only to open it and be faced with a blank page. So I use more of my designer papers to decorate the insides of my cards. I mostly use scraps leftover from the main design and a 10cm square of plain paper to write a nice message onto.
Products I’ve Used
Follow me on your favourite social media channel for more card making ideas and inspiration.
Pin it Now, Craft it Later
I do hope you have enjoyed having a peak at my latest card making project. Please feel free to use my handmade cards to inspire your own creations, pin it to your Pinterest for later.
A Little Bit About Me . . .
Thank you so much for stopping by my little corner of the interweb. I’m Bridie, mum to two small humans, full time homemaker and full time craftaholic – which totally explains why I’m always short on time!

I’ve included links to my favourite retailers for the products I’ve used to make my crafts. Click on any of the product images and links for full details. If you decide to buy any of these products I may get a small percentage of what you spend. There’s no cost to you at all.
