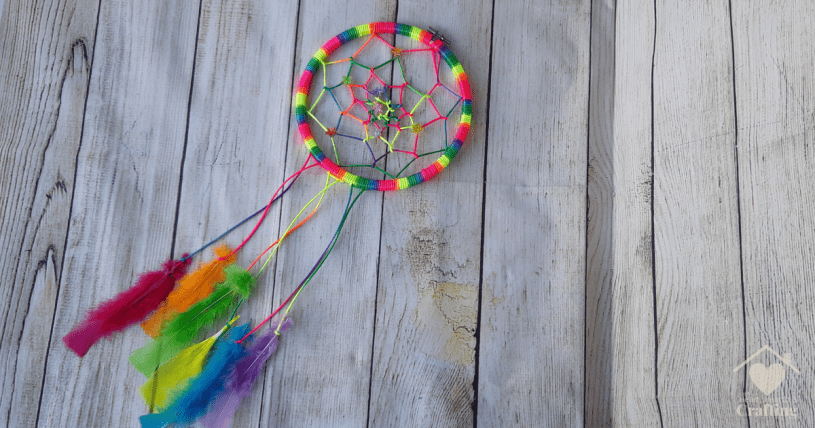
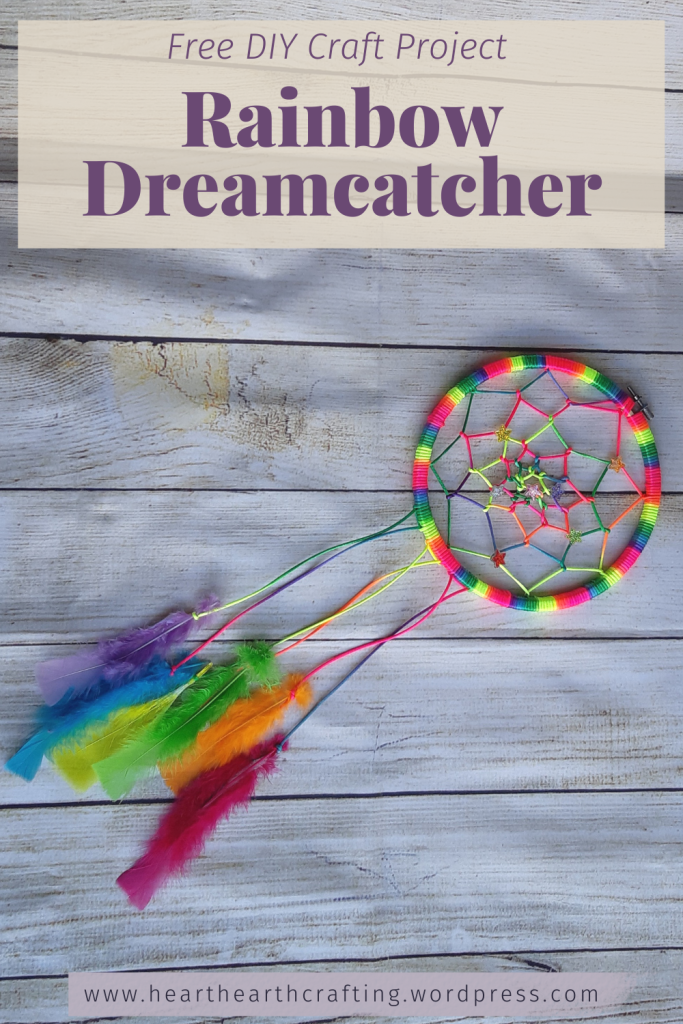
Spend a relaxing afternoon making your very own unique rainbow dreamcatcher. Follow these easy step by step instructions to learn how.
Crafting Supplies You Will Need
For a basic dreamcatcher you’ll need a hoop. The most easily availible wooden hoops are embroidery hoops.
You’ll need some kind of twine to make your dreamcatcher. Thicker yarn or twisted twine is the easiest to work with.
To decorate your dreamcatcher you’ll need some feathers and beads of some kind.
You will also need some basic tools you’ll already have about the house, some sharp scissors and a pen.
How to Make Your Dreamcatcher
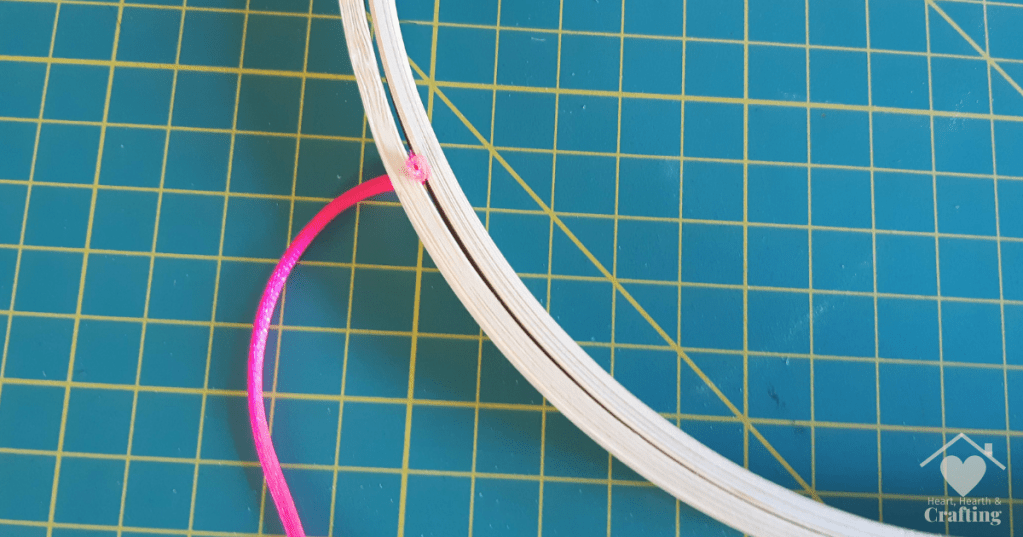
Start by trapping one end of the Rainbow cord in between the two parts of the embroidery hoop.
You need to loosen the screw at the top of the embroidery hoop to separate the two parts. Then put them back together again with the end of the rainbow cord trapped in the middle.
Tighten the screw to keep it secure.
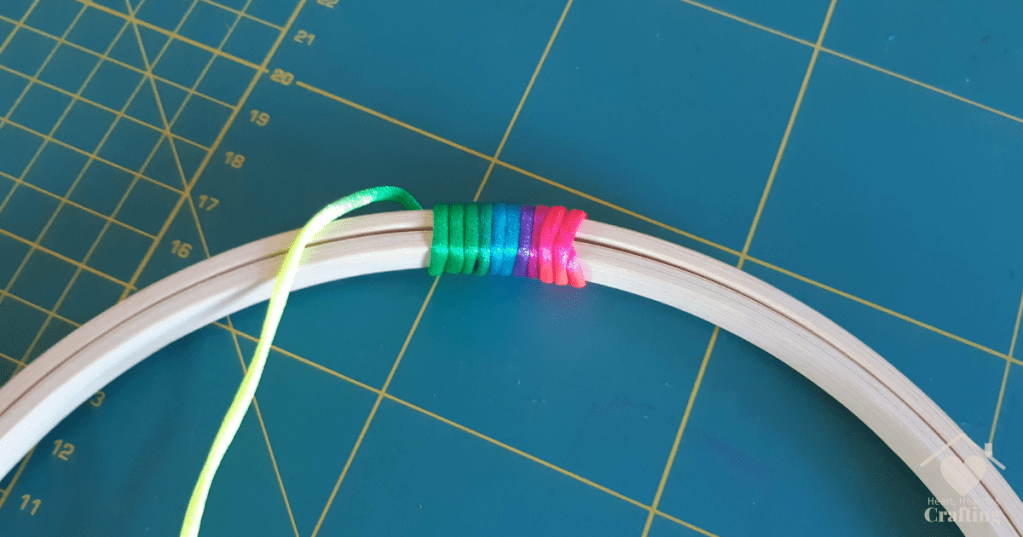
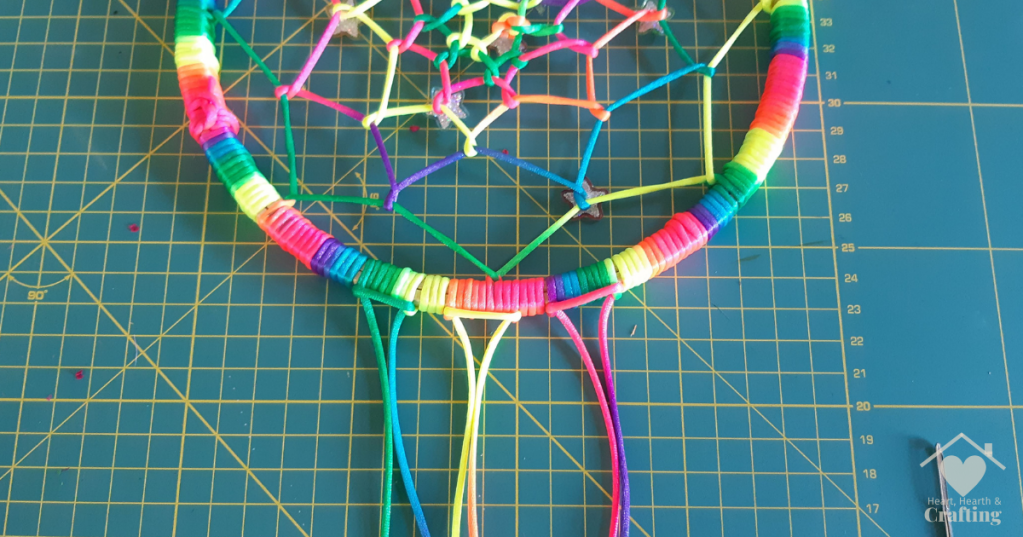
Next start wrapping the cord around the embroidery hoop.
Make sure that each wrap sits neatly next to the previous one.
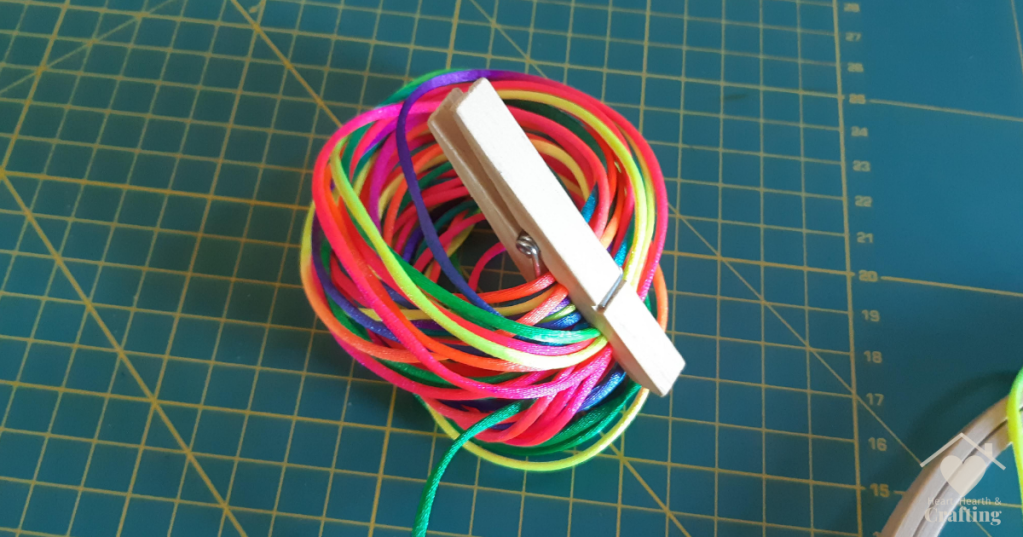
If you’re struggling to control the long length of cord you can wrap it around your hand and use a clothes peg to hold the cord together while you work.
Once the whole hoop is covered with cord cut off the excess cord leaving a little tail.
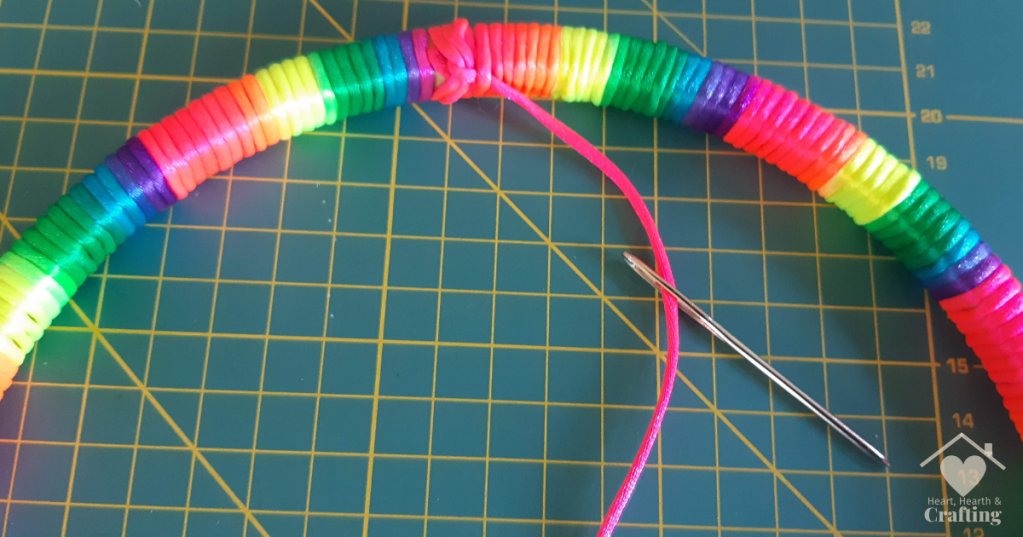
Thread the tail onto a large knitters needle and thread it under the cord wraps at the beginning of your wrapping. This should secure the cord nicely.
Thread the needle with the remaining cord.
Secure the end of the cord at the top of the embroidery hoop by threading it through the wraps you have already made.
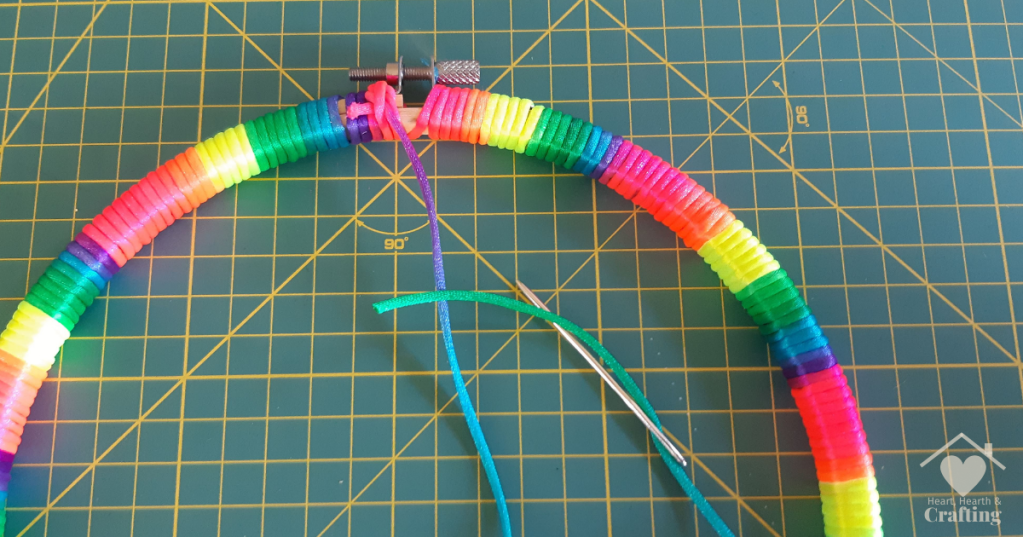
Imagine that your embroidery hoop is a clock.
You need to make a mark at 12, 3, 6 and 9. Then make another mark halfway between each of the marks you’ve already made, so at 1:30, 4:30, 7:30 and 10:30.
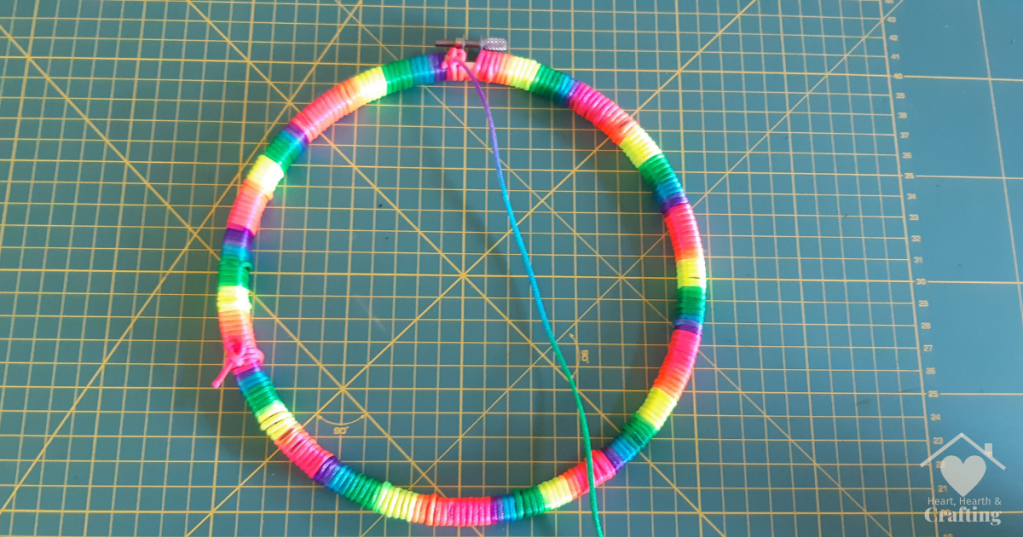
Take your needle and thread it though one of your wraps at the first mark, making sure that the needle is pointing back towards the beginning of your thread.
Do the same for the next mark and work your way around the hoop being sure that your needle points back towards the last loop you made.
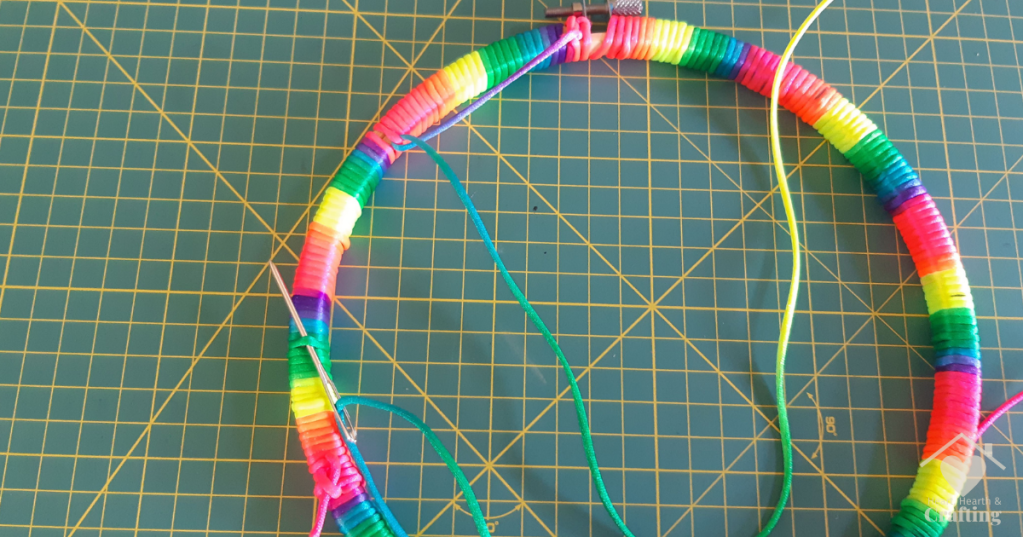
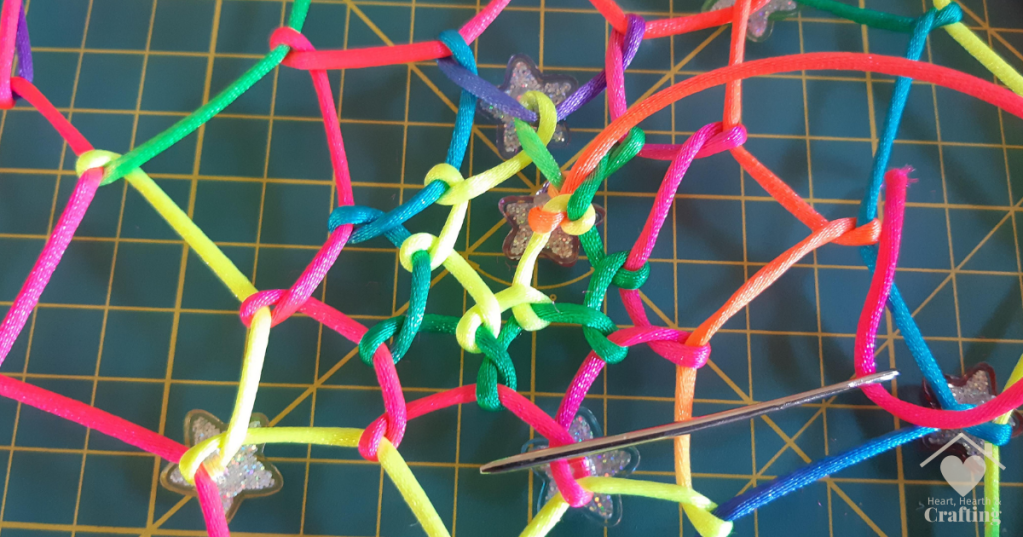
When you get back to the beginning you can start filling your dreamcatcher.
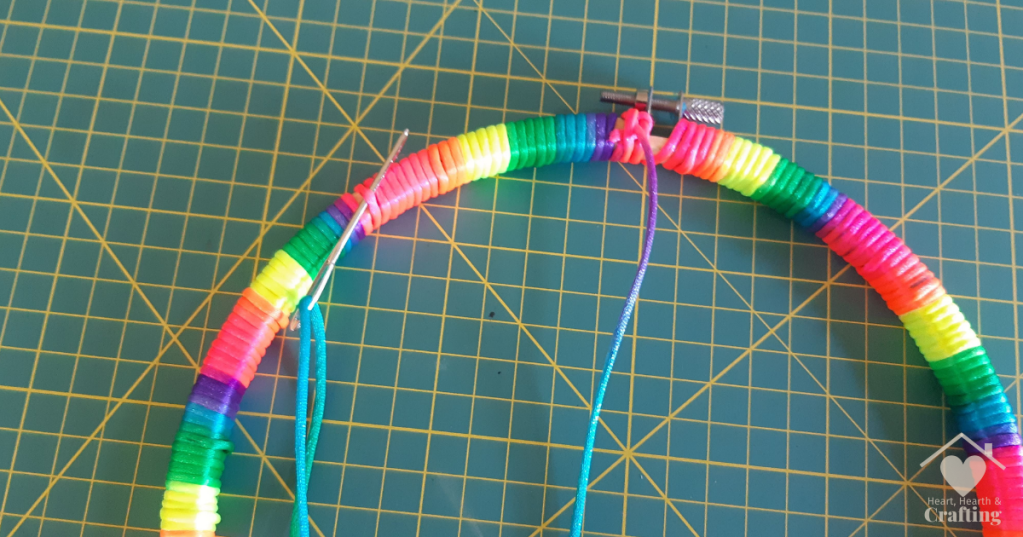
Thread your cord under the next loop.
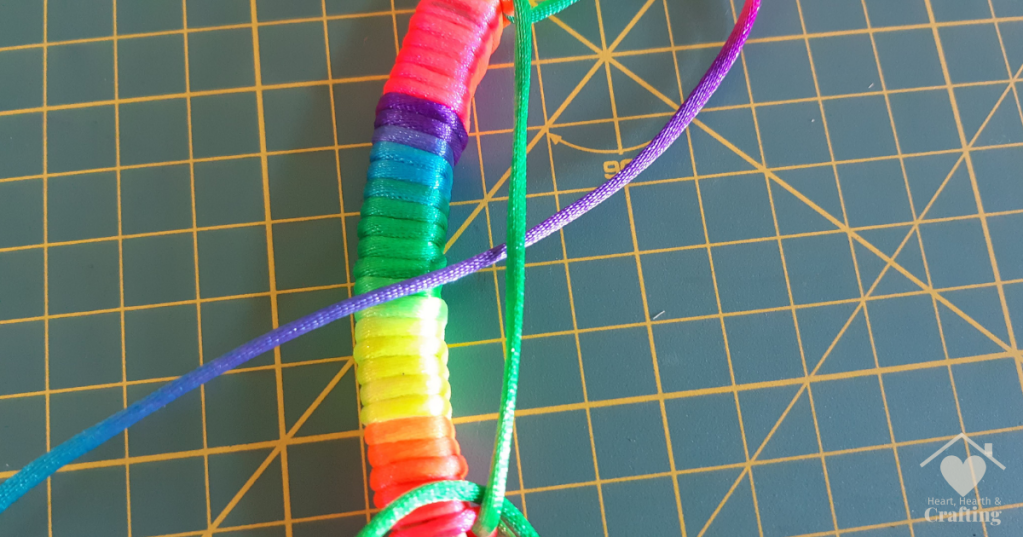
Then pull it back over the loop and through the cord you are working with.
This makes a little knot around the loop of cord.
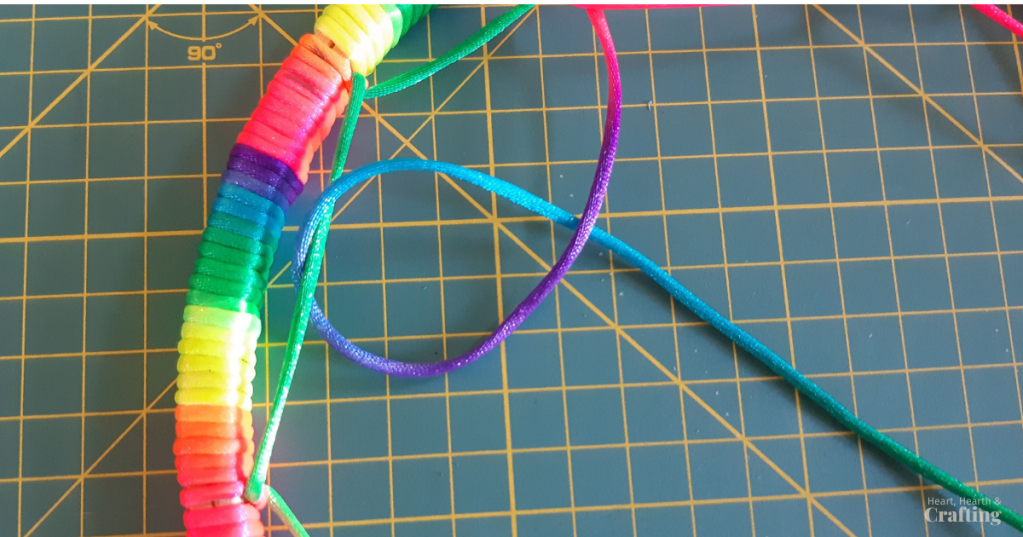
Pull your knot tight making sure it sits in the centre of the previous loop.
You can brighten up your dreamcatcher by adding beads or shank buttons to your cord.
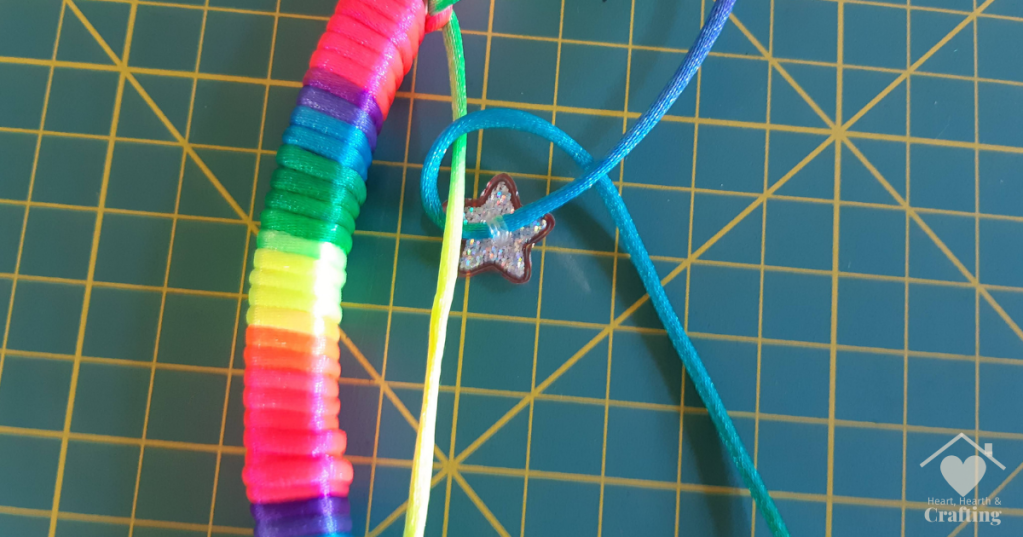
Position them in the middle of a knot to keep them in place.
If you don’t they will fall down to rest on the next knot. This can be a nice effect with some beads. Experiment and see how you’d like your dreamcatcher to look.
When you reach the middle of your dreamcatcher secure the end of the cord with a knot which can be neatly hidden behind a button or bead.
You should have some cord left over.
Cut it into three lengths.
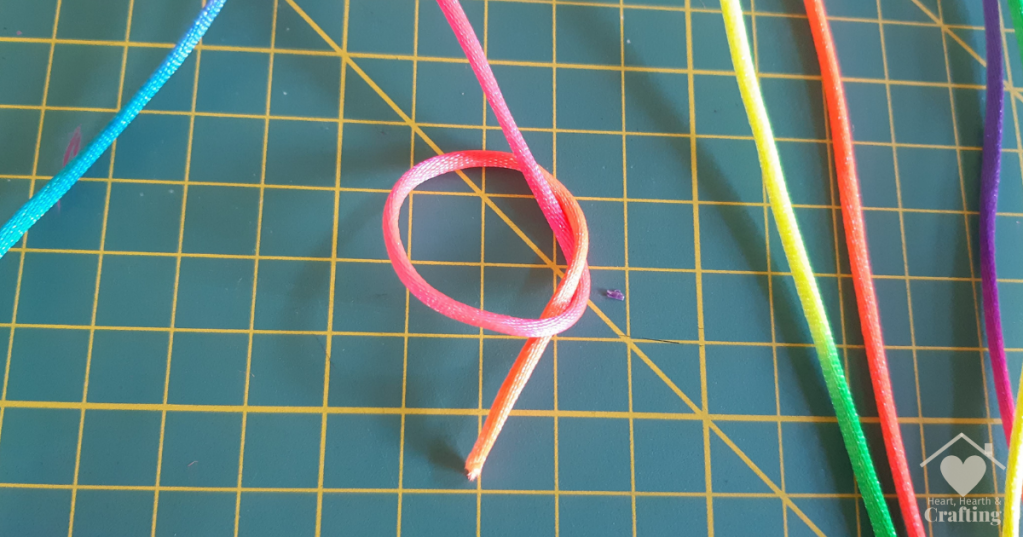
Thread each one through a few of the wraps at the base of the dreamcatcher.
Pull it through so that there are two lengths of cord hanging down.
Make a knot in the end of the cord.
And pull it tight around a feather.
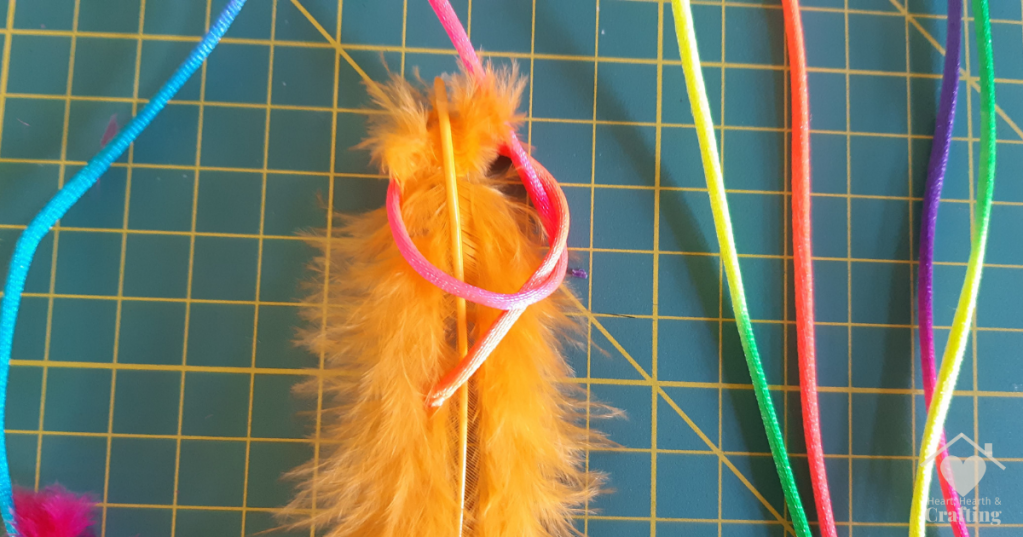
Do this for all 6 feathers and cords.
If you’d like to add a little weight to your feathers so that they hang straight down you can add a lump of glue to the back of each feather using a glue gun.
Let the glue dry completely before hanging your dreamcatcher.
I do hope you have enjoyed having a peak at my latest craft project.
Please feel free to use my handmade crafts to inspire your own creations, pin it to your Pinterest for later.
A Little Bit About Me . . .
Thank you so much for stopping by my little corner of the interweb. I’m Bridie, mum to two small humans, full time homemaker and full time craftaholic – which totally explains why I’m always short on time!

I’ve included links to my favourite retailers for the products I’ve used to make my crafts. Click on any of the product images and links for full details. If you decide to buy any of these products I may get a small percentage of what you spend. There’s no cost to you at all.
