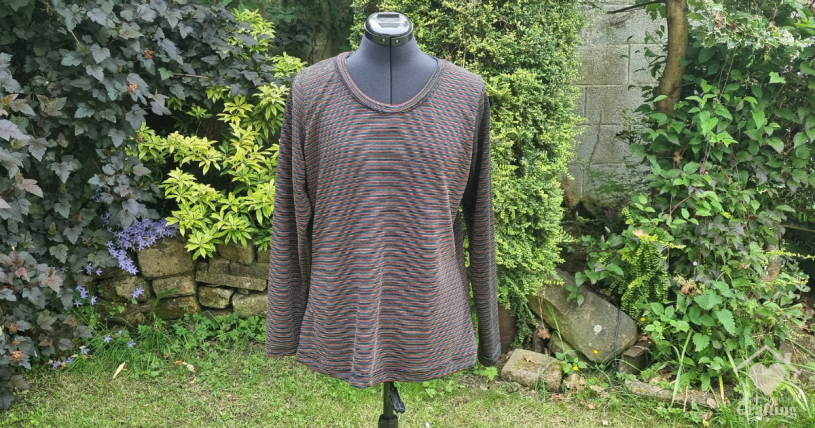
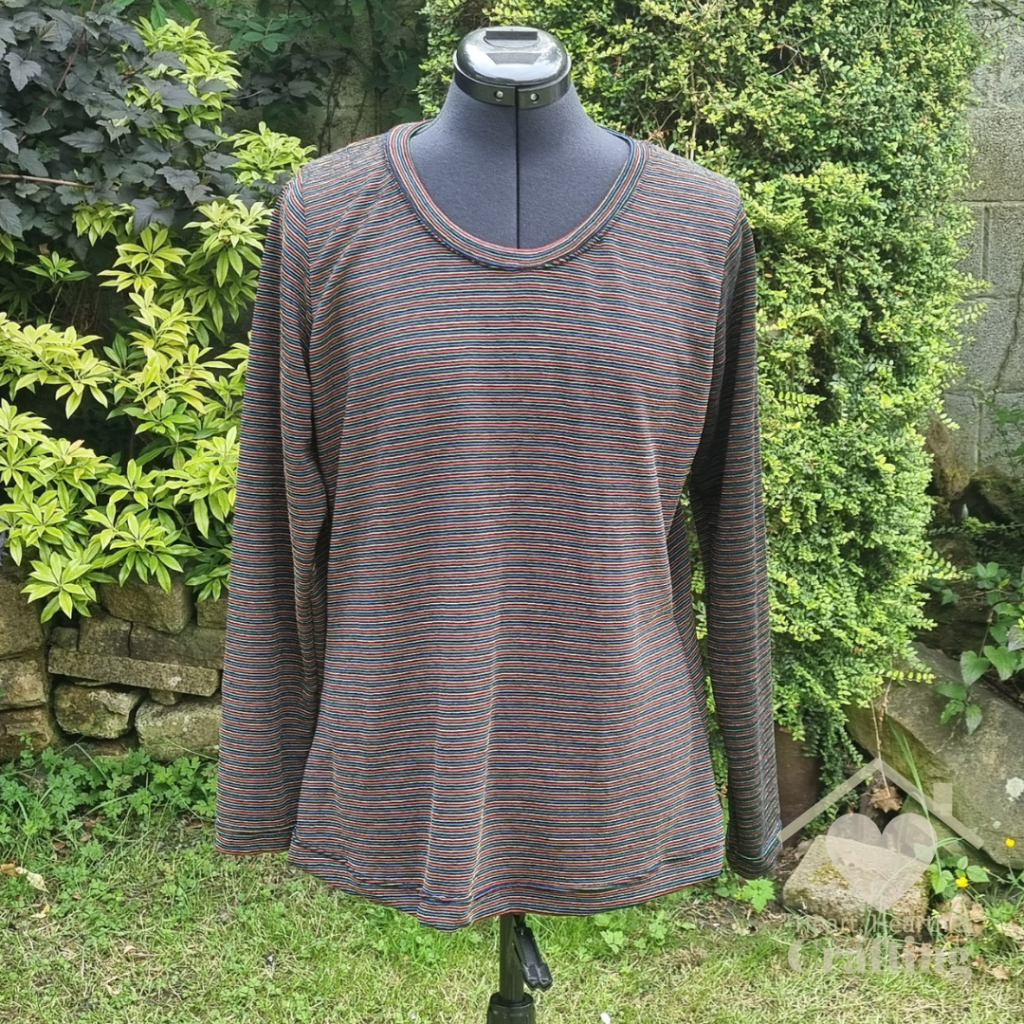
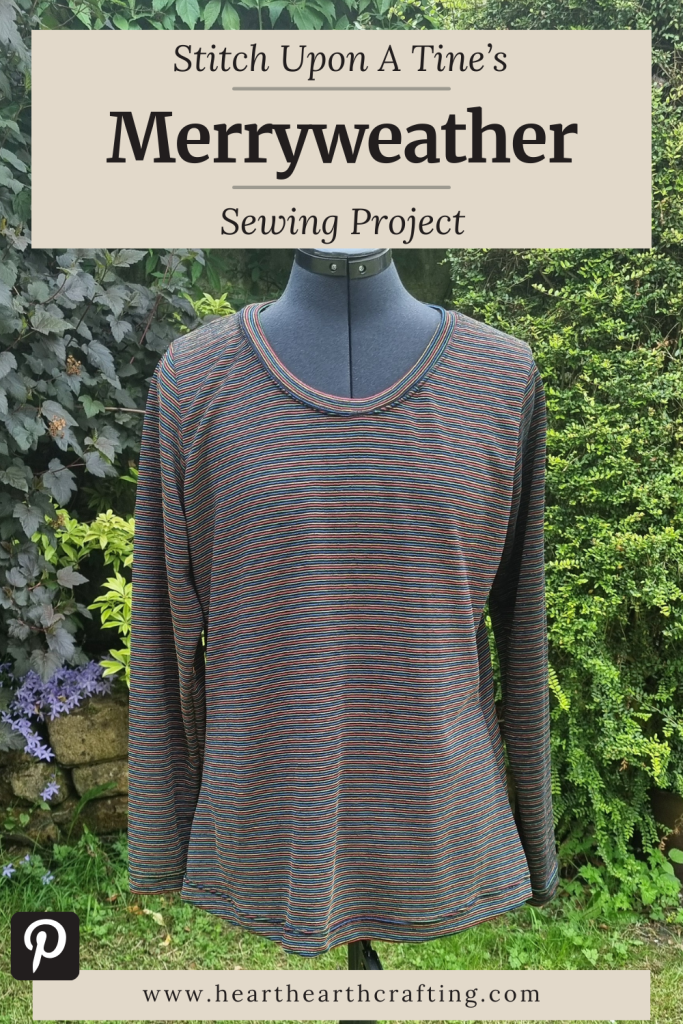
My Merryweather tops have become a wardrobe staple and my go to pattern for comfortable tops. I love the shape they give me and the fit is perfect. I’ve worn them so much I’m sewing myself some more for this winter. The pattern is by Stitch Upon a Time and this time I sewing the Merryweather in a black rib fabric with a little hint of colour.
Sewing Pattern
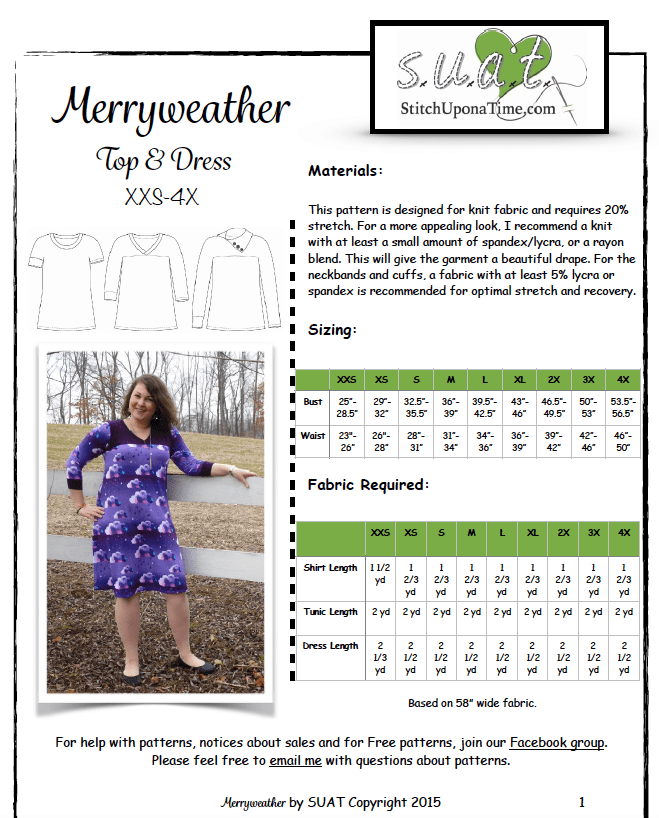
The pattern is the Merryweather from Stitch Upon a Time.
It’s a super simple jersey top with optional colour blocking. I’ve not tried the colour blocking yet as the line sits right on the bust and I feel like this would draw attention to my ample bust. But actually now I’m looking closer the line is at the top of the bust just below the V neckline so it might actually flatter my figure. I’ll have to try it at some point. It would be very useful for putting large scraps to use.
There’s the usual long, short and three quarter sleeve length options. It’s nice to have the versatility. I wear the short sleeve for summer, the long sleeve in autumn and spring. For winter wear I layer two of them together.
I’m particularly fond of the neckline options. I think a V neckline is the most flattering on my figure. There’s a simple round neck line too. And a turtle neck which I haven’t tried because I don’t find them comfortable to wear.
I almost forgot about the dress option. I’ll have to give that a try at some point, I think it would make a lovely comfortable casual dress.
Fabric and Thread Choices
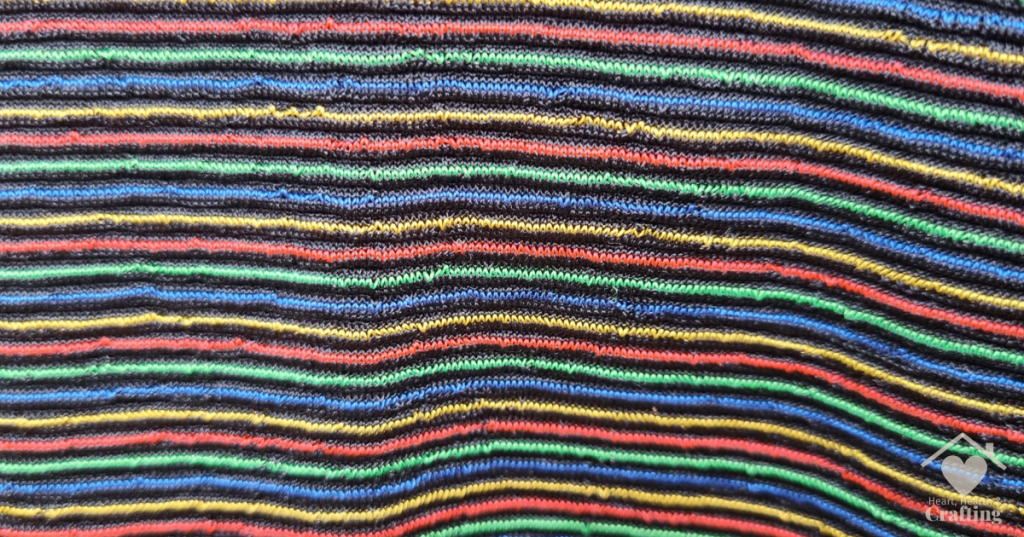
I’m sewing this Merryweather with some super cheap ribbing that I picked up because it was so cheap I couldn’t not. Of course I regretted my decision and the cheap scratchy fabric sat in my stash for a few years.
With winter looming and my old Merryweather’s looking rather thread bare I pulled out the rib and stitched up a quick new top to keep the chill out as the temperatures drop.
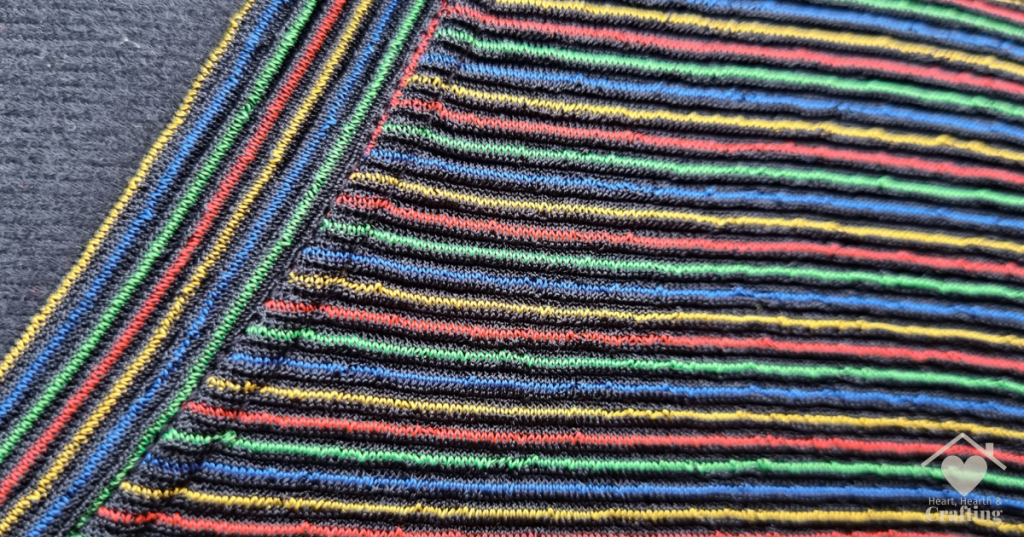
It’s a really interesting fabric. At first glance it looks black but when you look more closely you can see these little lines of rainbow colour.
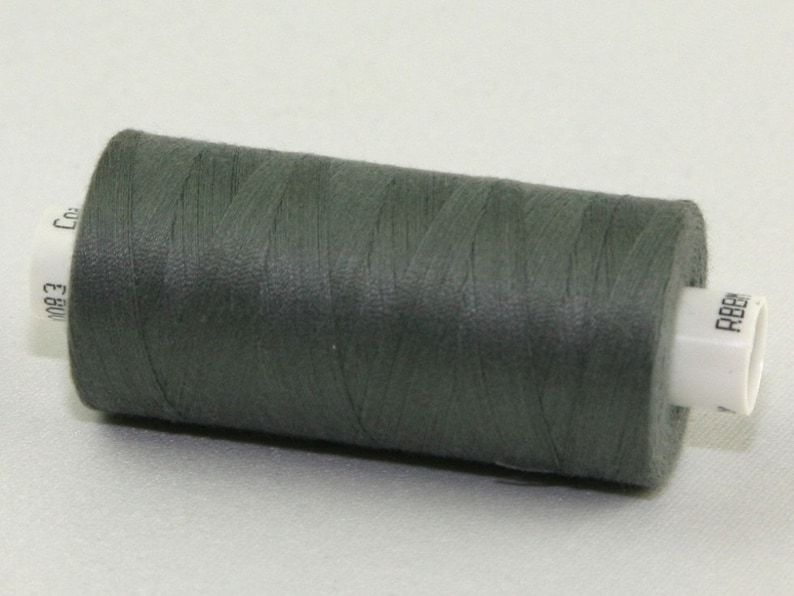
I use Coats Moon Thread for all of my sewing projects. It’s a fantastic all rounder great for machine sewing, hand sewing, quilting and top stitching. Best of all it’s fantastic value. I use it for literally everything!
Sewing the Neckline
The only vaguely involved part of sewing is the neckband.
For the round neck option it’s a super simple looped neck band. I always sew the two ends together with a straight stitch and press the seam flat. This reduces the bulk in the neckband.
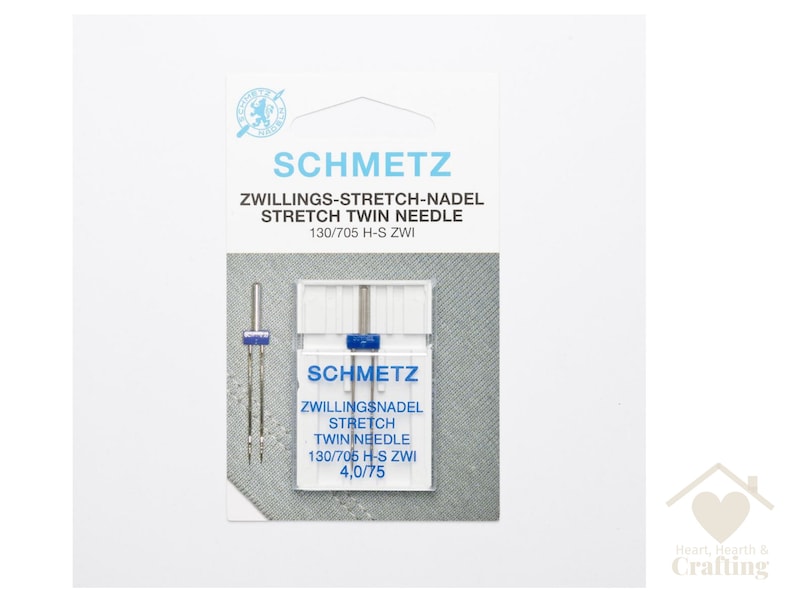
I also like to add a row of top stitching with a twin needle. This secures the potentially irritating seam on the inside and leaves a neat finish on the outside of the neckband.
Sleeve and Body Hems
Being someone of a shorter stature I typically need to shorten sleeves an inch or two. It’s difficult to get the sleeve length just right without a second person to help. I generally fold the sleeve cuff and try it on, adjusting the fold until I’m happy with the length.
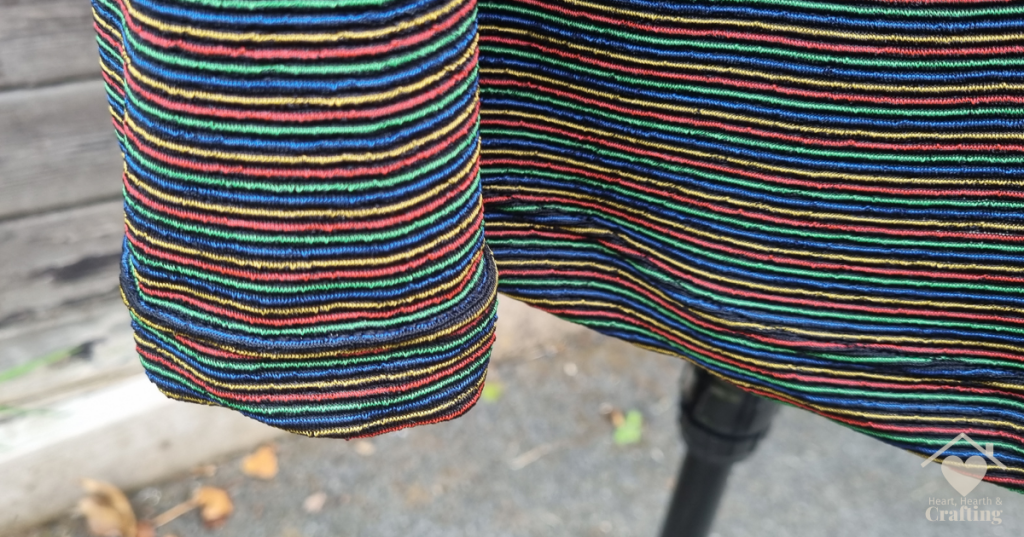
Instead of cutting off the excess fabric I decided to make an extra large cuff. I like how it looks and it fits perfectly.
I use a twin needle on my hems too. I love the professional looking finish it makes.
I do hope you have enjoyed having a peak at my latest sewing project.
Follow me on your favourite social media channel for more sewing inspiration and tips.
Pin It Now, Sew It Later
Please feel free to use my handmade crafts to inspire your own creations, pin it to your Pinterest for later.
A Little Bit About Me . . .
Thank you so much for stopping by my little corner of the interweb. I’m Bridie, mum to two small humans, full time homemaker and full time craftaholic – which totally explains why I’m always short on time!
I’ve included links to my favourite retailers for the products I’ve used to make my crafts. Click on any of the product images and links for full details. If you decide to buy any of these products I may get a small percentage of what you spend. There’s no cost to you at all.
