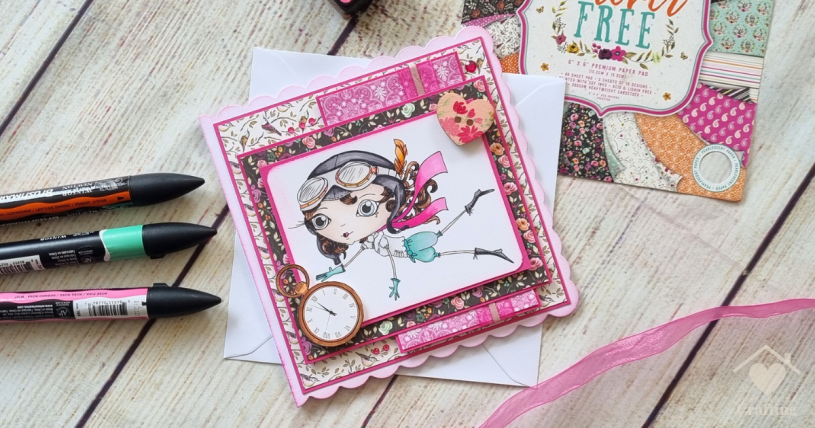
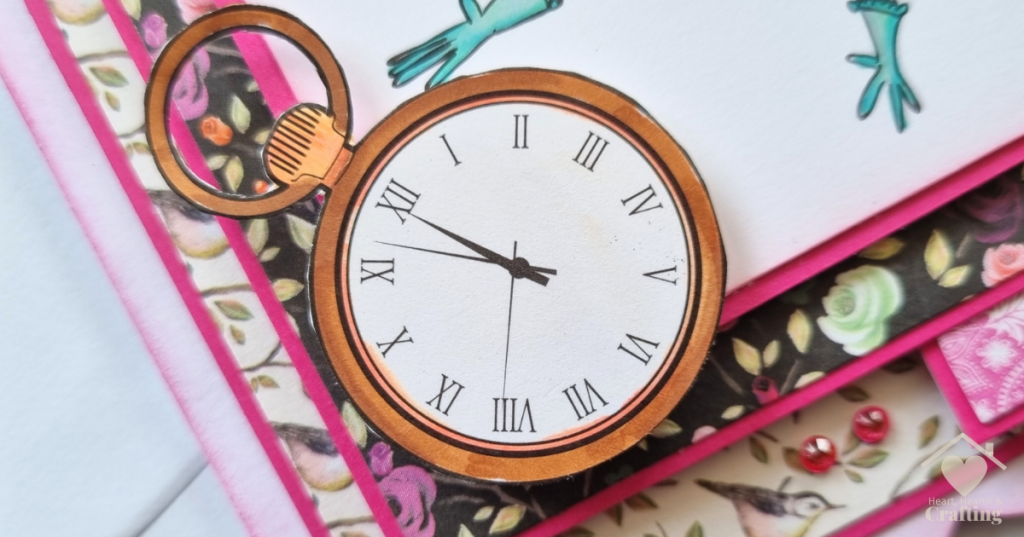
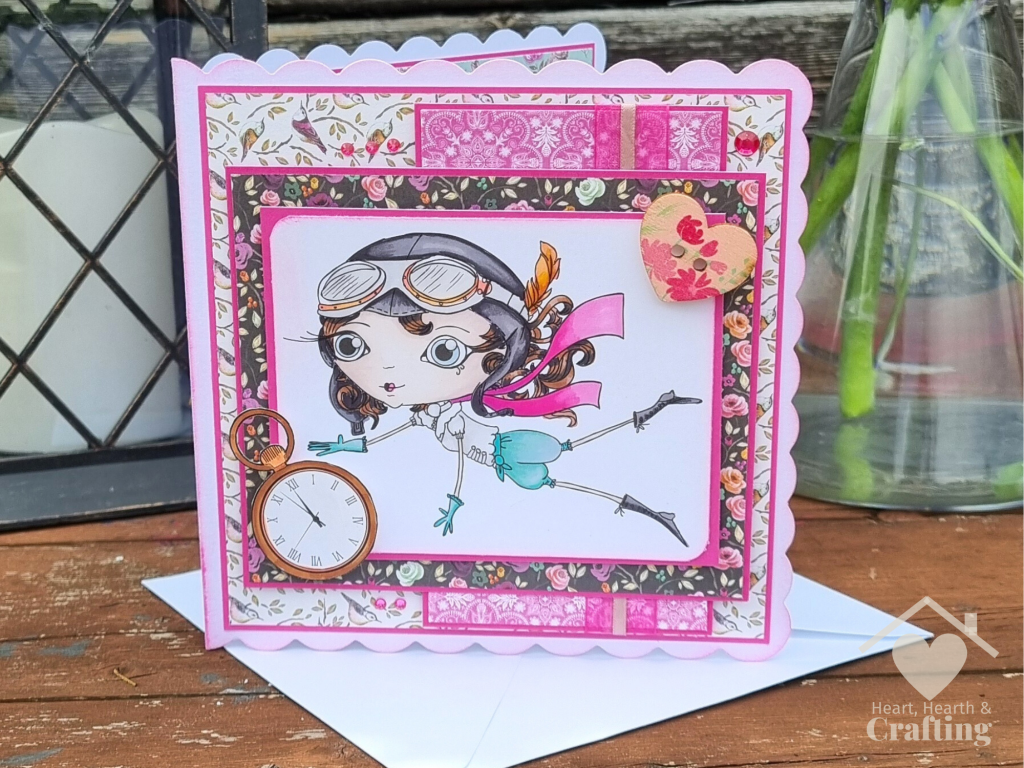
I’m playing with the Verity Rose Colouring Pad from Crafters Companion and Forever Free Papers from First Edition. My image is coloured with ProMarkers and fussy cut embellishments to make an elegant greeting card.
Keep on reading and I’ll show you how to make your own handmade cards. I’m including ProMarker blends and all the craft stash and crafting techniques I’ve used.
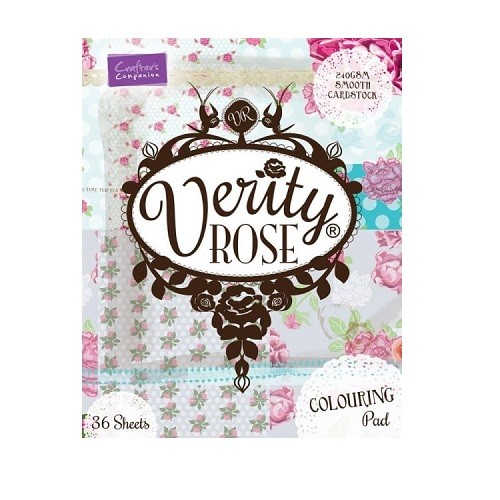
Verity Rose Image
I bought this Verity Rose Colouring Pad from Crafters Companion. It’s basically a pad full of pre-printed stamps. It includes five copies of each design plus an extra sheet of embellishments for each of the ladies.
The Verity Rose Colouring Pad cost the same as just one stamp set, so I got to play with all six designs for the price of one.
I was so surprised that these weren’t more popular and that the idea wasn’t taken up by more stamp manufacturers. I hate having to choose just one stamp from a set that I have fallen in love with. I want the whole set but my limited space and budget mean I have to force myself to choose just one design.
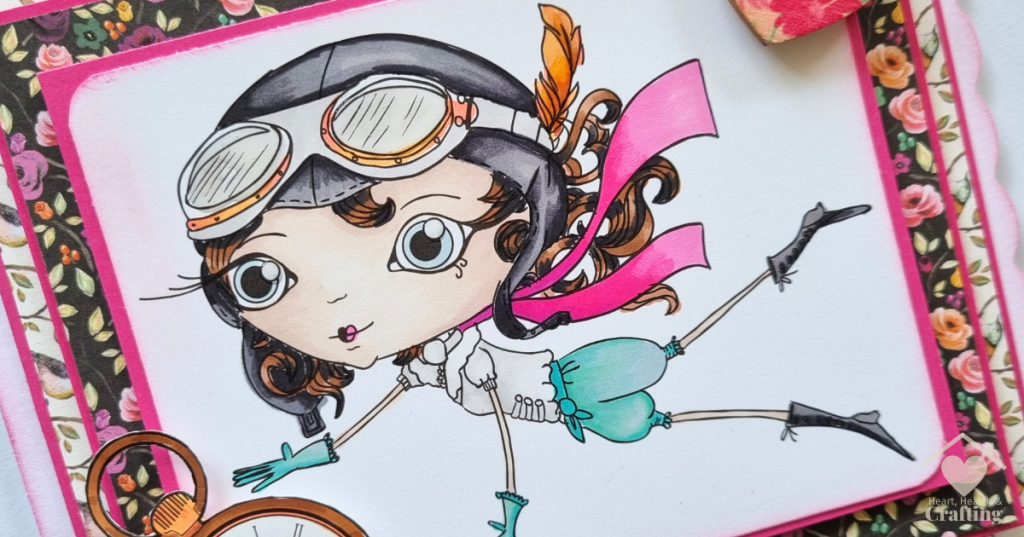
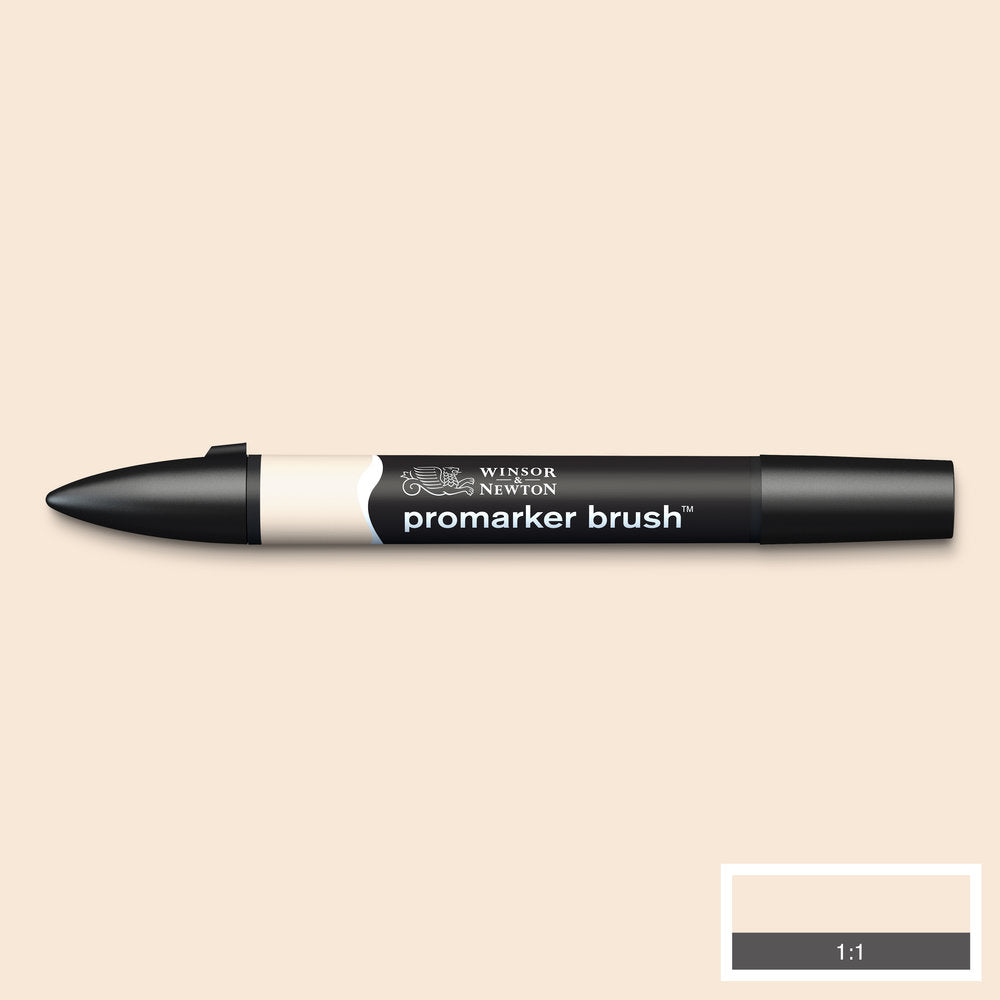
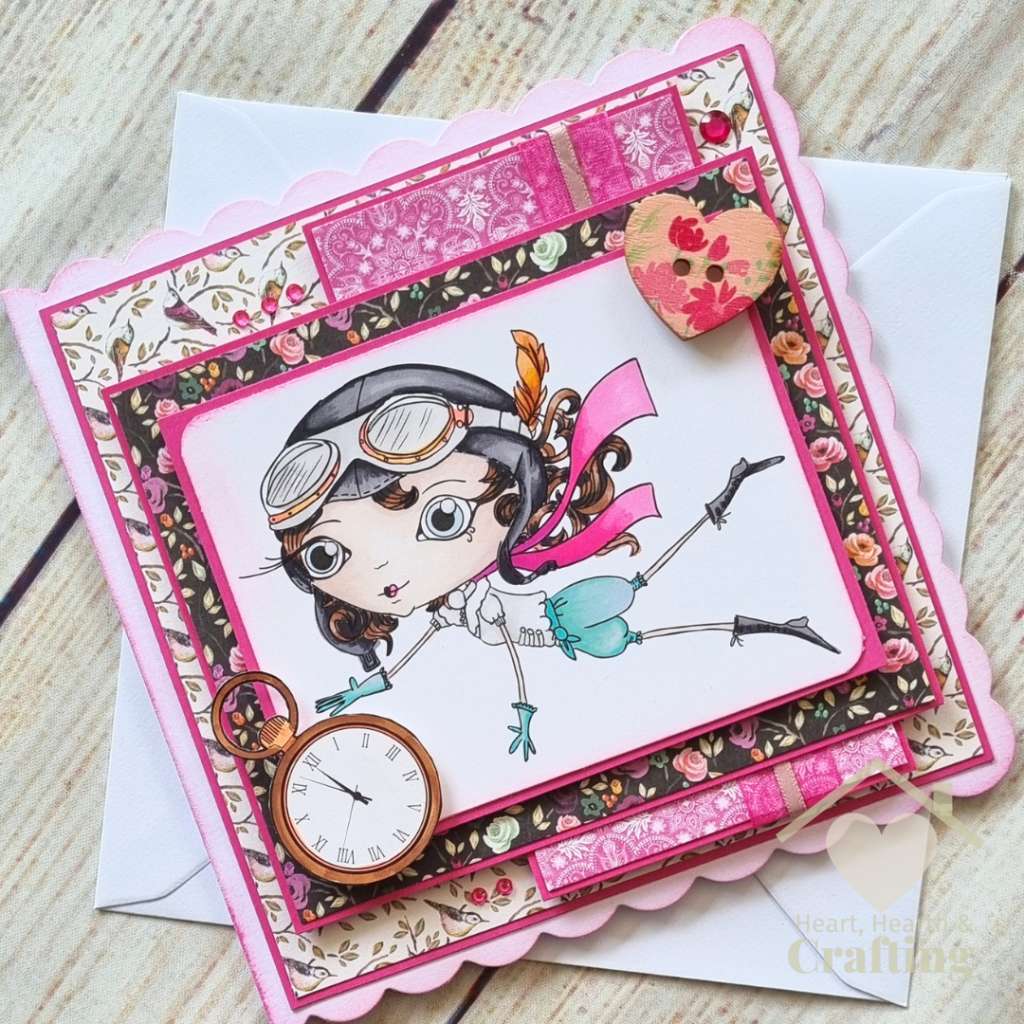
I’ve coloured this little cutie with my Winsor & Newton BrushMarkers.
Here’s the shade’s I’ve used:
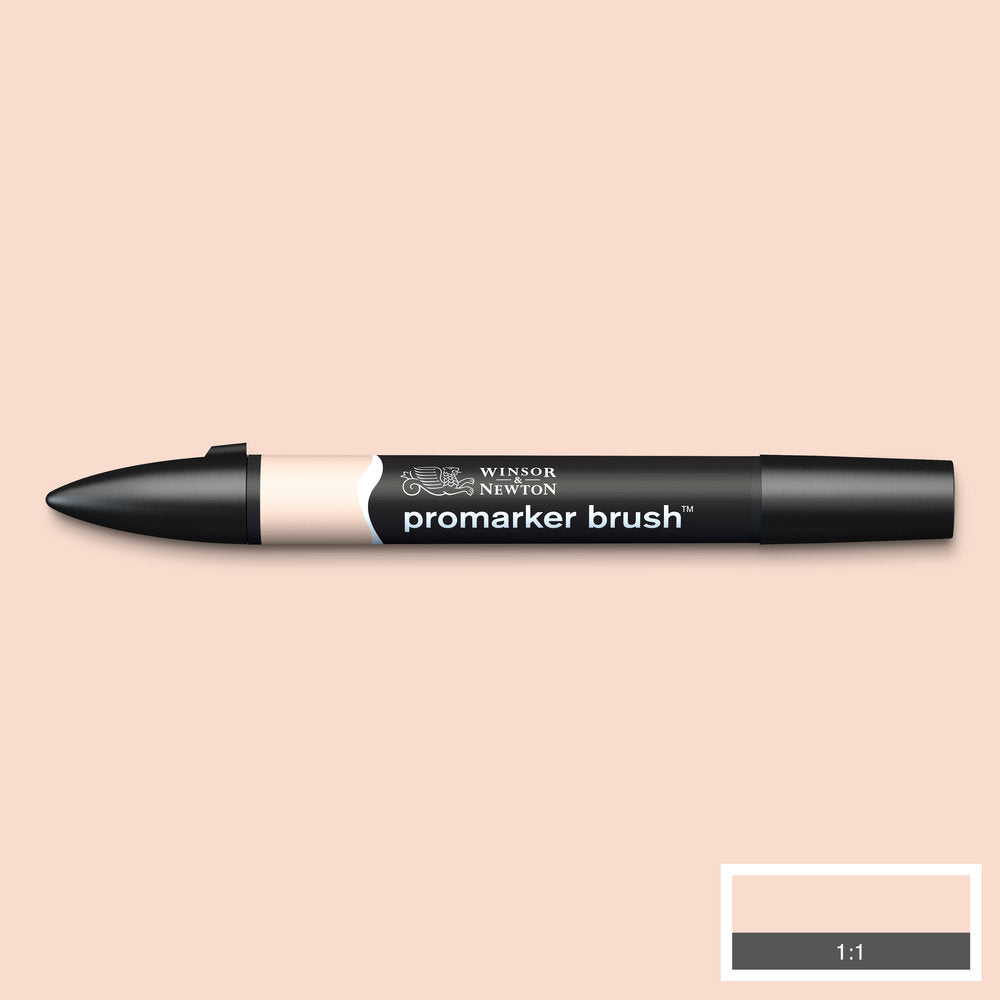
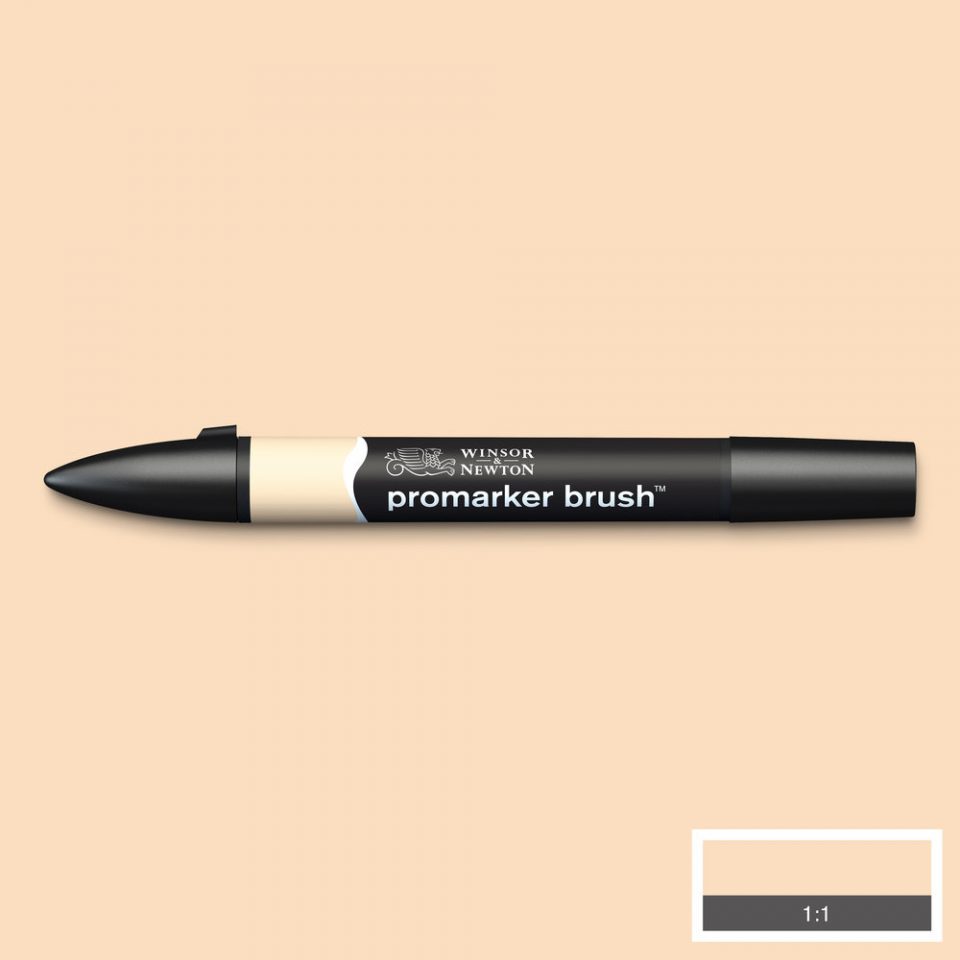
Promarker Brush Colours – Skin
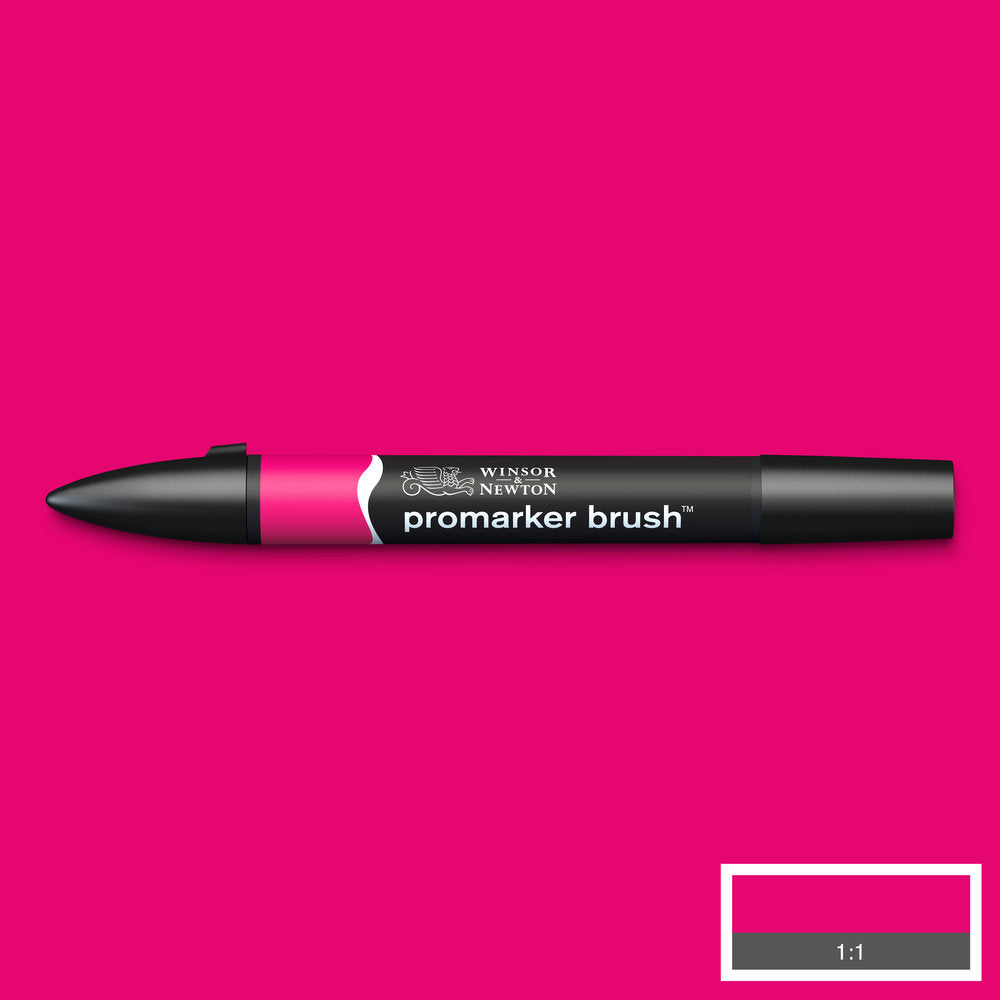
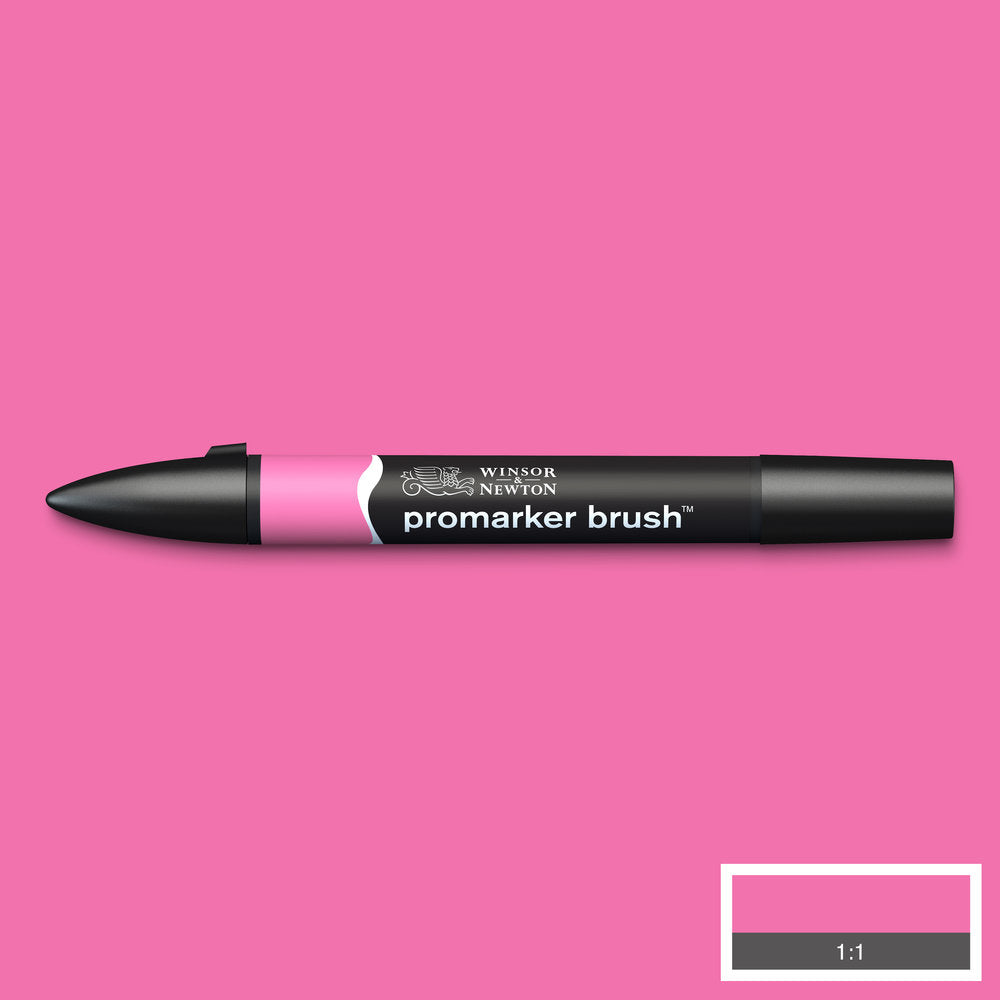
Promarker Brush Colours – Pink

Promarker Brush Colours – Orange


Promarker Brush Colours – Green

Promarker Brush Colours – Black / Grey
Designer Papers
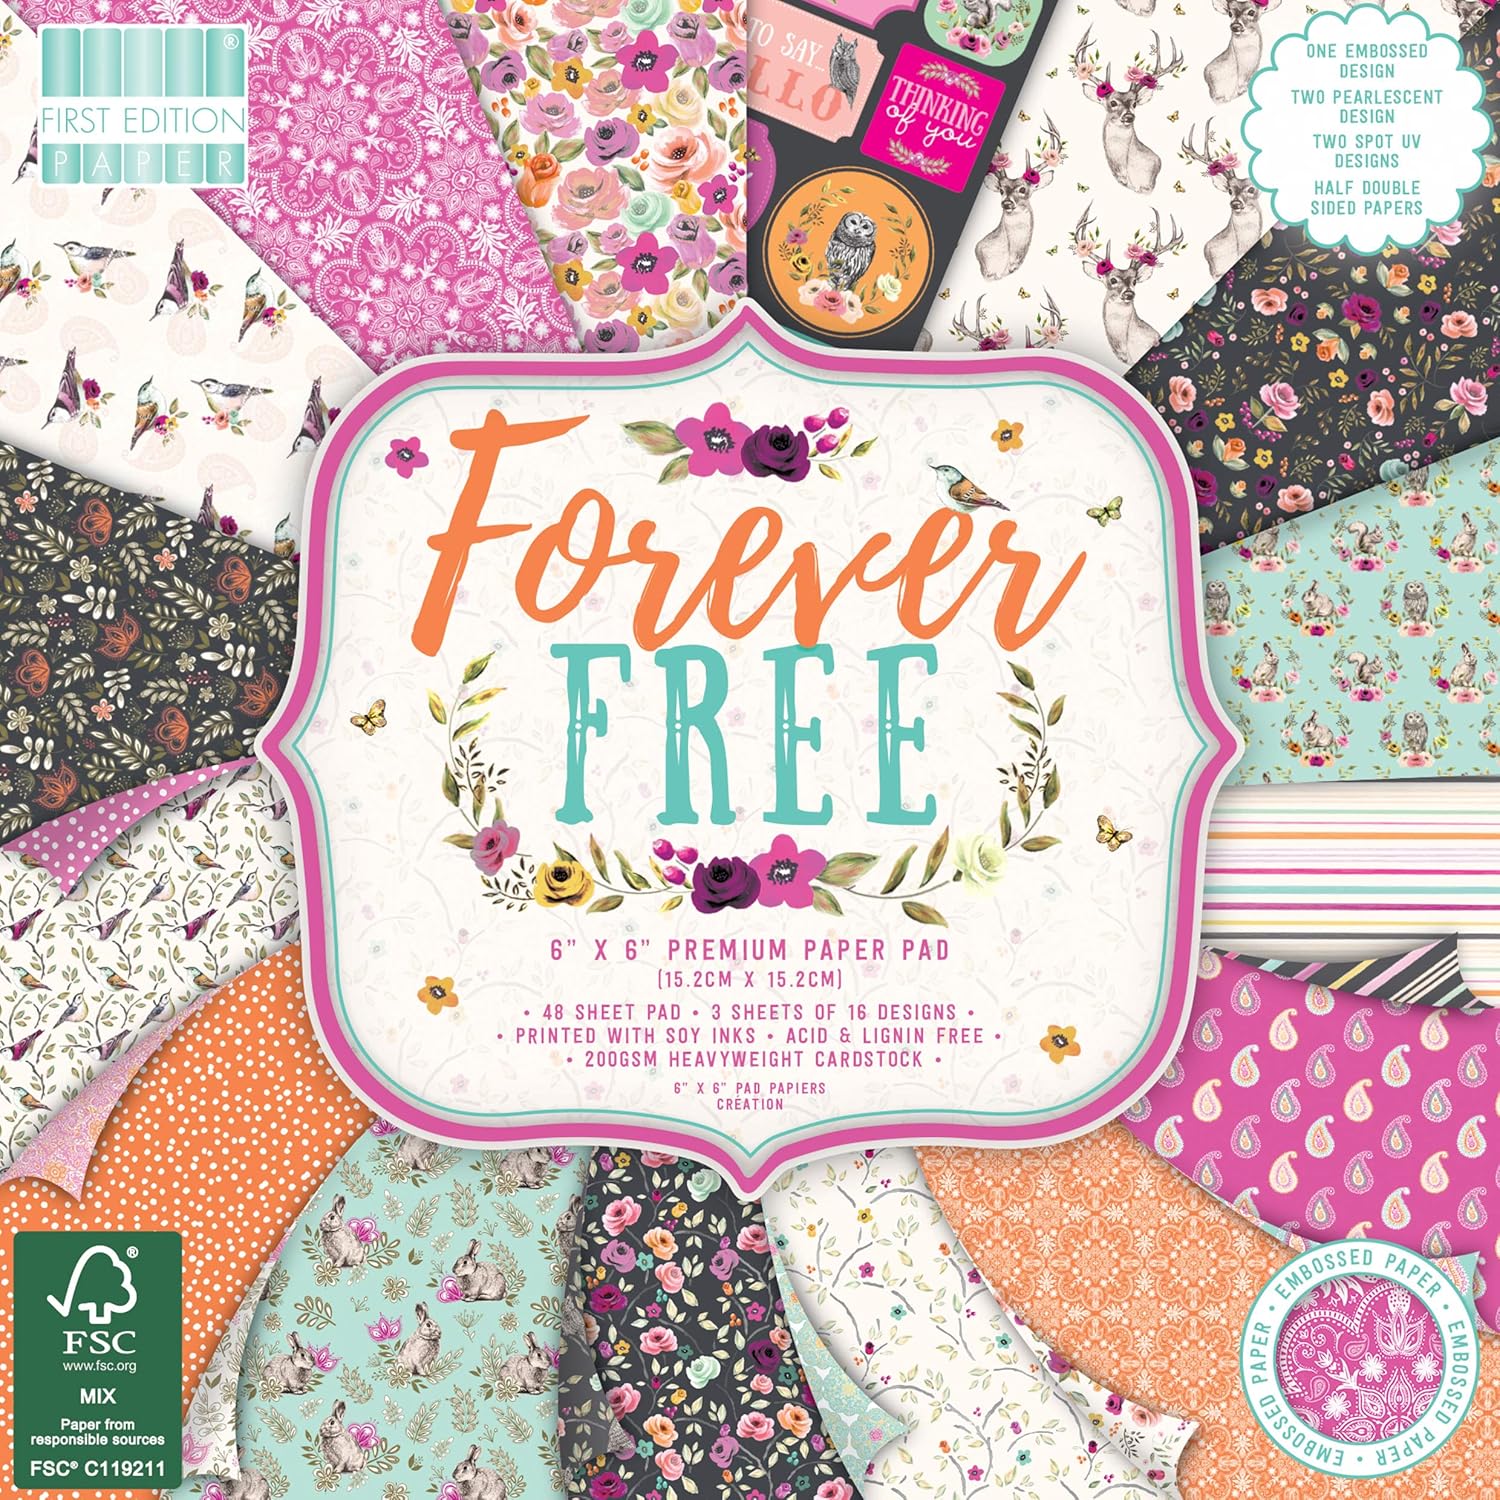
I’ve paired my Verity Rose girlie with these stunning Forever Free papers from First Edition. I love the hots pinks and vibrant oranges with the delicate patterns on this paper pad.
I’ve mounted the Forever Free papers onto plain card stock from Craft Sensations. I’ve left a 3mm border around each piece.

Inking
I like to use distress inks to add a bit of colour around my images. I use a Blending Tool to sweep the ink onto the edges of my die cut shape. For this card I’ve used Pickled Raspberry.

Embellishments
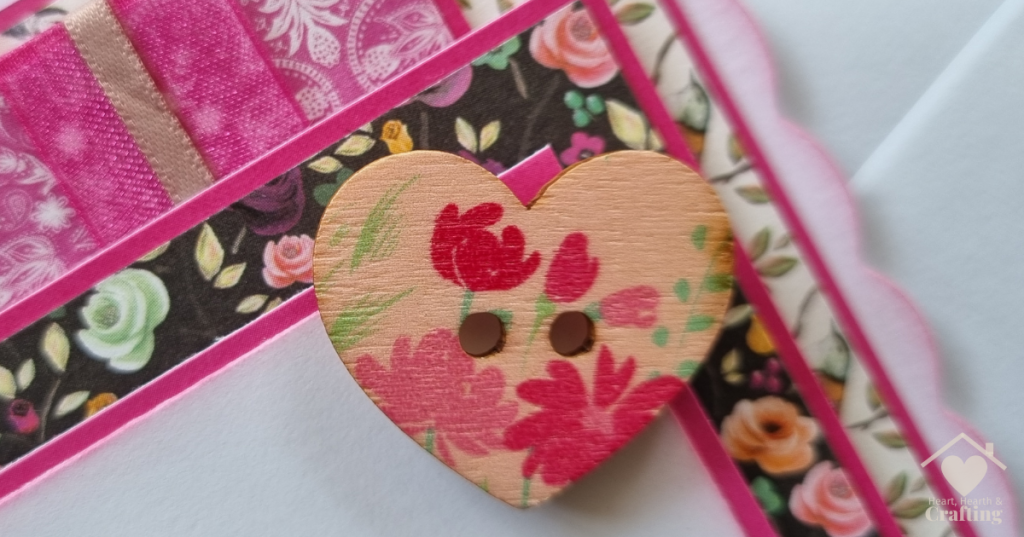
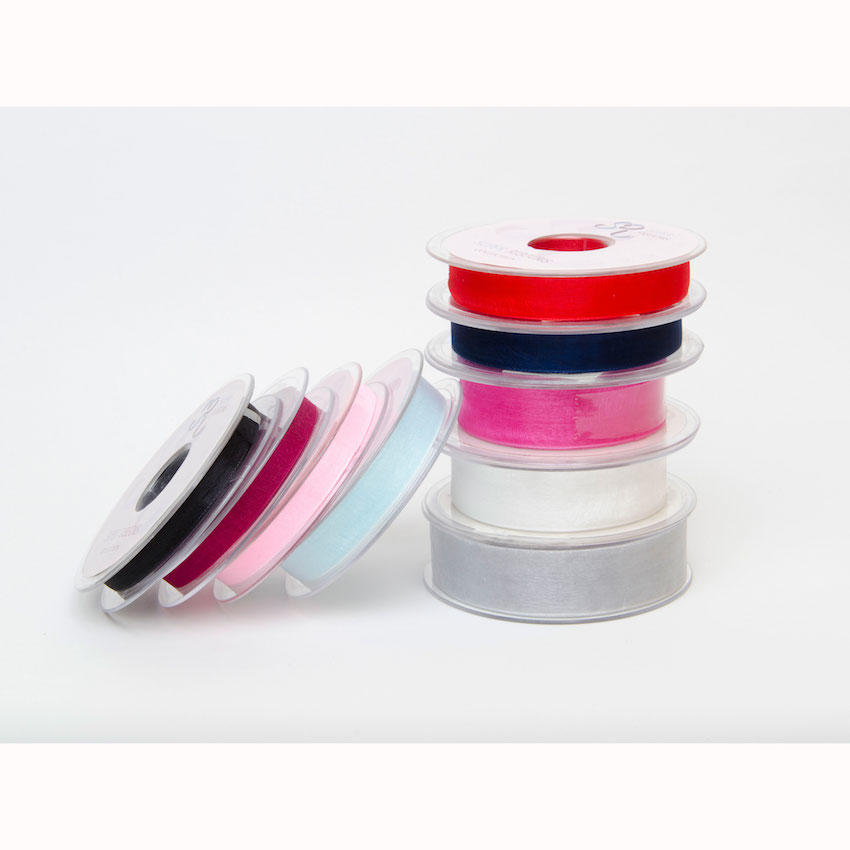
I’ve embellished this Verity Rose card with little gems, some scraps of ribbon and a wooden heart that my children bought me for my birthday last year.


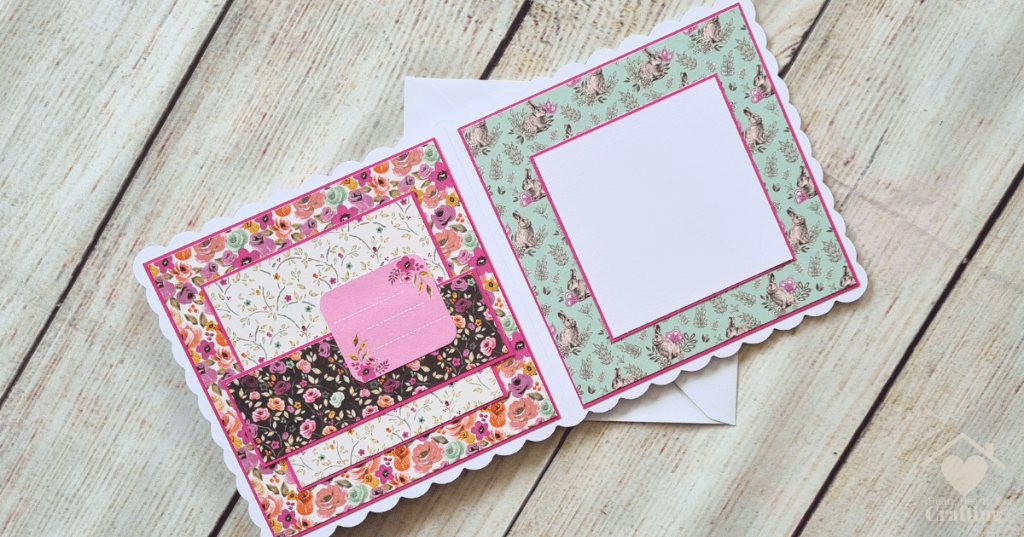
Take a Peak Inside
I think it’s such a shame to receive a beautifully decorated card only to open it and be faced with a blank page. So I use more of my designer papers to decorate the insides of my cards. I mostly use scraps leftover from the main design and a 10cm square of plain paper to write a nice message onto.
Products I’ve Used
Take a Look at my Etsy Shop
This handmade greeting card is available to buy in my Etsy shop.
Follow me on your favourite social media channel for more card making ideas and inspiration.
Card Making Challenges I’m Entering
- Digi Choosday Challenge
- Pammie’s Inky Pinkies Challenge
- Polkadoodles Craft Challenge
- Creative Fingers Challenge
- Gem of a Challenge
- Lil Patch of Crafty Friends
- Penny’s Challenge
- The Paper Funday Challenges
- Ally’s Angels
- The Creative Crafters
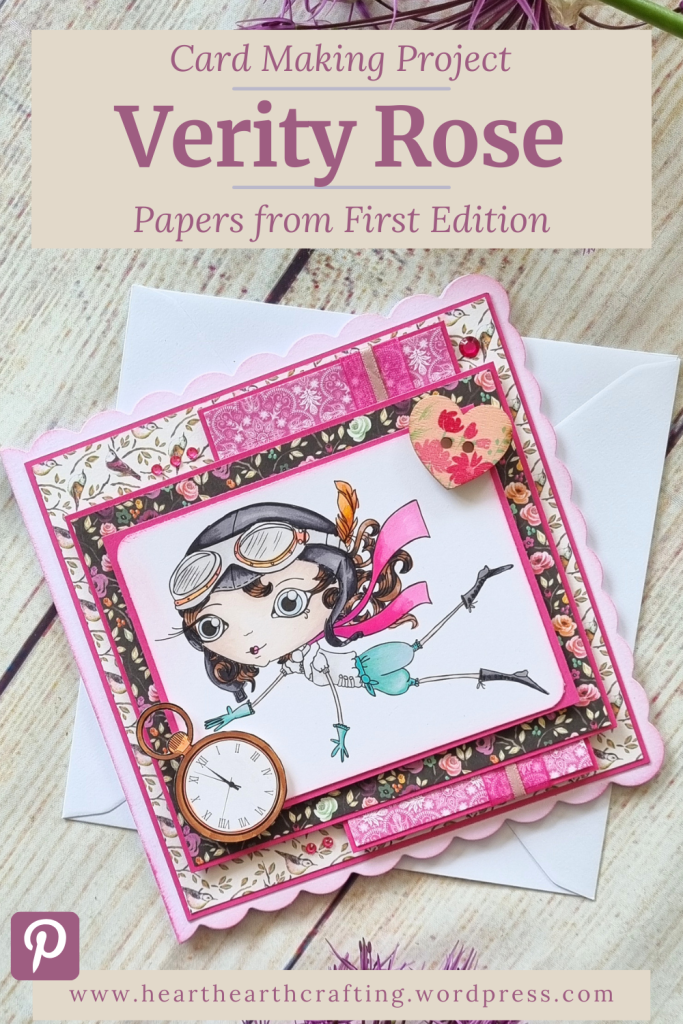
Pin it Now, Craft it Later
I do hope you have enjoyed having a peak at my latest card making project. Please feel free to use my handmade cards to inspire your own creations, pin it to your Pinterest for later.
A Little Bit About Me . . .
Thank you so much for stopping by my little corner of the interweb. I’m Bridie, mum to two small humans, full time homemaker and full time craftaholic – which totally explains why I’m always short on time!

I’ve included links to my favourite retailers for the products I’ve used to make my crafts. Click on any of the product images and links for full details. If you decide to buy any of these products I may get a small percentage of what you spend. There’s no cost to you at all.

Love the layering on this! The colors are wonderful too! Thanks for joining us at The Paper Funday Challenge!
LikeLike
Wow, this is a fantastic design and I love the sweet image. The inside is just as pretty as the outside! Thanks for playing along at The Paper Funday Challenge, we look forward to seeing more of your lovely designs soon.Donna xxPaper Funday ChallengesBeautiful Blossoms ChallengeInspiration Station Challenges
LikeLike