
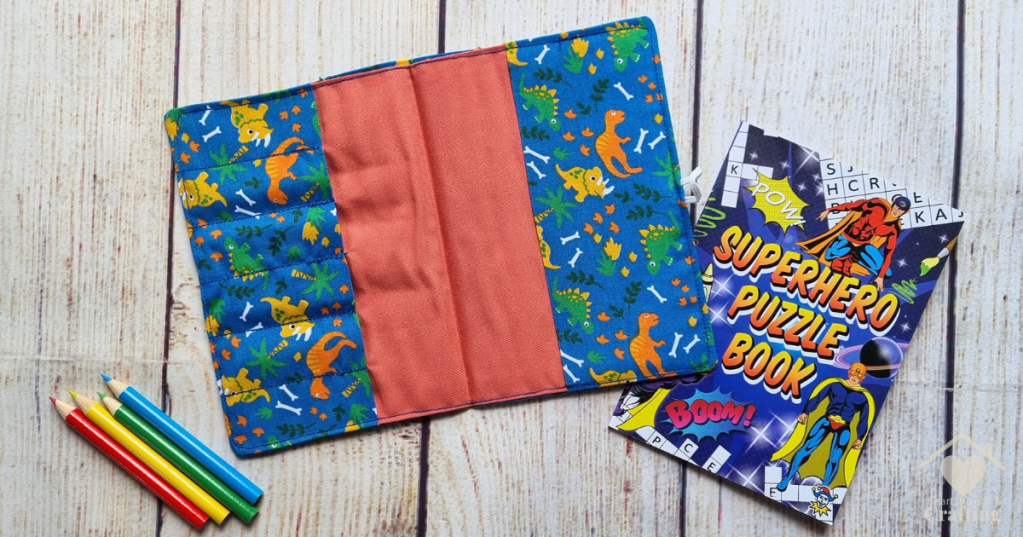
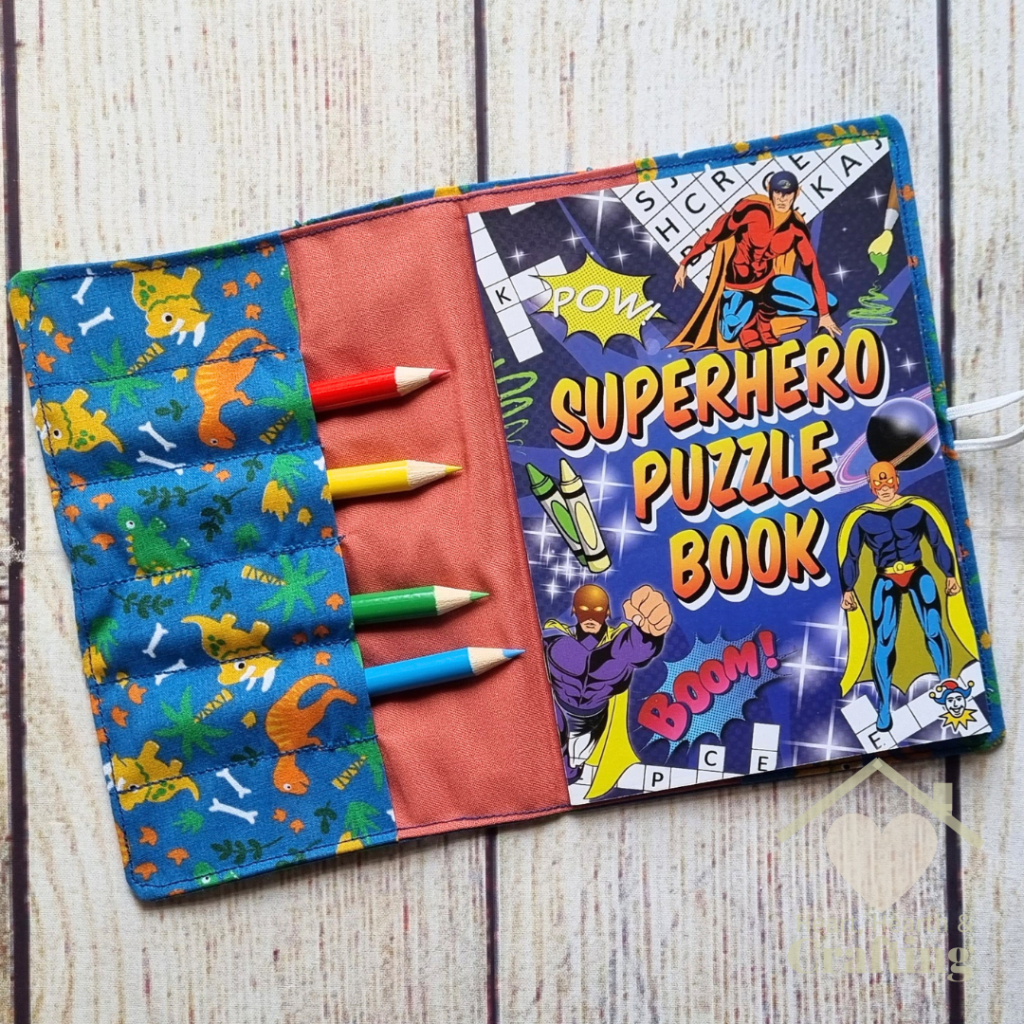
These mini activity wallets are brilliant for keeping kids happy and quiet while they’re out and about. I’m sharing step by step instructions on how you can make your own. They make great little stocking stuffers or party favours.
Sewing Your Own Mini Colouring Wallets
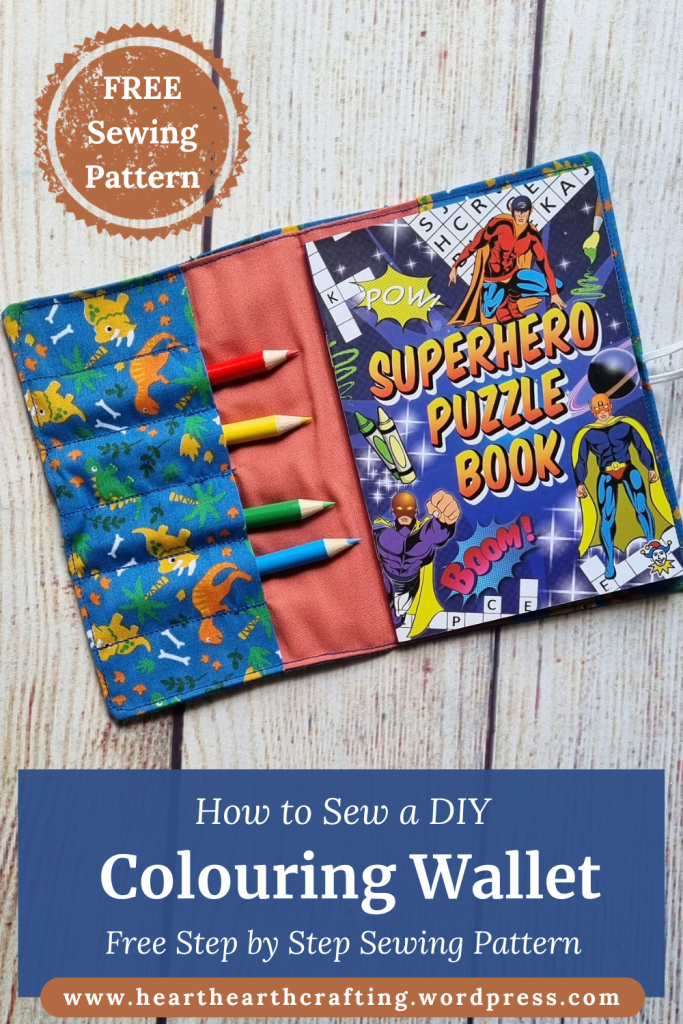
I keep one of these Mini Colouring Wallets in my bag so it’s ready to whip out anytime I need my children to sit still for more than five seconds. They’ve saved my sanity in cafes, restaurants, doctors offices and during so many school assemblies.
They are so useful I wouldn’t be without one.
I’m sewing up a big batch of them to add to my kid’s birthday party bags.
They’re fairly quick and easy to sew and don’t require any special equipment or notions. So this project would be ideal for a confident beginner.
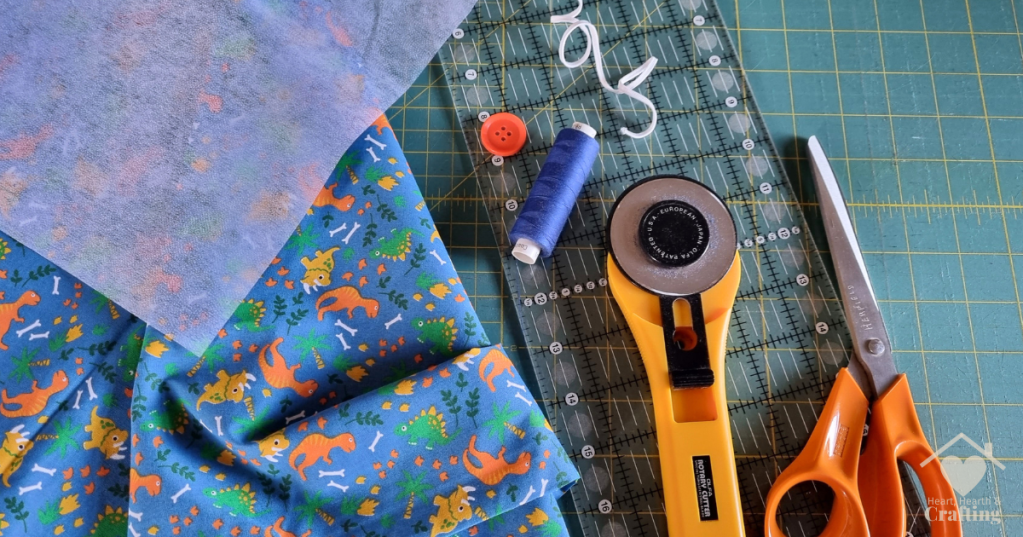
Sewing Supplies You’ll Need
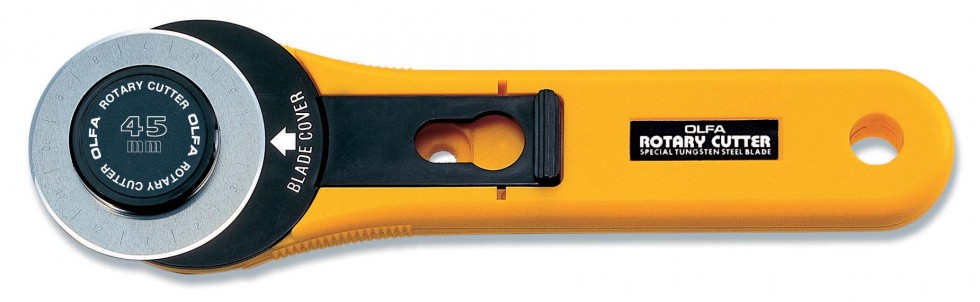
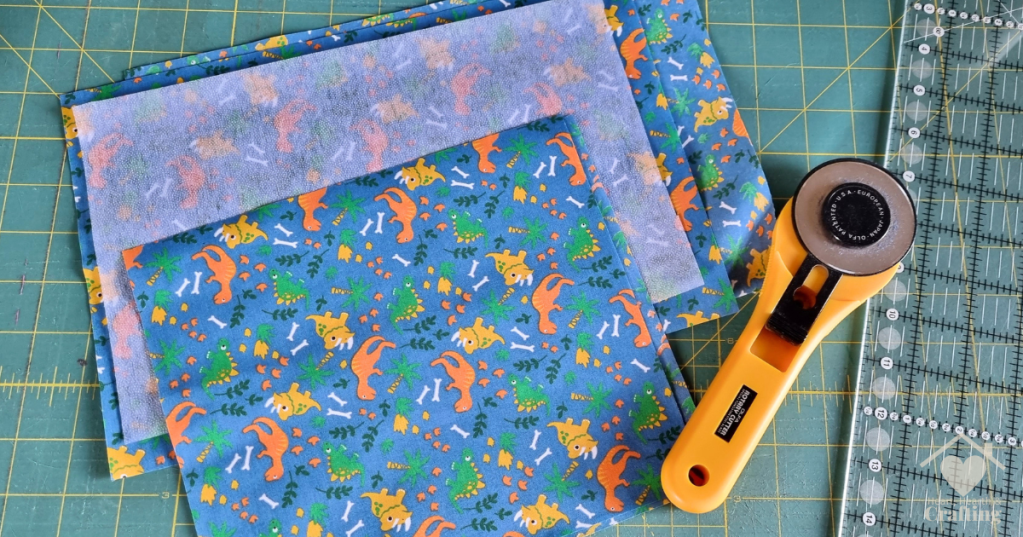
I do recommend using a rotary cutter and ruler to cut the fabric. It’s much quicker and easier than using a pair of scissors but it’s perfectly possible to cut the fabric out with scissors, just take your time and mark the cutting lines clearly.

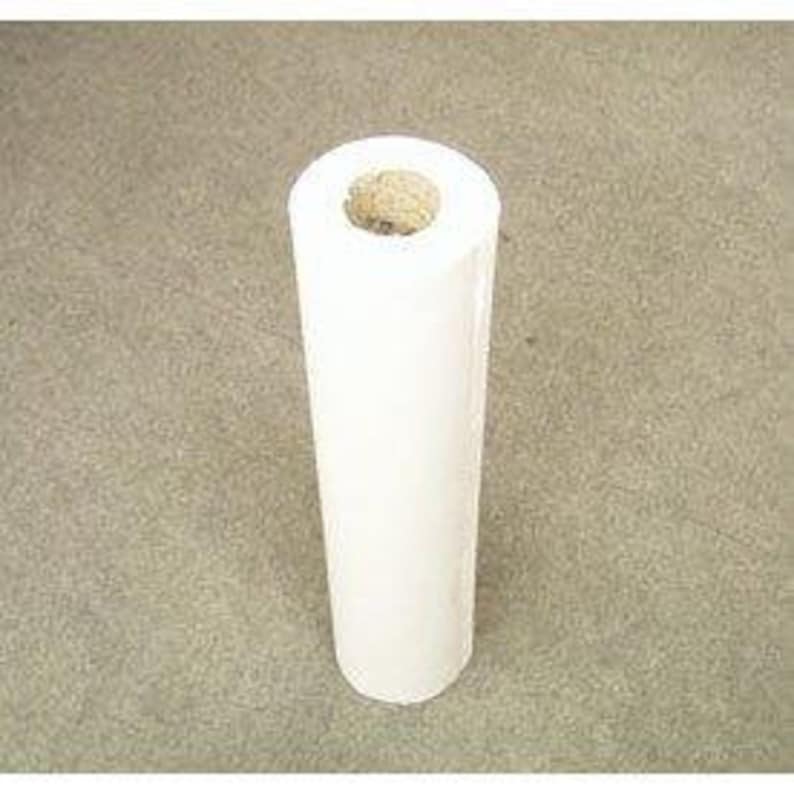
Fusible interfacing is used to give the wallet a little more stability. I’m using lightweight interfacing which is really good value.
To keep the wallets closed I’ve used a button and a loop of 3mm elastic.

You’ll need some way to mark the fabric for your button placement and the sewing lines of the pen loops. You can use old fashioned tailors chalk if that’s what you have to hand but personably I love, love, love the Pilot Frixion pens for marking fabric. They are just like normal high quality gel pens but they erase with heat. Just get the iron anywhere near the marks and they vanish like magic. It’s easy to make super accurate marks on your fabric.

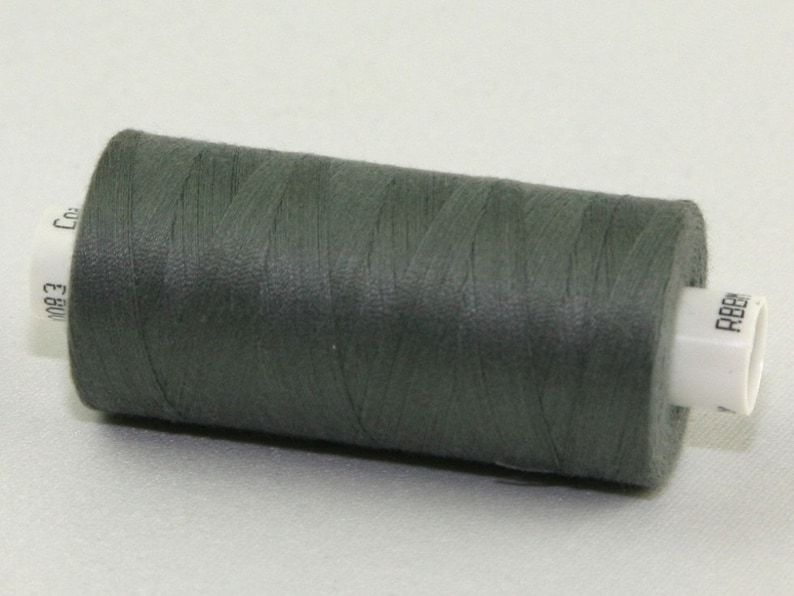
And of course you’ll need some thread. I like Coats Moon Thread, it’s fantastic value for money and good enough quality for just about any sewing project. A little time and money saving tip is to use grey thread. It matches most colours of fabric so you don’t need to spend time changing your threads when you sew a different colour fabric. You can also get the bigger, better value reels of thread and save yourself some money too.
Just about any fabric is suitable for sewing these mini colouring wallets. I’m using a selection of polycotton and 100% cotton in fun prints. Woven fabrics like these will be easiest to work with and give the most satisfying results.
You’ll also need an iron and an ironing board.
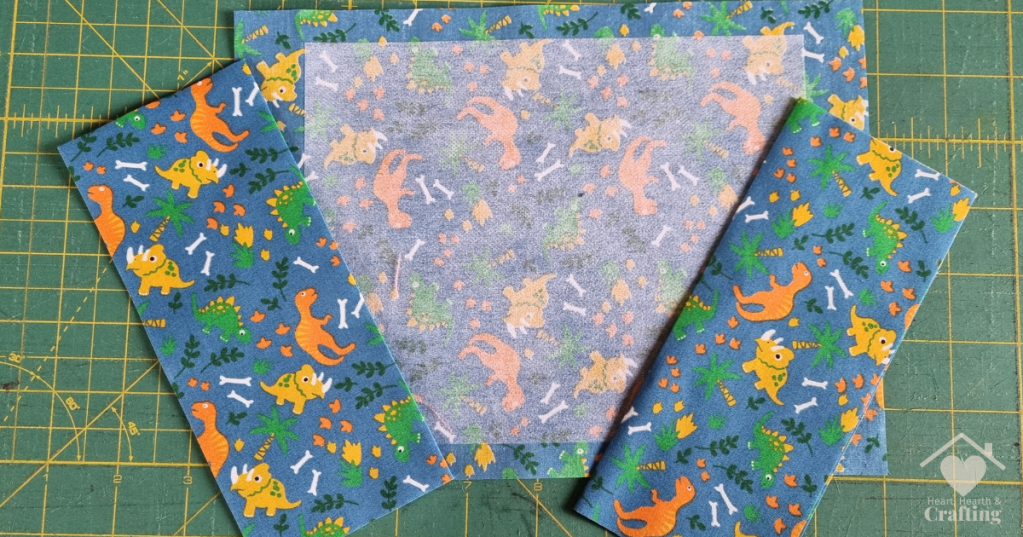
Cutting Out the Fabric
The first step is to cut out your fabric pieces. You’ll need to cut the following sizes pieces for each colouring wallet:
- 9.5″ x 7″ Fabric and Lining
- 7.5″ x 6″ Interfacing
- 2 x 6″ x 7″ Fabric
- 4″ Long 3mm Elastic
Pressing the Fabric
Over to the ironing board for the next step.
Press the interfacing onto the wrong side of the large 9.5″ x 7″ piece of patterned fabric.
Place your fabric wrong side up on your ironing board. Position your interfacing sticky side down centrally on top of the fabric. If you look closely at the interfacing you’ll see that one side has little raised dots, this is the sticky side. Keeping the fabric and interfacing together turn them over so that the interfacing is on the bottom, next to your ironing board cover. Run a hot iron over the fabric until the interfacing has stuck securely to the fabric.
Fold both of the smaller 6″ x 7″ pieces of fabric in half and give them a good press.
If your fabric is directional (if the design has a right way up) you need to be careful to fold your pieces so that they form a mirror image. One should have the fold on the right hand side and one should have the fold on the left hand side. If your fabric isn’t directional you can just flip one of them upside down and you don’t need to worry about it.
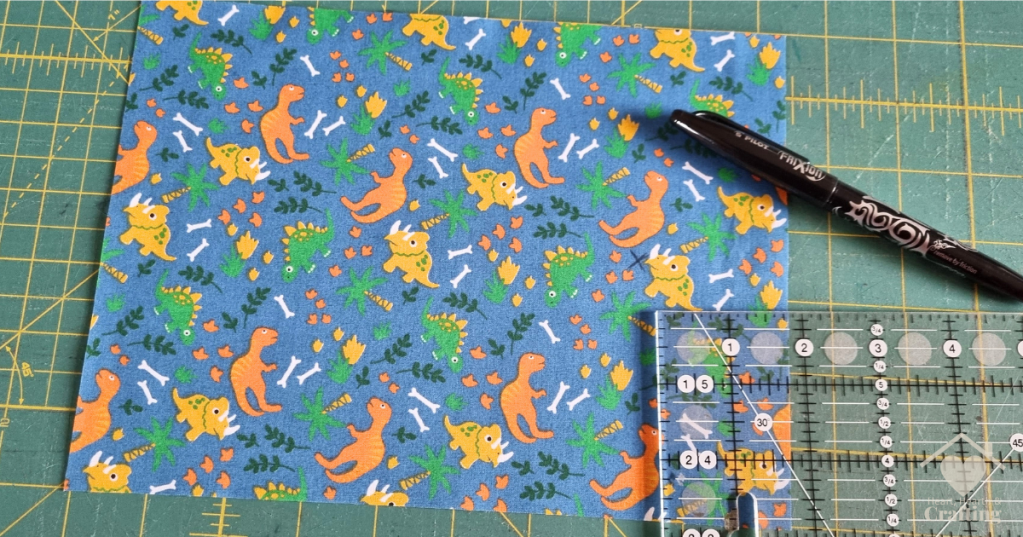
Marking the Fabric
Next you need to mark your button placement and the sewing lines for the pen loops.
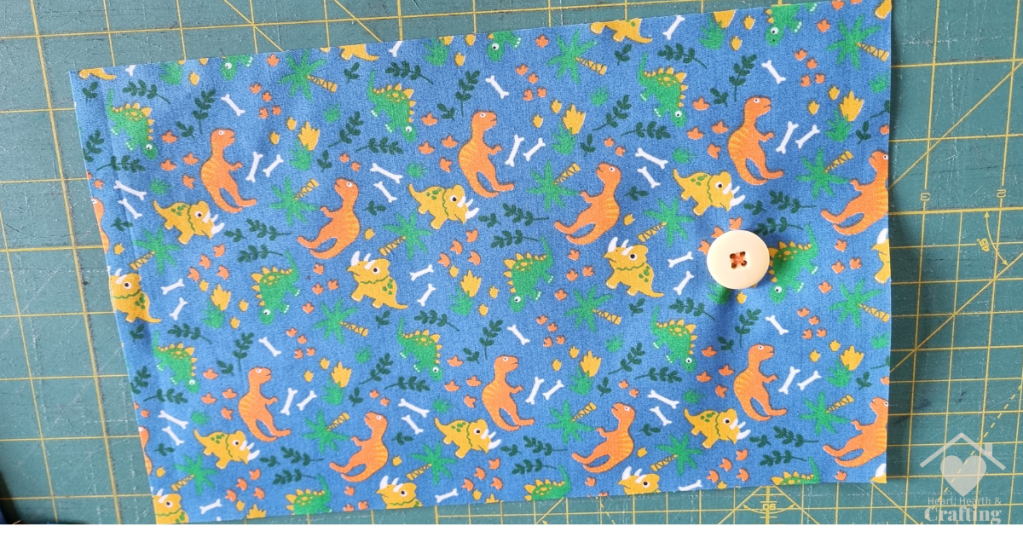
For your button placement take the largest piece of fabric, the one with the interfacing and place it right side up so that the design is the right way up. The button goes on the right hand side half way down the fabric and 2″ in from the edge.
Measure the spot and mark a little X on the fabric.
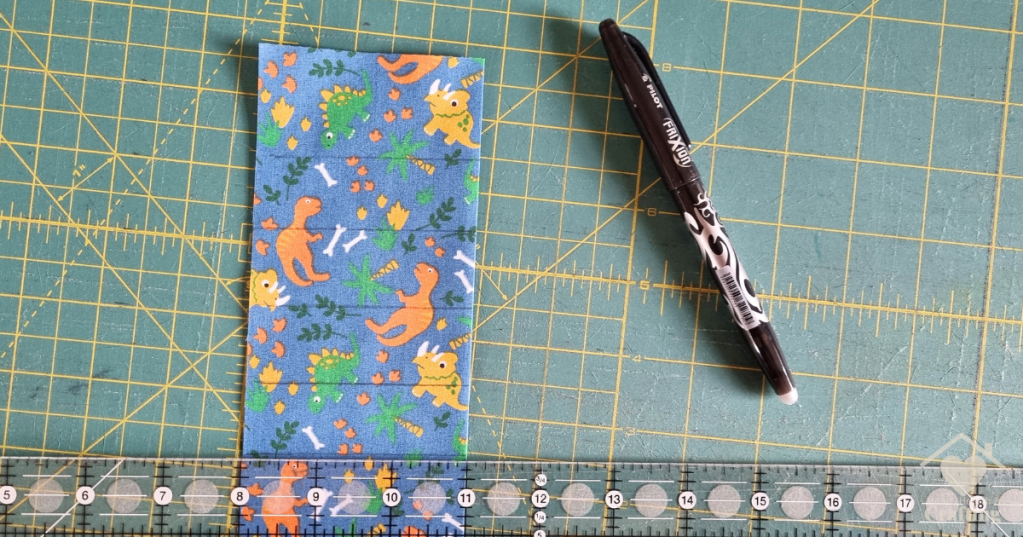
For the pen loops take one of the smaller folded pieces of fabric. You want the one with the fold on the right hand side when the design is the right way up.
Draw your lines across the width of the fabric starting with the first one 1.5″ from the bottom. The next line needs to be 1″ above that and then another one 1″ away. You should have a total of 5 lines each 1″ apart and the top and bottom lines 1.5″ from the top and bottom of the fabric.
Sewing the Pen Loops
It’s easier to sew the button in place before you start sewing and assembling the rest of the Kids Mini Colouring Wallet.
Place your folded pen loop fabric on top of the lining fabric on the left hand side. Pin it in place.
Carefully stitch along your marked pen loop lines. When you reach the inner most end of each line reverse and do a few back stitches to secure your stitching. You can do this sewing by hand or by machine, whatever you have availible.
Assembling the Wallet
Now that you’ve done all the prep work lets get your Kids Mini Colouring Wallet assembled!
Start by placing your lining right side up on a flat surface. Your pen loops should be on the left. Put the other small piece of folded fabric on the right hand side of the lining.
Place your outer fabric, the one with the interfacing on top. The right sides of each fabric should be together and the button should be on the left hand side.
Fold your elastic in half and pin it between the outer fabric and the unstitched folded fabric in the middle of the edge. Leave the ends of the elastic protruding just enough so you can see them.
Pin the layers of fabric together.
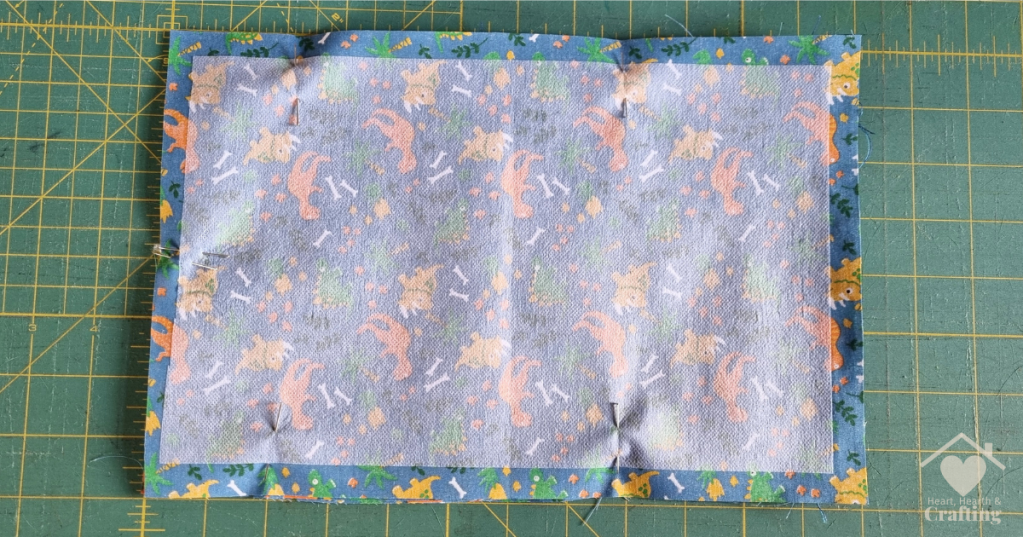
Sew the layers of fabric together around the edges. Leave a gap for turning them the right way round. Make sure you do some extra stitches over the elastic to make sure it’s good and secure. Catch all the layers of fabric in the stitching.
Top Stitching and Finishing
Clip the corners. You can do this by making one cut diagonally across the corners but you will get a neater finish if you also make a second and third cut at a steeper angle cutting off the corners you make with the first cut.
Turn the Kids Mini Colouring Wallet right side out and push all the corners into shape.
Give the Kids Mini Colouring Wallet a good press with your iron.
Top stitch around all the edges to close the opening you left for turning and neaten all the edges.
I hope you have enjoyed reading about my adventures in sewing.
Follow me on your favourite social media channel for more sewing inspiration and tips.
I do hope my sewing project has inspired you to have ago at sewing your own Kids Mini Colouring Wallets.
Pop this post in your Pinterest board so you can find it later.
A Little Bit About Me . . .
Thank you so much for stopping by my little corner of the interweb. I’m Bridie, mum to two small humans, full time homemaker and full time craftaholic – which totally explains why I’m always short on time!

I’ve included links to my favourite retailers for the products I’ve used to make my crafts. Click on any of the product images and links for full details. If you decide to buy any of these products I may get a small percentage of what you spend. There’s no cost to you at all.
