Learn how to make beach themed scrapbook pages with Craft Sensation’s Brave, Free and Wild as the Sea papers. I’ll show you how to make the most of these affordable papers to get even more value out of each pack and how to make the most of your craft dies to make your scrapbook layouts really pop.
Designer Scrapbook Papers
I picked up Craft Sensation’s Brave, Free and Wild as the Sea papers specifically for these photos. The designs are all sandy beaches and blue waves which perfectly complement the sea and sky blues as well as the golden beaches in these pictures.

I love the designer papers from Craft Sensations. There are loads and loads of different designs to choose from. I’m literally spoilt for choice. The quality is great, they don’t feel thin or flimsy but they are fantastically good value.
I get them from the Range and typically pay just £3.99 a pack. Even on a tight budget I can afford to have a whole stack to choose from.
How to Cut Scrapbooking Papers
For most of my paper cutting I use a simple paper trimmer. I like this one because it’s nice and compact but it opens up to cut a full sheet of 12 x 12 inch or A4 paper. The blades are replaceable and they last ages. I do find I need to clean out the channel the blades go into, removing all the little fluffy bites of paper that build up in there.
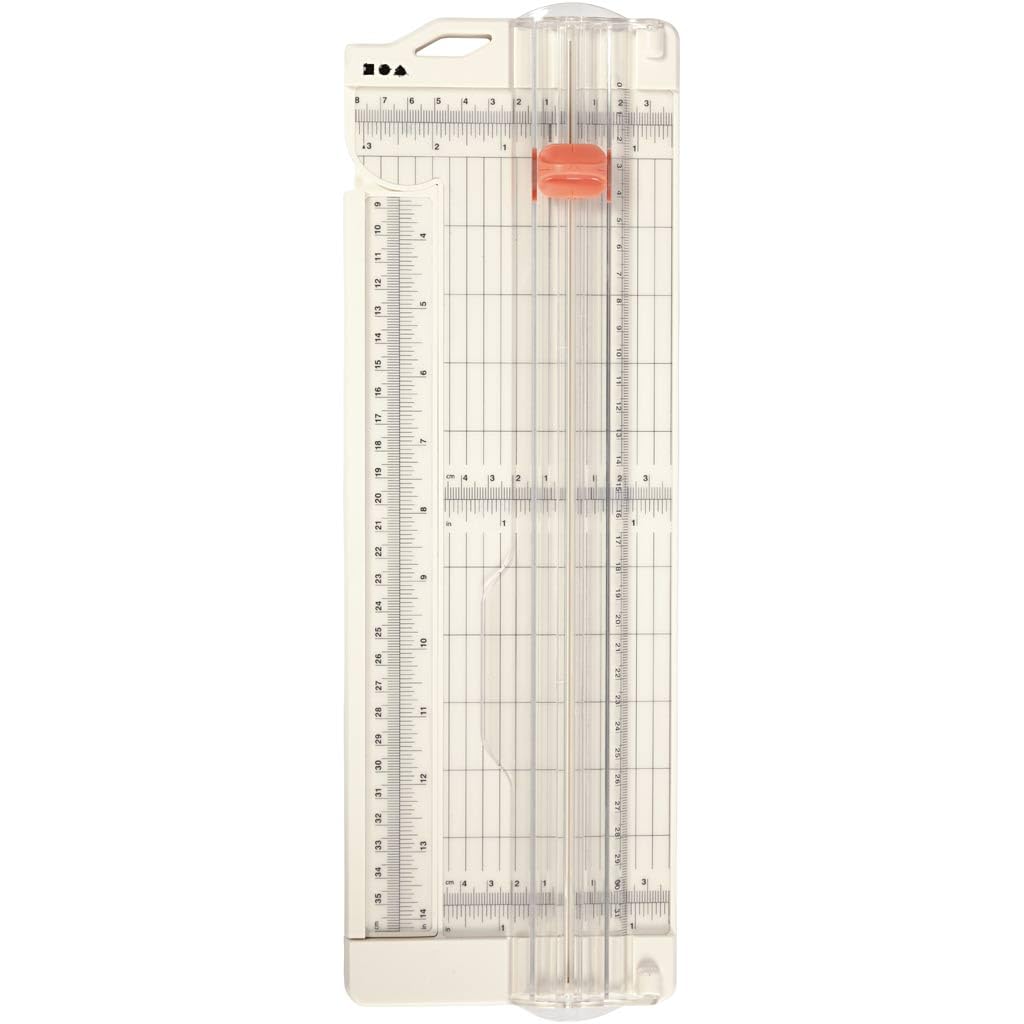
I like to mount most of my papers onto another sheet of paper, usually with a small border. This is known as a mat. I generally measure my paper as I’m cutting it and then cut a mat that’s either 3mm or a quarter of an inch bigger. Sometimes I use a bigger border if I feel like that looks better.
Often I use papers in whatever size I happen to have. I like to make the most of my paper scraps and I often find that making use of what I have helps me to come up with my best creative ideas.
Scrapbook Embellishments
Like a lot of Craft Sensation’s paper packs this set included lots of quote panels and little pictures that I could cut out and add to my scrapbook layout. These make such easy embellishments and they always co-ordinate perfectly with the papers.

I love these tweezer scissors for detailed fussy cutting. They are super tiny and very sharp, designed for cutting out detailed decoupage pictures. Because of the way they are made, the blades spring back so it takes very little effort to cut with them, making it easier on my hands.

How to Assemble this Scrapbook Layout
I like to use 6mm double sided tape for most of my scrapbook layouts. It’s cheaper than the usual 12mm tape but it sticks just as well.
I use a pokey tool to remove the backing from the tape. It’s nice and easy and saves my finger nails from getting split.
For teeny tiny little embellishments I generally use silicone glue. I use my pokey tool to roll a little blob of silicone from the end of the tubes and then roll it onto my page.


Scrapbook Page Title
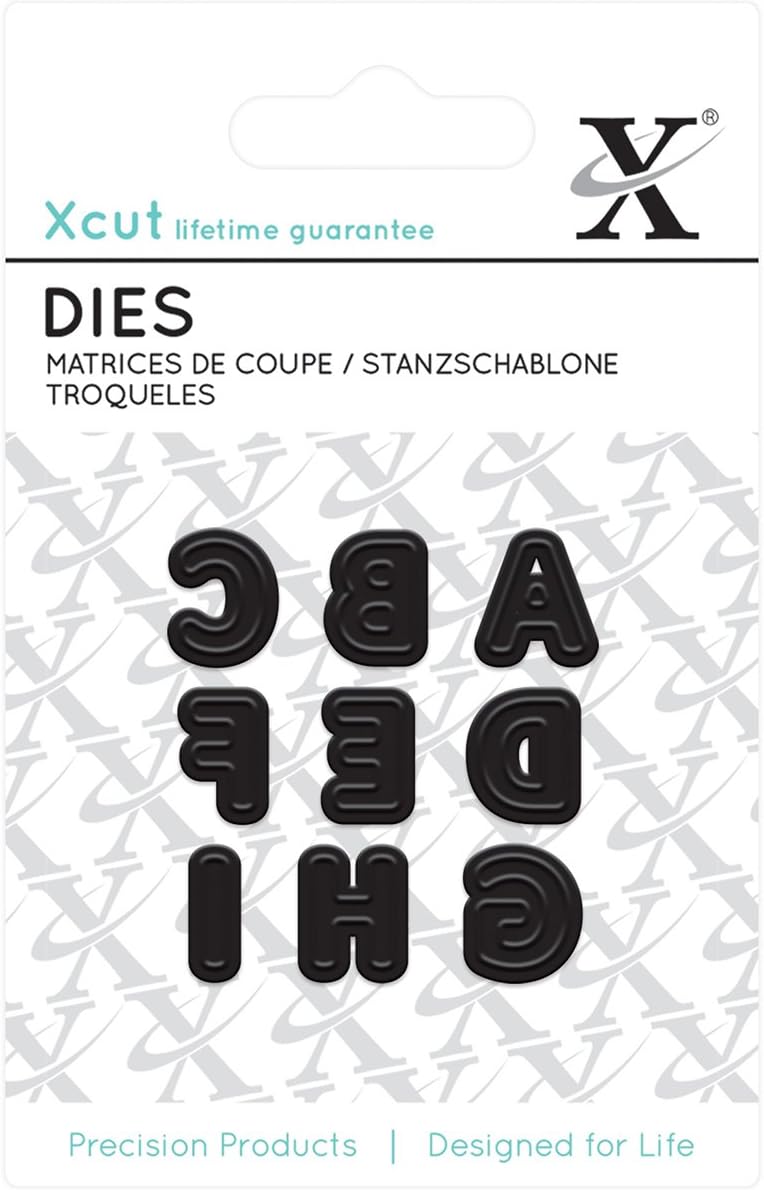
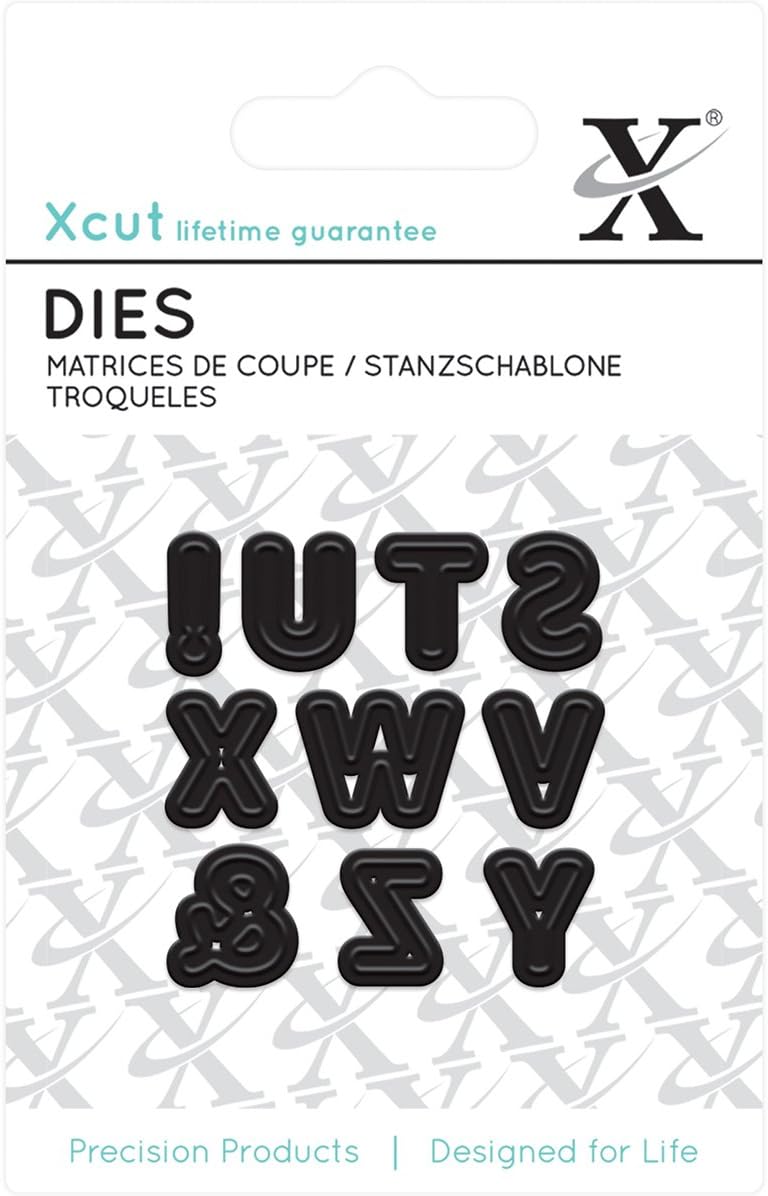
I’ve die cut my scrapbook page title using a letter die set from XCut. To make my title pop I’ve mounted the letters onto a die cut circle which is backed with a scalloped circle die, both also by XCut.


Follow me on your favourite social media channel for more scrapbooking inspiration and ideas.

Copy This Scrapbook Layout
Here’s a sketch of my scrapbook layout if you’d like to copy it.

Shop This Scrapbook Layout


Pin It Now, Scrapbook It Later
I do hope you have enjoyed having a peak at my latest scrapbooking layout. Please feel free to use my scrapbook pages to inspire your own creations, pin it to your Scrapbooking Pinterest board so you can find it later.


A Little Bit About Me . . .
Hey there I’m Bridie, a busy mum to two amazing humans, a spirited border collie puppy and a pair of sweet guinea pigs. We homestead in a cherished Edwardian terrace in not so sunny Lancashire, England.
When I’m not spending time with my children and menagerie, I’m usually to be found in my craft room creating and blogging or in the kitchen cooking up a big batch of something tasty. I’m always looking for thrifty hacks to save money on my crafts and recipes. Crafting doesn’t have to cost a fortune!
I scrapbook to preserve precious memories of my kids childhoods. I use upcycled and budget supplies along with thrifty hacks to make Scrapbook layouts that don’t break the bank.

I’ve included links to my favourite retailers for the products I’ve used to make my crafts. Click on any of the product images and links for full details. If you decide to buy any of these products I may get a small percentage of what you spend. There’s no cost to you at all.
Aran Knitting Baby Baby Scrapbooking Batch Cooking Beginner Scrapbooking Beginner Sewing Pattern Birthday Cards Budget Recipes Cards for Children Chicken Recipes Christmas Christmas Cards Craft Sensations Dovecraft Easy Recipe Easy Sewing Pattern Elasticated Channel First Edition Free Knitting Pattern Free Sewing Pattern Healthy Eating Healthy Recipe Knitting Accessories My Minds Eye Papermania Peek-a-Boo Patterns Polkadoodles ProMarkers Scrapbooking Sewing Sewing for Kids Sewing Pants Sewing Tops Sewing with Jersey Sewing with Wovens Simply Creative Sizzix Slow Cooker Recipes Soup Recipes Spellbinders Stitch Upon a Time Tim Holtz Top Stitching Winsor Newton XCut



Leave a Reply