Hello!!! Thank you so much for stopping at Heart and Hearth Crafting today! I’m so happy you’re here!
If you’re interested in making your own handmade cards then you’re in the right place. Keep on reading and you will find everything you need to colour and make this card as well as all my best tips and tricks to make it a fun and enjoyable hobby.
Making Your Own Handmade Cards
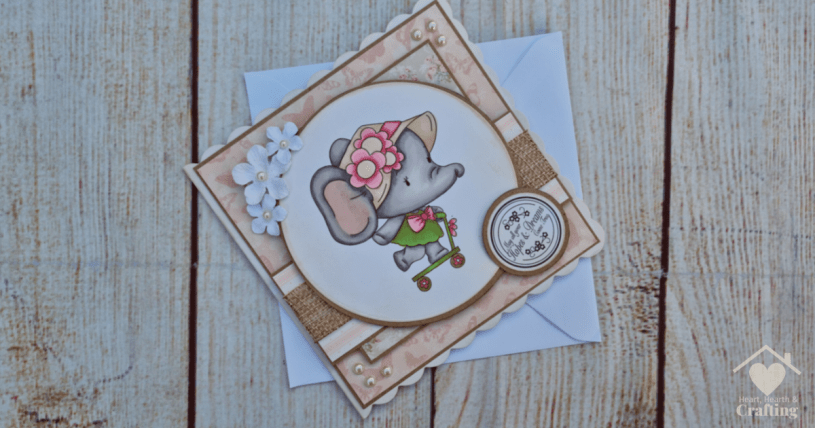
Making your own handmade cards is a fun and relaxing (if addictive!!) hobby that will allow you to make truly personalised greetings cards for your family and friends. You don’t need any fancy equipment or materials to get started. Don’t get me wrong you’ll want ALL THE THINGS but you can start enjoying cardmaking without spending much. I love impressing my loved ones with unique handmade cards that really show them how much I care.
Card Making Supplies You’ll Need


Printing Digital Stamps
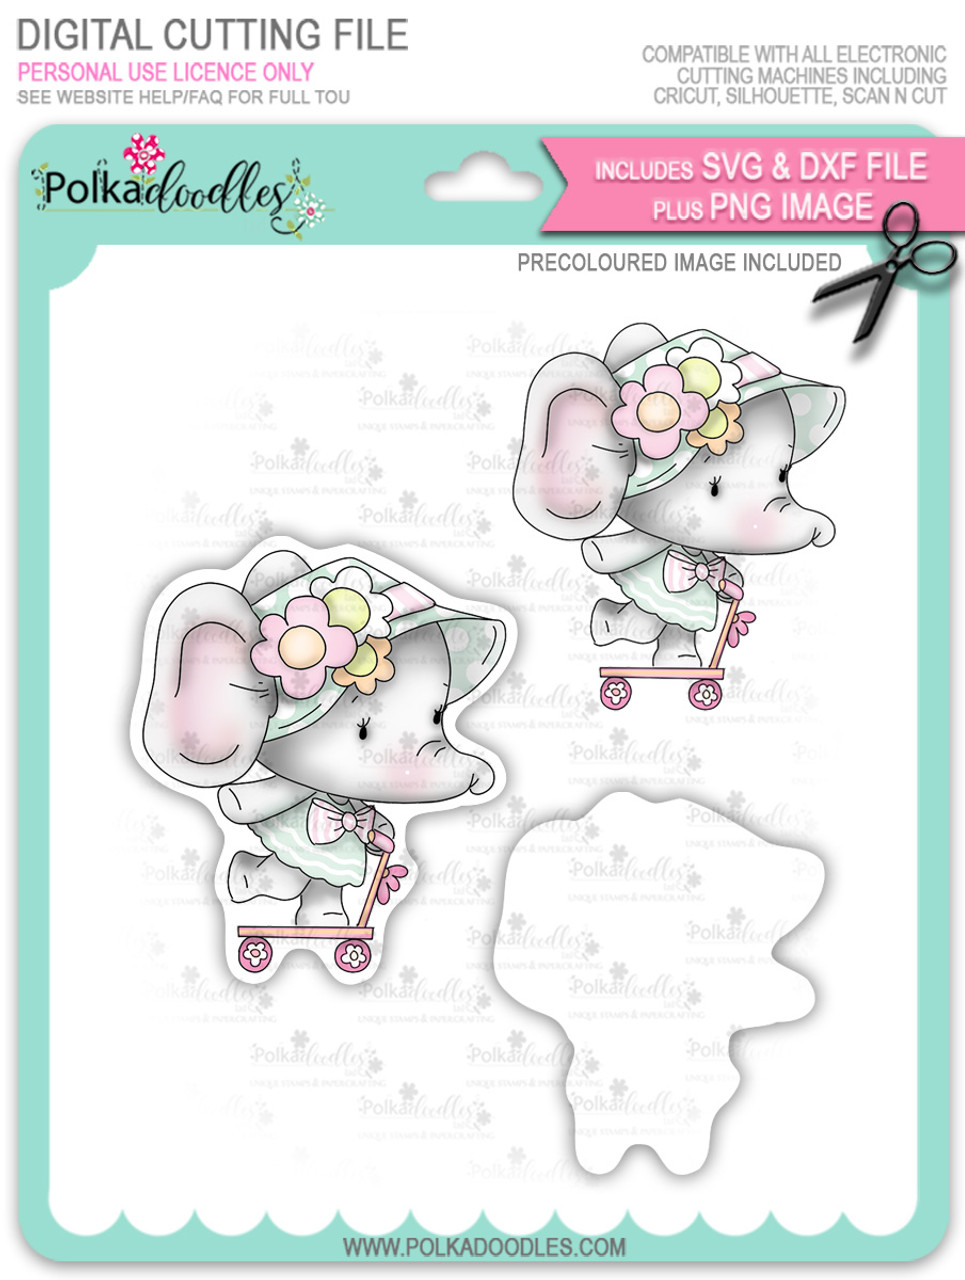
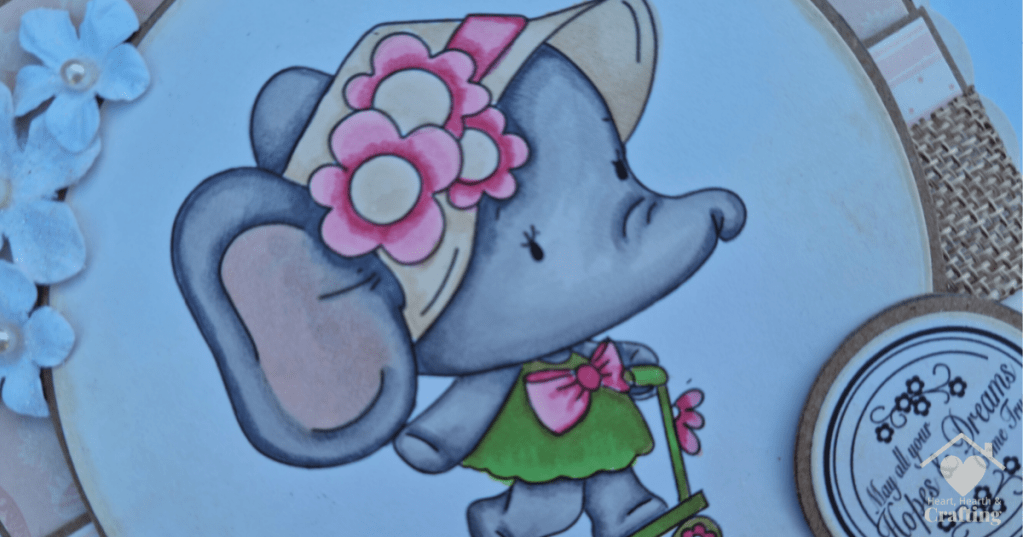
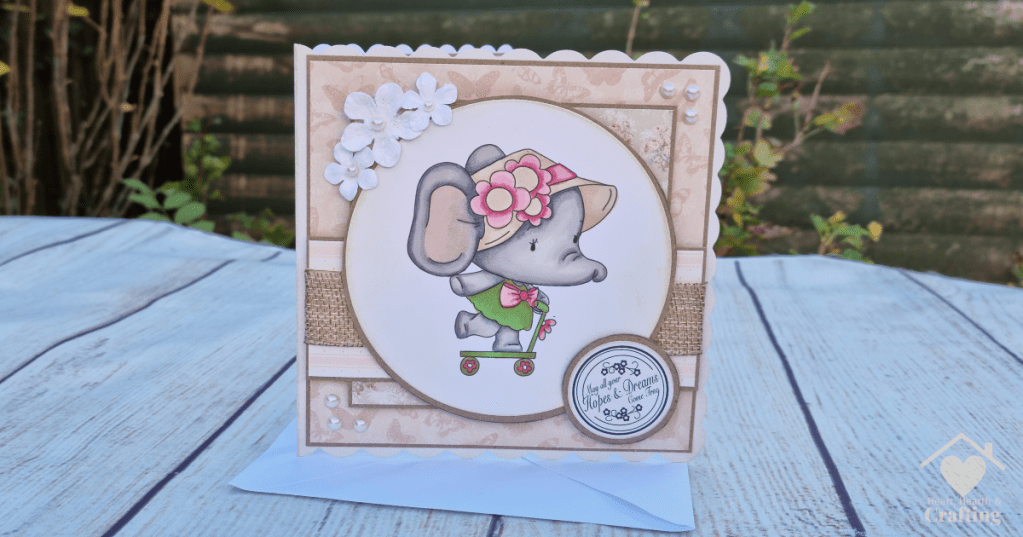
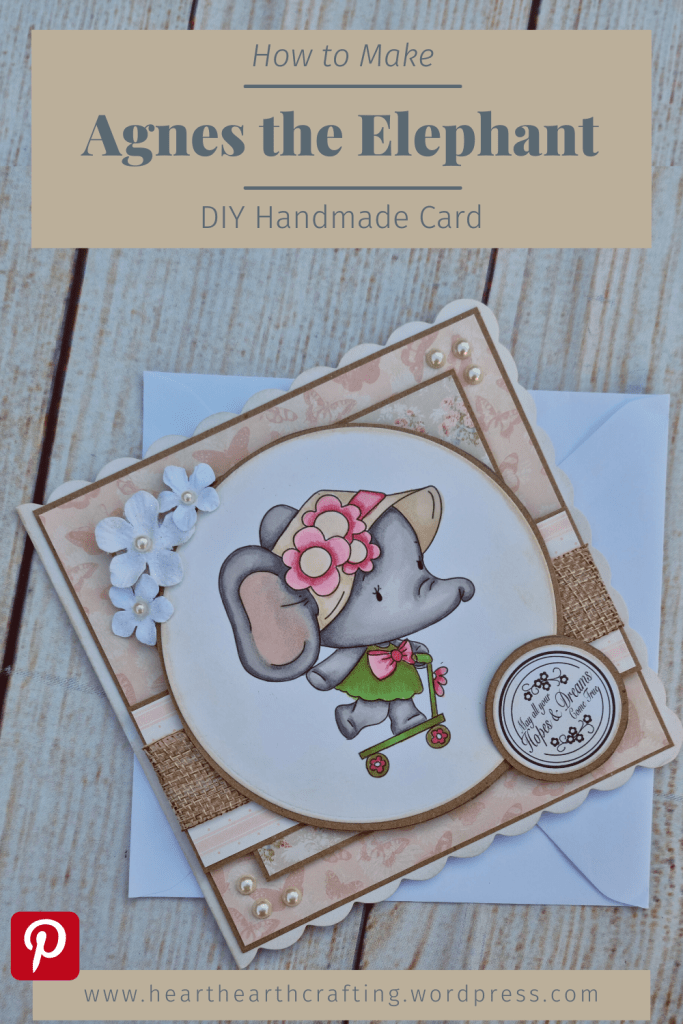
The digi image I have used is from Polkadoodles, from their new Too Cute Agnes & Bella Collection. This one is Agnes the Elephant. Isn’t she just the cutest!? Click on the image to get her for yourself. The images are availible individually or you can save money by buying the whole set like I did – I can never choose just one!! Once you’ve got your own copy of the digital stamp print it out using a normal printer onto high quality paper or thin card. It’s best if you can leave the image to dry overnight as this reduces the chances of the ink smudging.
Colouring the Digital Stamp
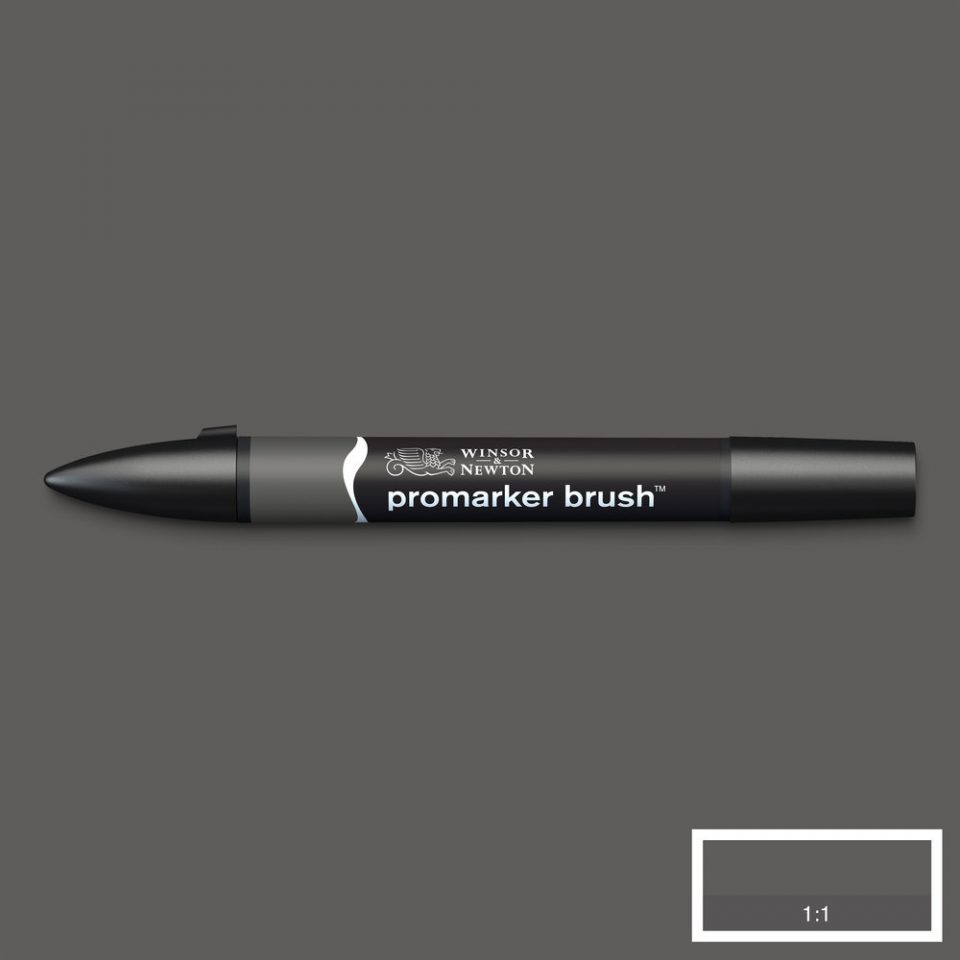
I’ve used the following ProMarkers and ProMarker Brush pens to colour my digital stamp:
Elephant
Clothes and Accessories
Preparing the Layers of the Card
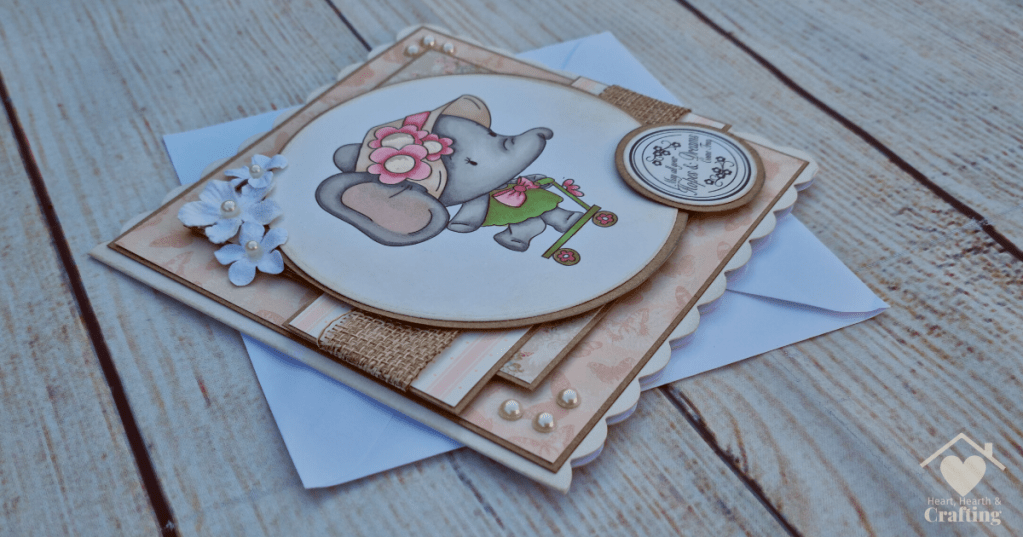
This card is made up of three layers of mounted papers plus the image and greeting. I start by cutting the largest layer and then work my way down to the smallest. This way I can make use of the scraps leftover from cutting the bigger pieces of paper.
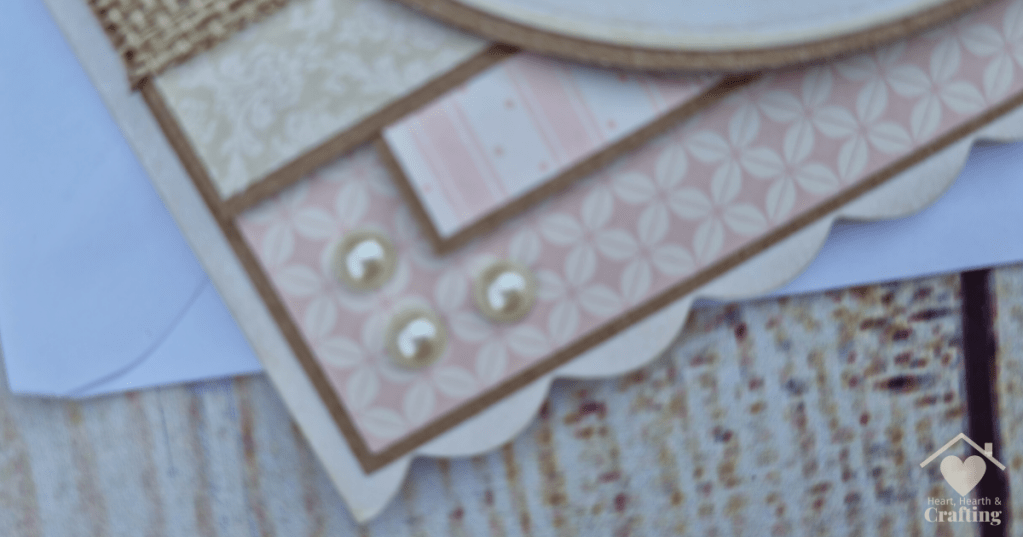
Each layer of paper is mounted onto a piece of kraft cardstock that measures 3mm larger than the paper. This gives a lovely little border around the papers. Kraft card is great for this because it subtly goes with everything leaving the lovely designer papers to take centre stage.
For this card the layers measure:
- Largest: 14cm square
- Square: 11cm square
- Strip: 14cm x 5cm
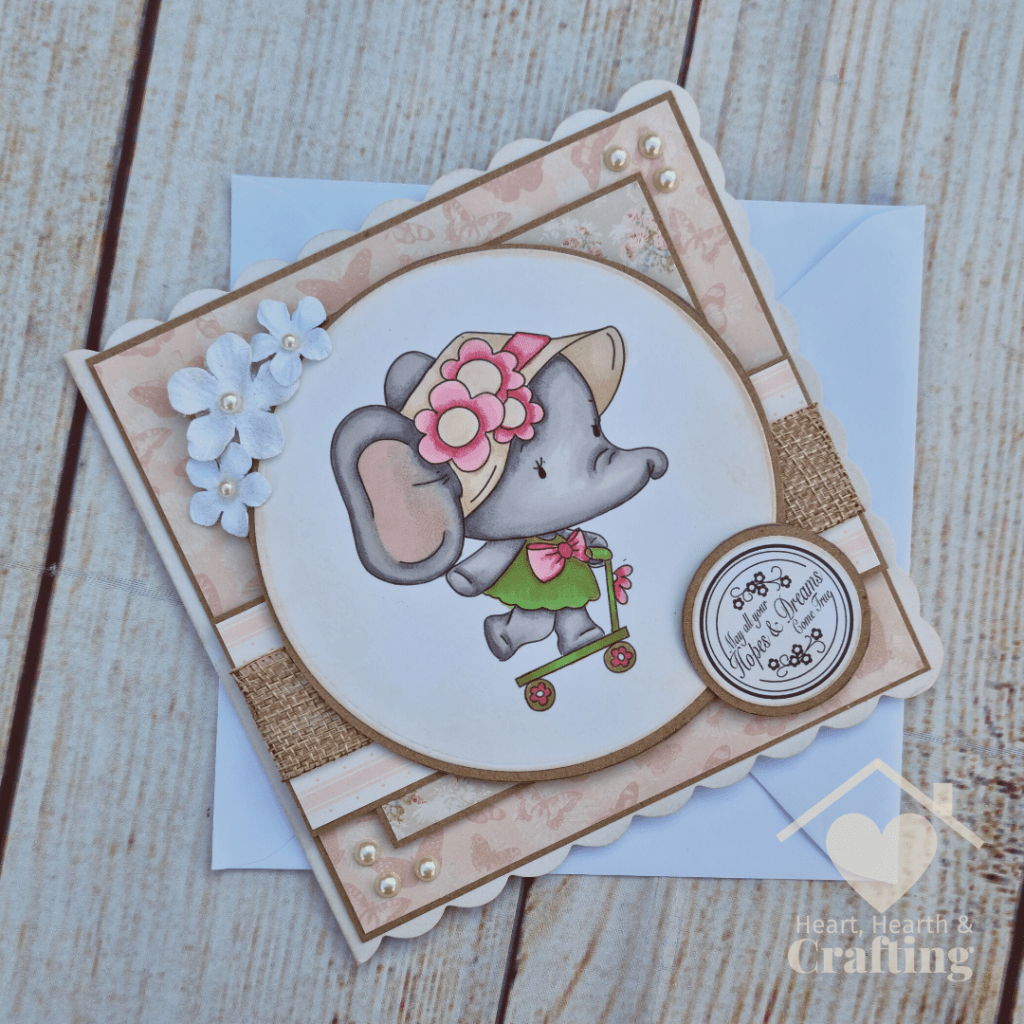
The digital stamped image is die cut to make it a perfect circle. I’m also using a printed greeting which is die cut with a smaller circle die.
The mounts for these circles are made by drawing round the dies as if they were a stencil. Whilst this isn’t as neat or as easy as using a slightly larger die, it does mean that you can get away with a smaller collection of nested dies, thus saving quite a bit of money.
I use tweezer scissors to cut out my circles. These scissors are fantastic for detailed work, they’re definitely one of my craft box essentials.
Inking the Layers
I love distress inks for adding some subtle shading to my cards. They make my cards look so much better in just a few minutes. I use the distress blending tool to sweep the ink onto the edges of my card blank.
I also ink the edges of my images, it really makes them stand out.
Double sided tape is by far my favourite adhesive for card making. It’s quick and easy to use and it always leaves a neat finish. Removing the back of the tape can be tricky so I use a pokey tool to lift up a corner. I recently retired my old pokey tool and replaced it with the Design Knife, it’s a pokey tool, craft knife and embossing tool all in one.
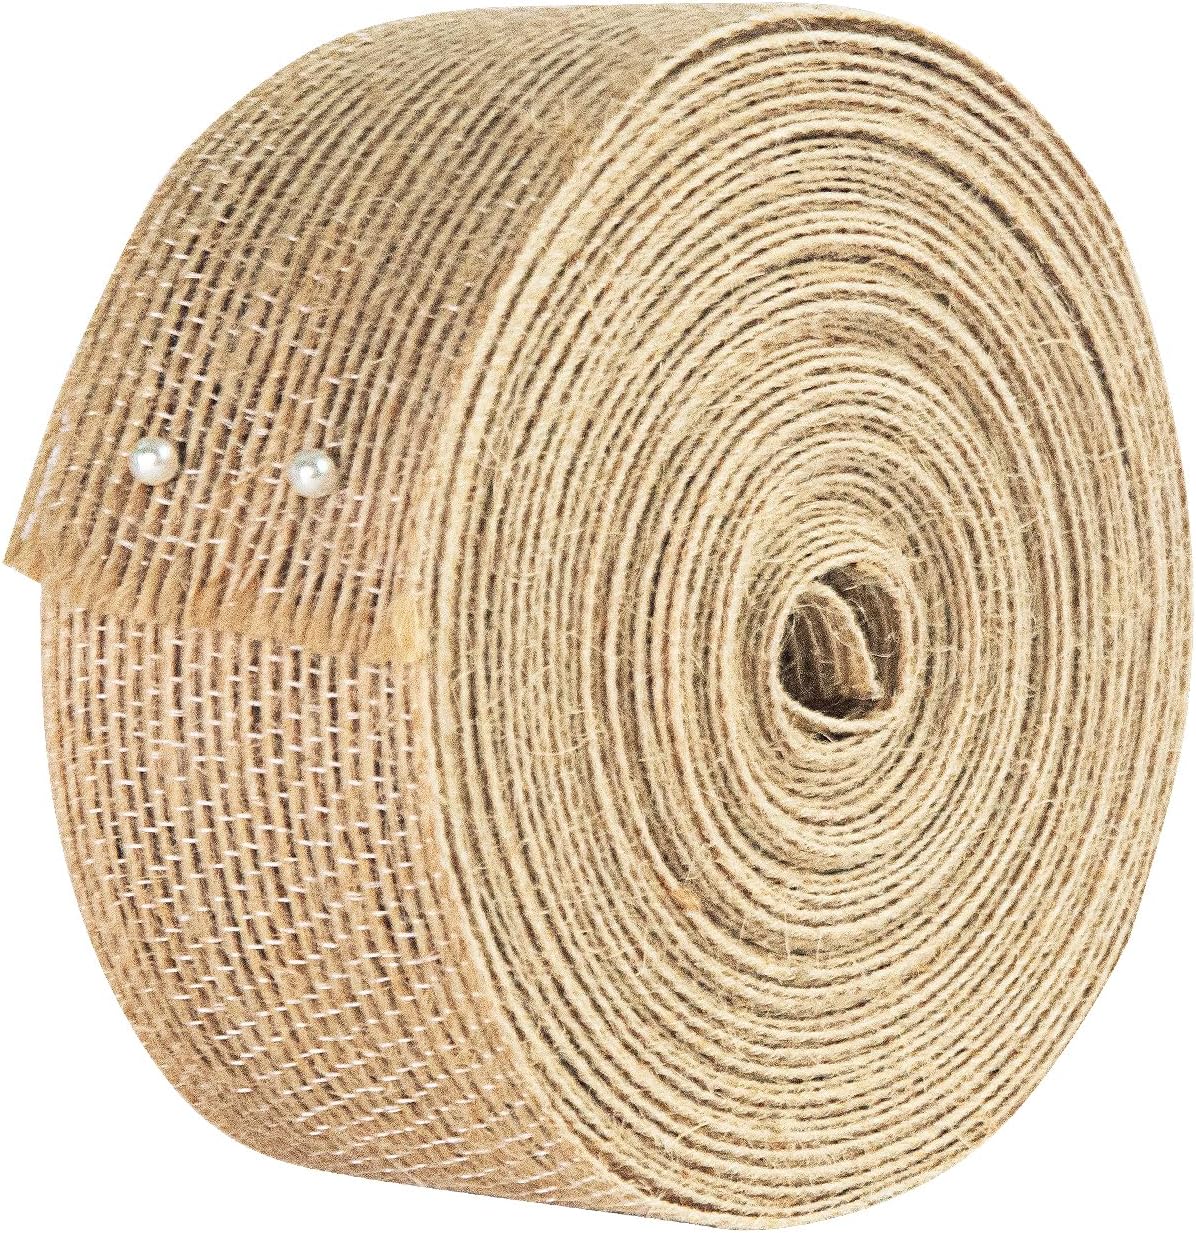
Applying the Ribbon
Ribbon can be tricky to stick onto cards. This is my favourite technique for neatly hiding the raw ends and stopping them from fraying. I lay my strip of mounted paper flat on my craft mat and stick a length of double sided tape where I want my ribbon. I make sure that the ends of the tape extend over the ends of the paper and left them stick lightly to the mat.
Then I place my length of ribbon to the exposed tape and press it onto the paper. I gently lift the paper off the craft mat and turn it over. It’s easy to press the ribbon and the extra tape to the back of the paper so that the ends are neatly hidden from the front of the card.
Assembling the Card
I love adding dimension to my cards with 3D foam pads. They make it so quick and easy. You don’t need a lot of them, just one in each corner and one along each edge if it’s a bigger piece of card.
Bent tweezers are fantastic for perfectly positioning all the layers.
And they’re also great for gripping gems and pearls while you stick them in place.
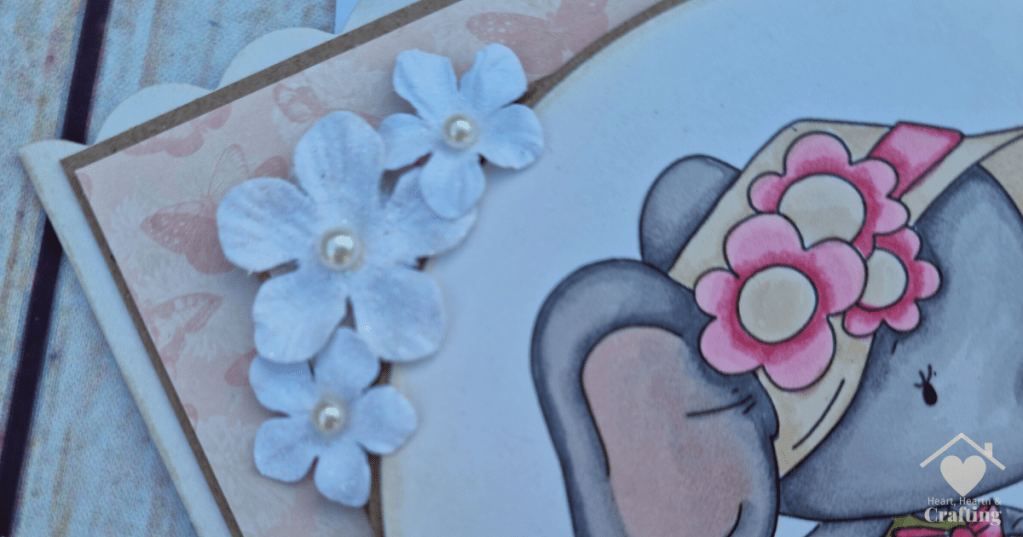
Sometimes an embellishment needs a little extra adhesion, like these little paper flowers. Silicone glue is my go-to glue for embellishments that won’t be lying flat on the card. I use my pokey tool to scoop a blob of silicone glue from the end of the tube. Then I put it on the card and roll the pokey tool away, leaving a neat blob of silicone glue on my card. I pop my embellishment on top and leave it to dry. Sometimes I hold the embellishment in place with a paperclip while the silicone glue dries.
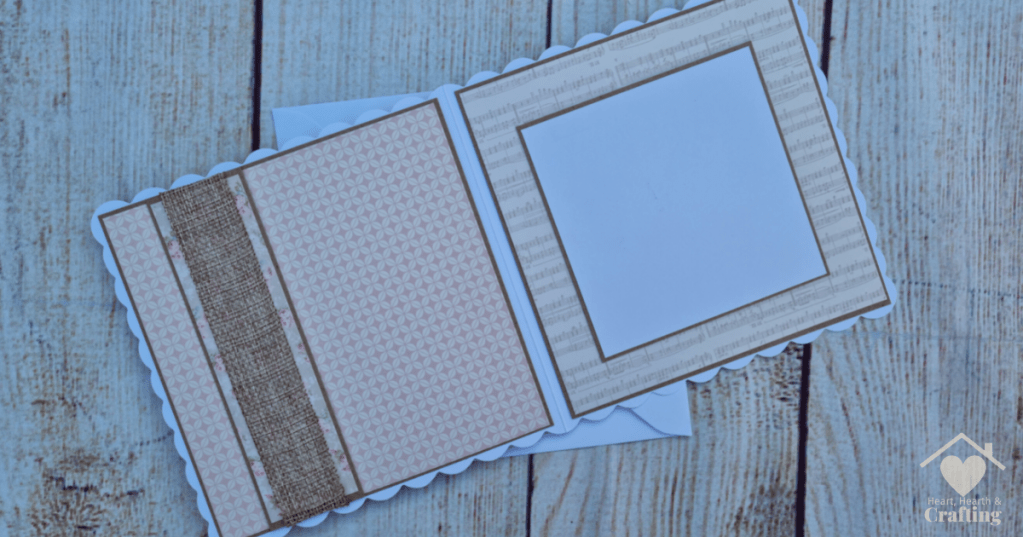
Inside the Card
The inside of the card is also decorated with matching papers along with a blank square for a personal message.
Products I’ve Used
This card is availible to buy in my Etsy shop.
Follow me on your favourite social media channel for more card making ideas and inspiration.
Pin it Now, Craft it Later
I do hope you have enjoyed having a peak at my latest card making project. Please feel free to use my handmade cards to inspire your own creations, pin it to your Pinterest for later.
A Little Bit About Me . . .
Thank you so much for stopping by my little corner of the interweb. I’m Bridie, mum to two small humans, full time homemaker and full time craftaholic – which totally explains why I’m always short on time!

I’ve included links to my favourite retailers for the products I’ve used to make my crafts. Click on any of the product images and links for full details. If you decide to buy any of these products I may get a small percentage of what you spend. There’s no cost to you at all.
