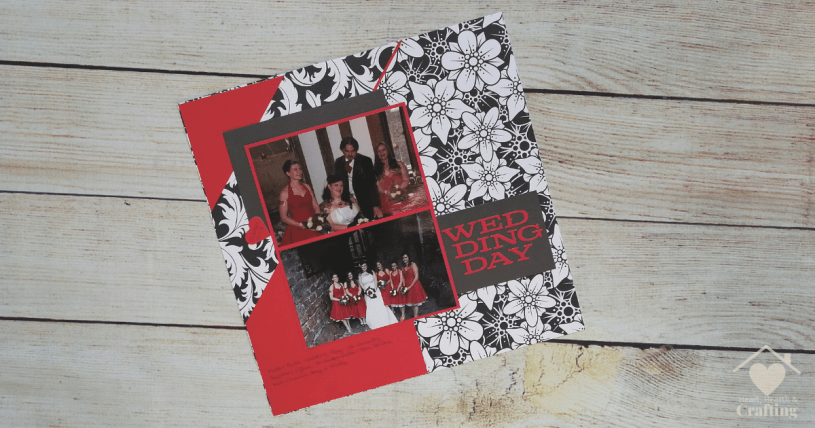
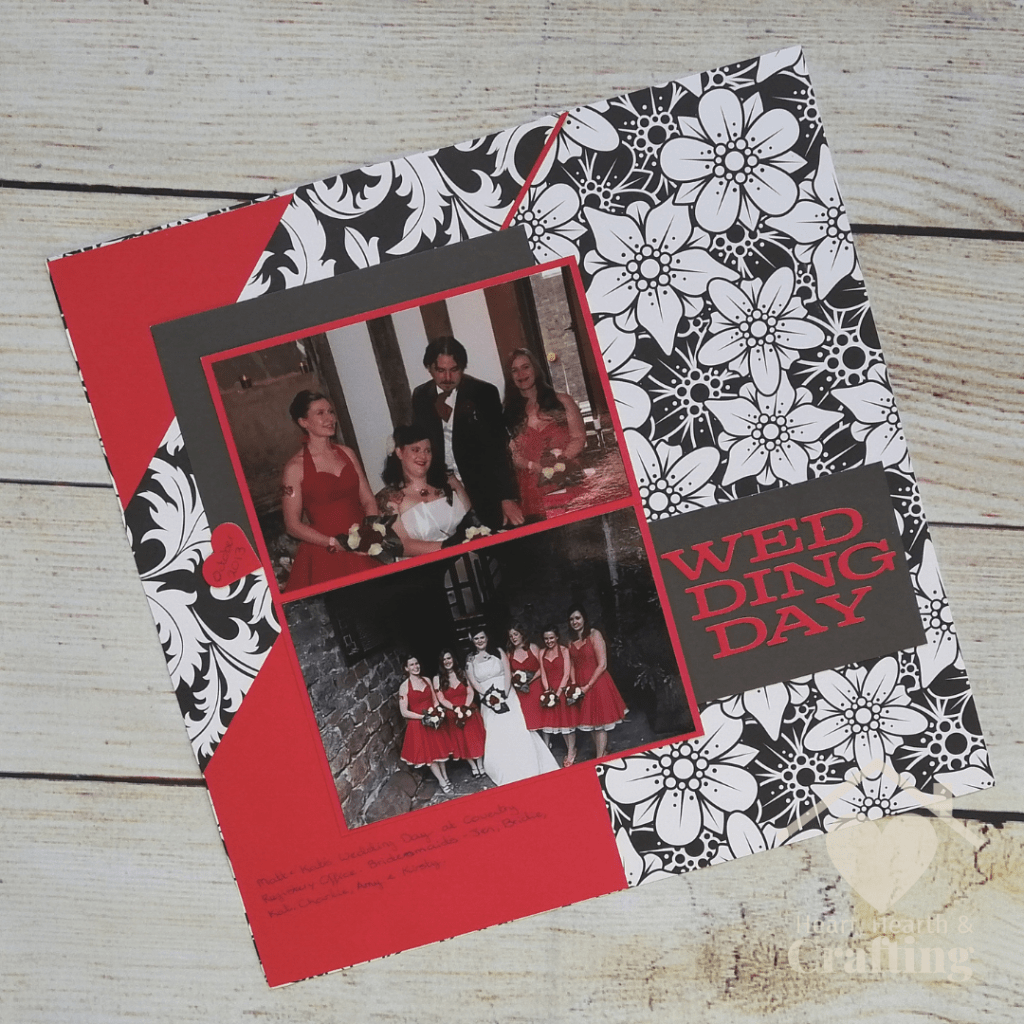
This scrapbook page features a simple design with bold red and black to complement these Retro Rockabilly Wedding photos. I’ve kept embellishments to a minimum and kept the focus on the big, bold title.
Designer Scrapbook Papers
Craft Creations used to make lots and lots of lovely scrapbooking paper designs. They were availible as single sheets which made them brilliant for wedding invitations and other bulk projects. It’s such a shame that they don’t do them any more.
I just have a few sheets left to enjoy. I’ve paired it with some plain papers.
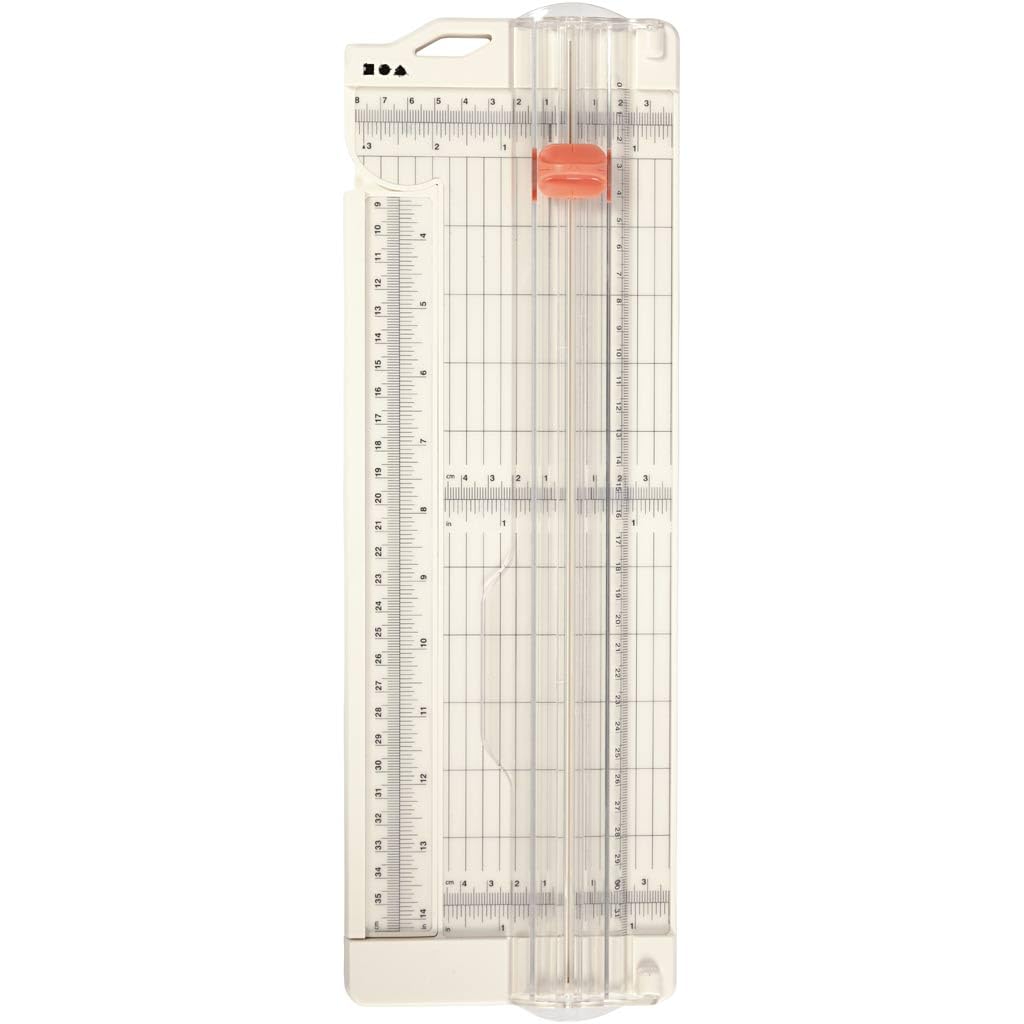
How to Cut Scrapbooking Papers
For most of my paper cutting I use a simple paper trimmer. I like this one because it’s nice and compact but it opens up to cut a full sheet of 12 x 12 inch or A4 paper. The blades are replaceable and they last ages. I do find I need to clean out the channel the blades go into, removing all the little fluffy bites of paper that build up in there.
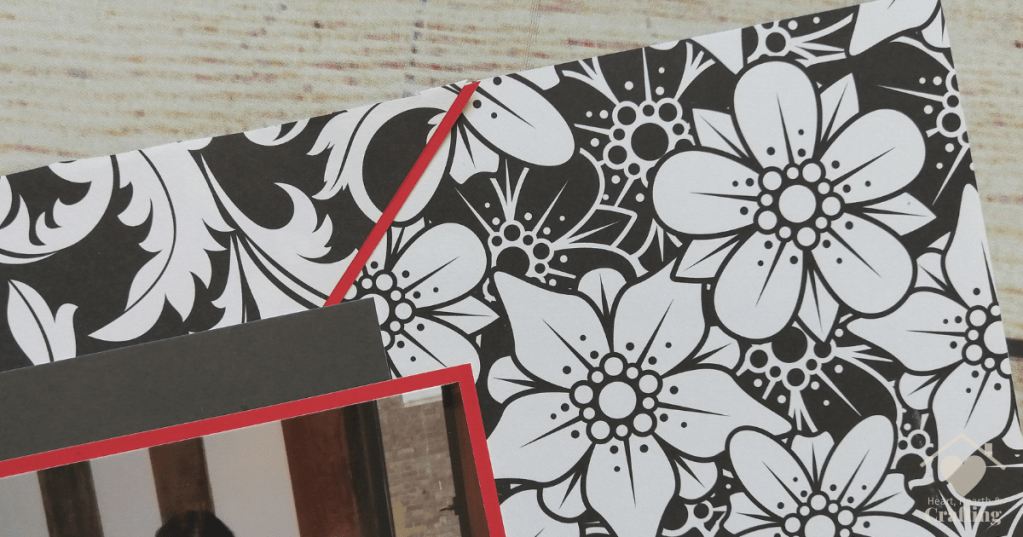
I like to mount most of my papers onto another sheet of paper, usually with a small border. This is known as a mat. I generally measure my paper as I’m cutting it and then cut a mat that’s either 3mm or a quarter of an inch bigger. Sometimes I use a bigger border if I feel like that looks better.
Often I use papers in whatever size I happen to have. I like to make the most of my paper scraps and I often find that making use of what I have helps me to come up with my best creative ideas. The strip of paper across this scrapbook layout was a scrap leftover from a previous project.
Scrapbook Page Title
I’m not sure about the scrapbook title. I die cut the letters but they got lost on the busy background. So I mounted them onto a plain black paper panel. But it wouldn’t quite fit. I’ve seen some titles that split the word to make the title more visually appealing. I gave it a try. I can’t decide if it looks silly but it’s the best solution I could come up with.
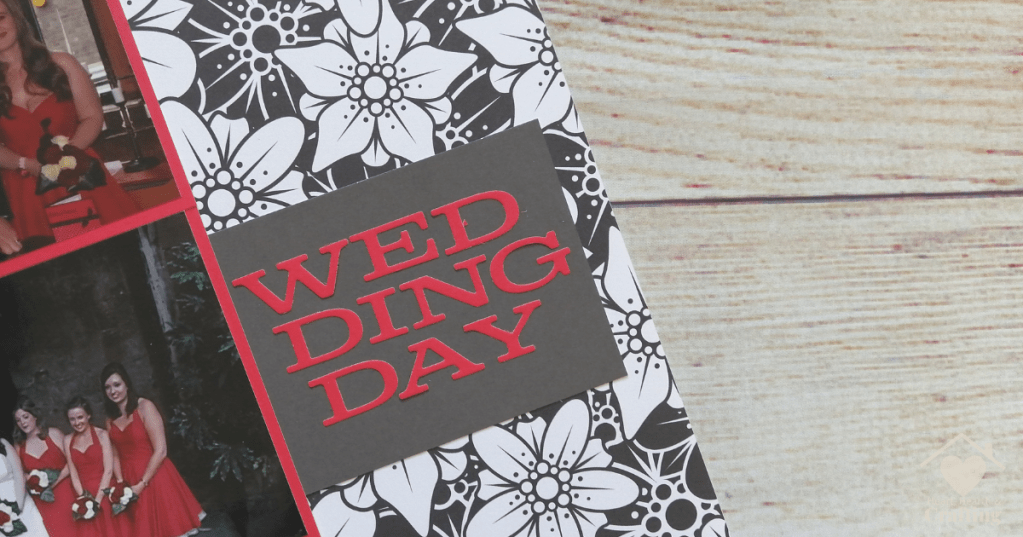
I die cut the title using my trusty XCut Mid West alphabet die.

How to Assemble this Scrapbook Layout
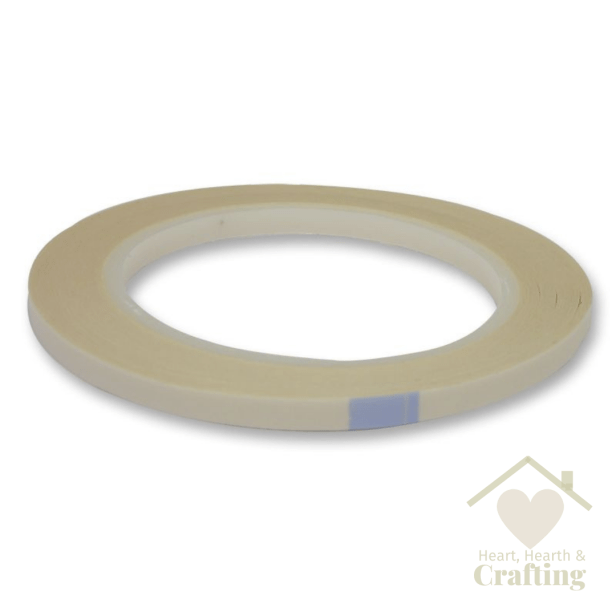
I like to use 6mm double sided tape for most of my scrapbook layouts. It’s cheaper than the usual 12mm tape but it sticks just as well.
I use a pokey tool to remove the backing from the tape. It’s nice and easy and saves my finger nails from getting split.
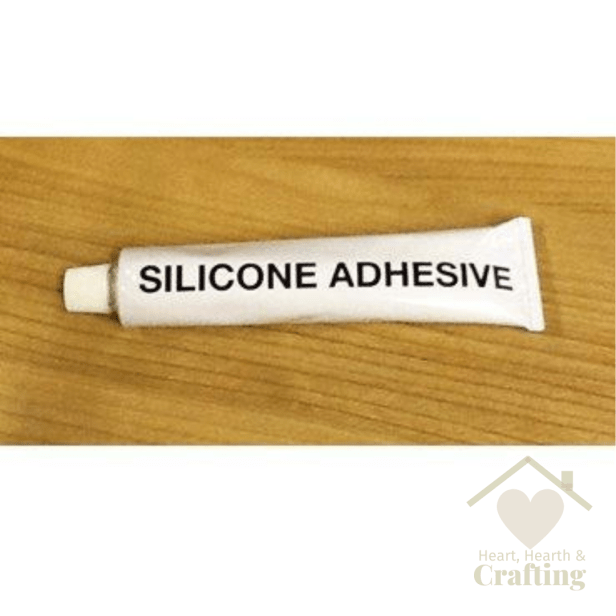
For teeny tiny little embellishments, like the title, I generally use silicone glue. I use my pokey tool to roll a little blob of silicone from the end of the tubes and then roll it onto my page.

I do hope my latest scrapbook project has given you some inspiration for your own scrapbook pages.
Follow me on your favourite social media channel for more scrapbooking inspiration and ideas.
Shop This Scrapbook Layout
Pin it Now, Scrapbook It Later
A Little Bit About Me . . .
Thank you so much for stopping by my little corner of the interweb. I’m Bridie, mum to two small humans, full time homemaker and full time craftaholic – which totally explains why I’m always short on time!

I’ve included links to my favourite retailers for the products I’ve used to make my crafts. Click on any of the product images and links for full details. If you decide to buy any of these products I may get a small percentage of what you spend. There’s no cost to you at all.

A very elegant color choice and perfect for photos. Thank you for sharing your page on the Sketches in Thyme blog.
LikeLike
Beautiful page with all the red, black, and white! Thanks for joining us at Lasting Memories this month! 🙂
LikeLike
Beautiful layout! Love your design! Thanks for playing along with us at Lasting Memories Layout Challenges!
LikeLike
Fabulous layout! Great design! Thanks for playing along with us at Lasting Memories Layout Challenges!
LikeLike
What a beautiful take on the sketch! Thanks for joining us at Sketches In Thyme!
LikeLike
Beautiful layout and color choices. I really like the way you designed the title. Thanks so much for joining us at The Paper Funday Challenges!
LikeLike
Beautiful! The red and black are so classy and I love the layout. Thank you for joining us at Creative Inspirations, good luck.
Hugs
Gina xx
LikeLike
Really lovely layout, I like how the red and monochrome work so well together. Thanks for sharing with us at Paperfundays Challenge. Kate
LikeLike