Hello!!! Thank you so much for stopping at Heart and Hearth Crafting today! I’m so happy you’re here!
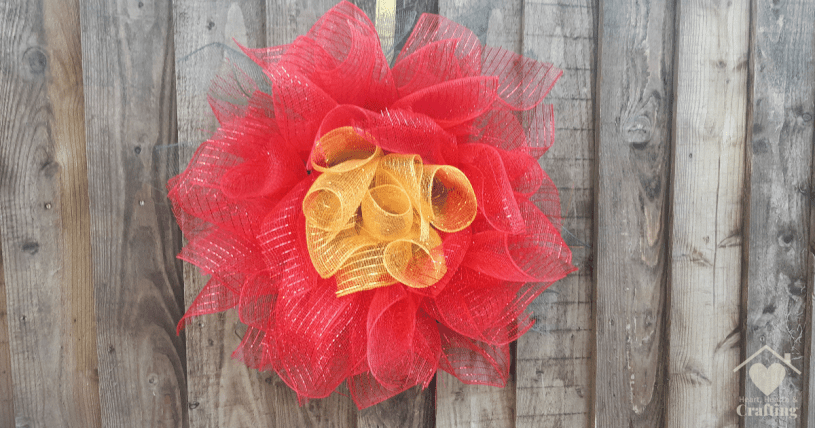
If you’re interested in making your own handmade Christmas wreaths then you’re in the right place. Keep on reading and you will find everything you need to create this Poinsettia Wreath as well as all my best tips and tricks to make it fun and enjoyable.
Making Your Own Handmade Christmas Wreaths
Making your own handmade Christmas Wreaths is a fun and relaxing (if addictive!!) hobby that will allow you to make truly personalised gifts for your family and friends. You don’t need any fancy equipment or materials to get started. Don’t get me wrong you’ll want ALL THE THINGS but you can start enjoying making your own wreaths without spending too much.
I love impressing my neighbours with unique handmade Christmas Wreaths that really make my front door stand out.
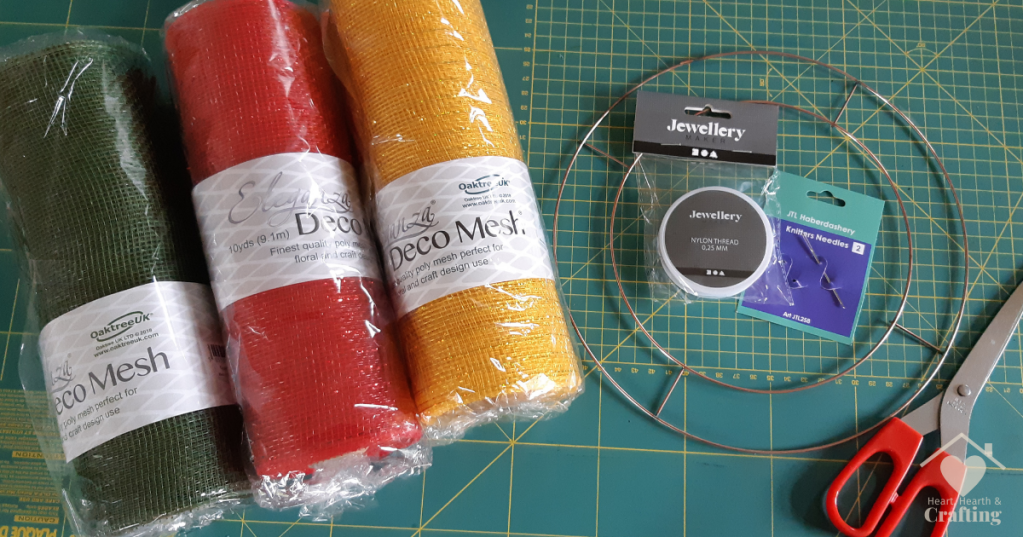
Crafting Supplies You’ll Need


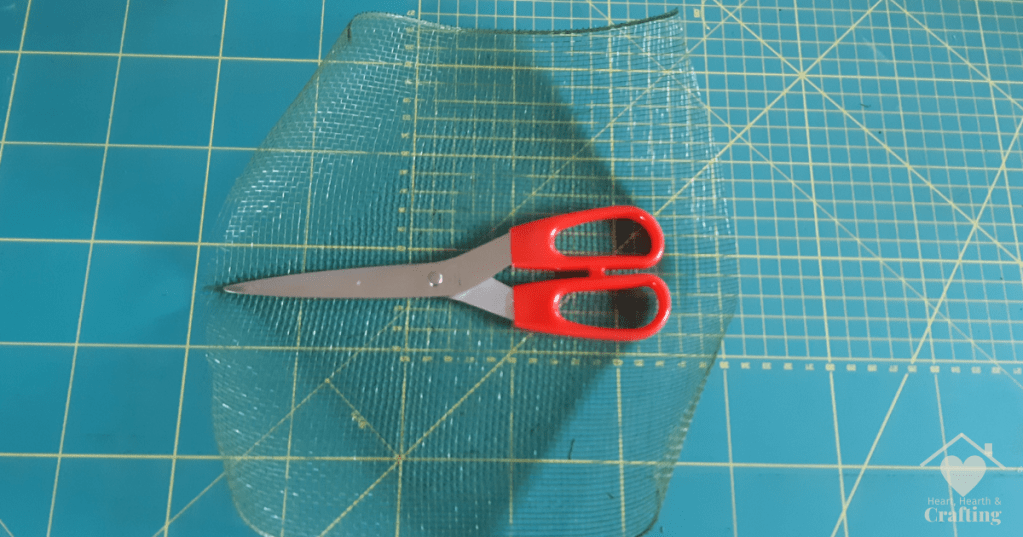
Step 1: Cutting Deco Mesh
Cut your deco mesh into sheets about 25cm square. As the deco mesh rolls are already 25cm wide you just need to measure and cut at 25cm intervals. You can use a normal ruler and craft scissors.
If you have a craft matt with measurements marked on it this will make measuring quicker and easier. They are also great for protecting your worksurface. But don’t worry if you don’t have one, a standard ruler will do just fine.
You’ll also need to cut some lengths of Binding Wire about 10cm long.
For this Poinsettia deco mesh wreath I used 8 green squares of deco mesh, 24 in metallic red and 8 in gold.
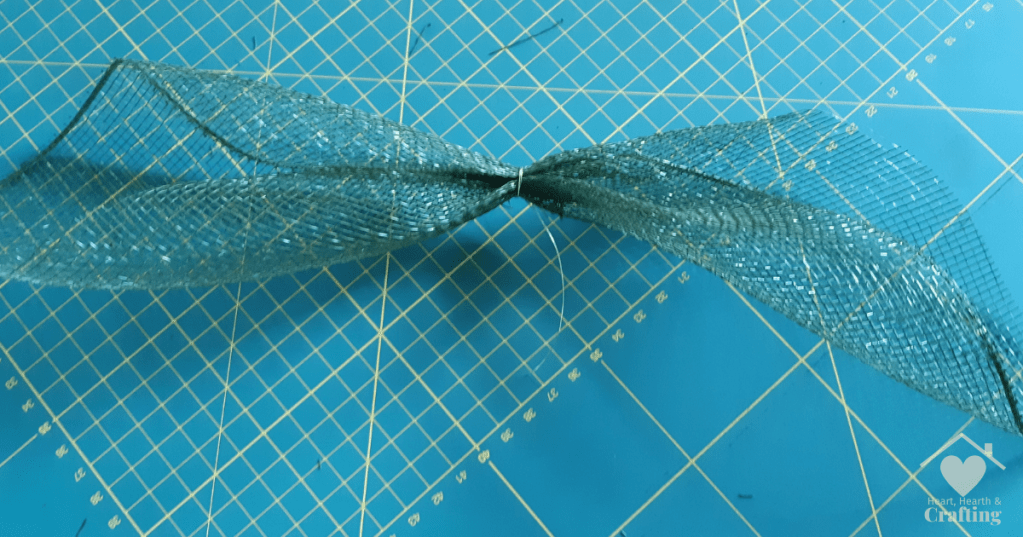
Step 2: Making Your Bunches
Take a square of green deco mesh and fold one corner to the opposite corner. Hold the corners together with one hand while you scrunch up the centre with the other hand.
Wrap a length of Binding Wire around the centre of the deco mesh to secure it.
Step 3: First Layer – The Leaves
Wrap the ends of the Binding Wire around the Wreath Base to secure the deco mesh in place.
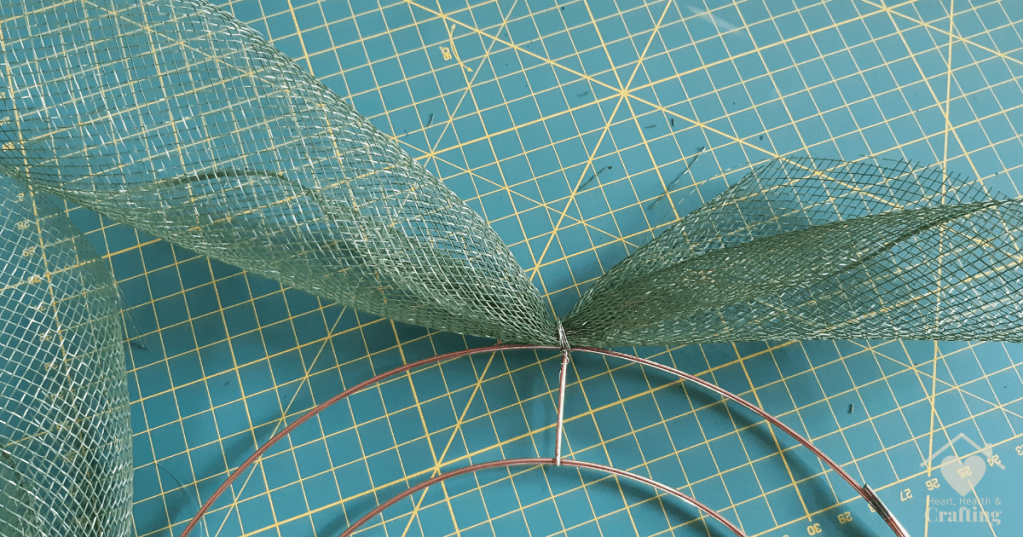
Start by tying your green deco mesh bunches at the four corners of the Wreath Base.
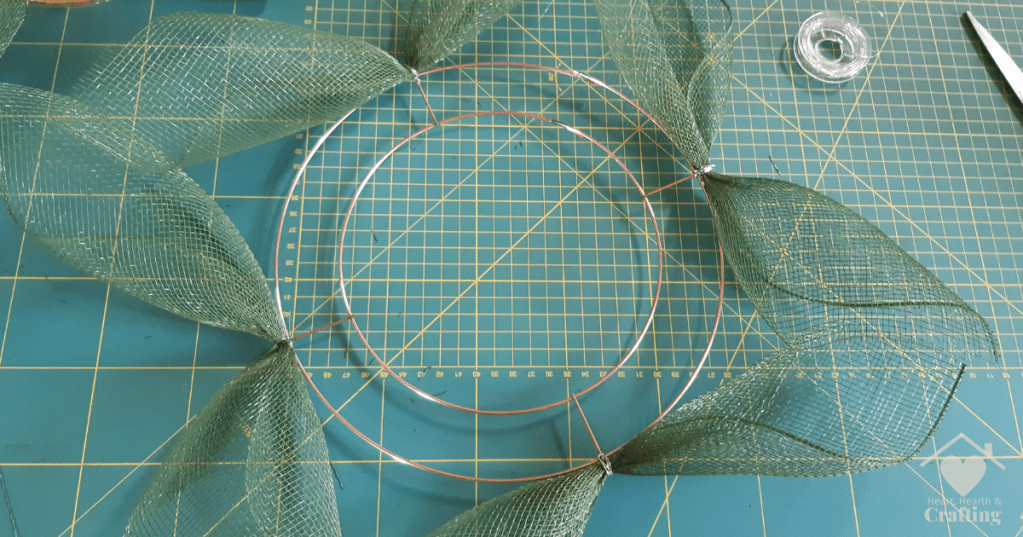
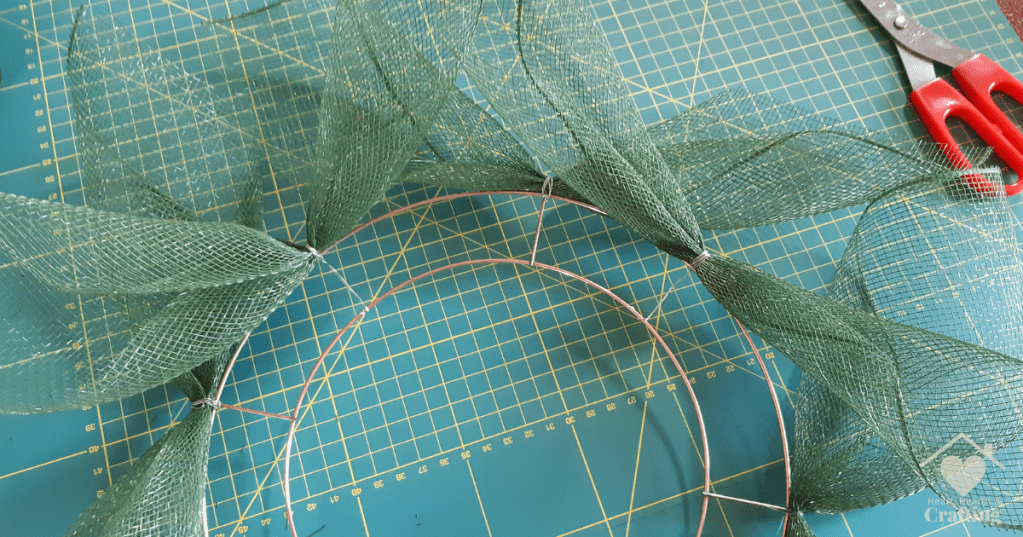
Then tie another four green bunches in between the first four so that you have eight bunches placed an equal distance apart around your Wreath Base.
Step 4: Second Layer
Then it’s onto the next layer of the wreath.
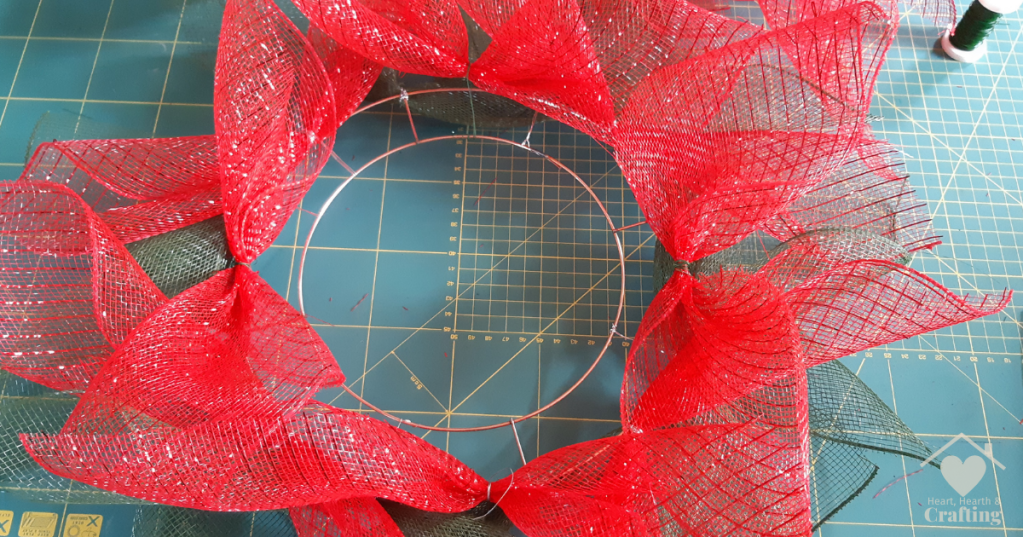
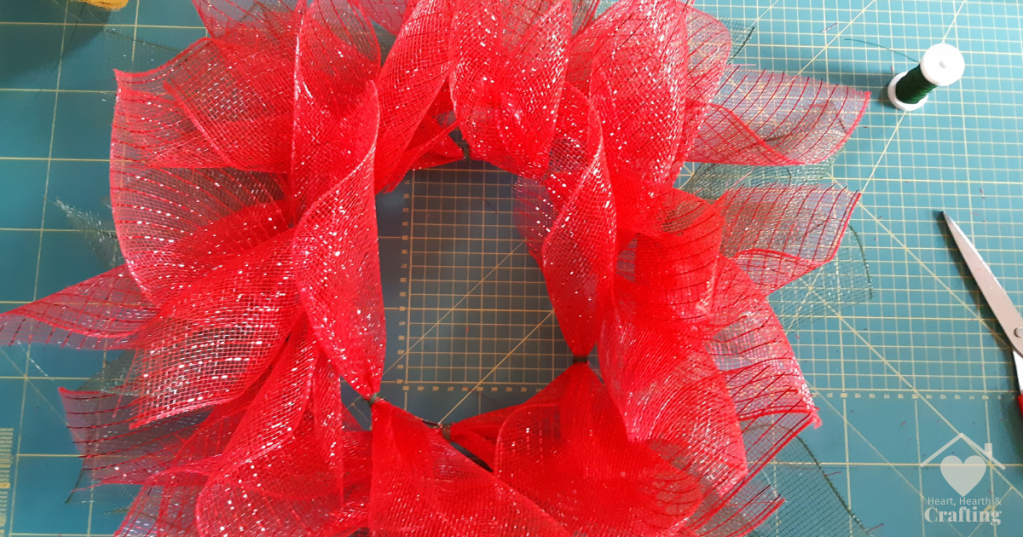
Add 8 bunches of red deco mesh to the outer rim of the Wreath Base. Again place them an equal distance apart. There should just about be room in between the Green deco mesh bunches.
Step 5: Third Layer
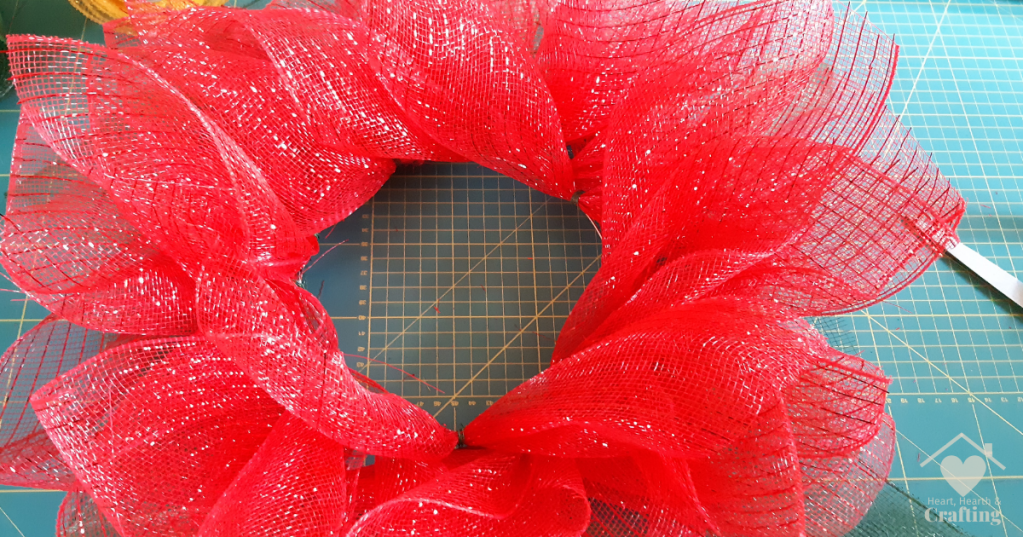
For the third layer of “petals” add another 8 bunches of red deco mesh to the inner ring of the Wreath Base. Again try to keep them an equal distance apart and position them in between the outer bunches so there’s no gaps.
To make the poinsettia look really full and make doubly sure that you can’t see the Wreath Base through the deco mesh, add another 8 bunches of red deco mesh around the inner circle of the wreath base.
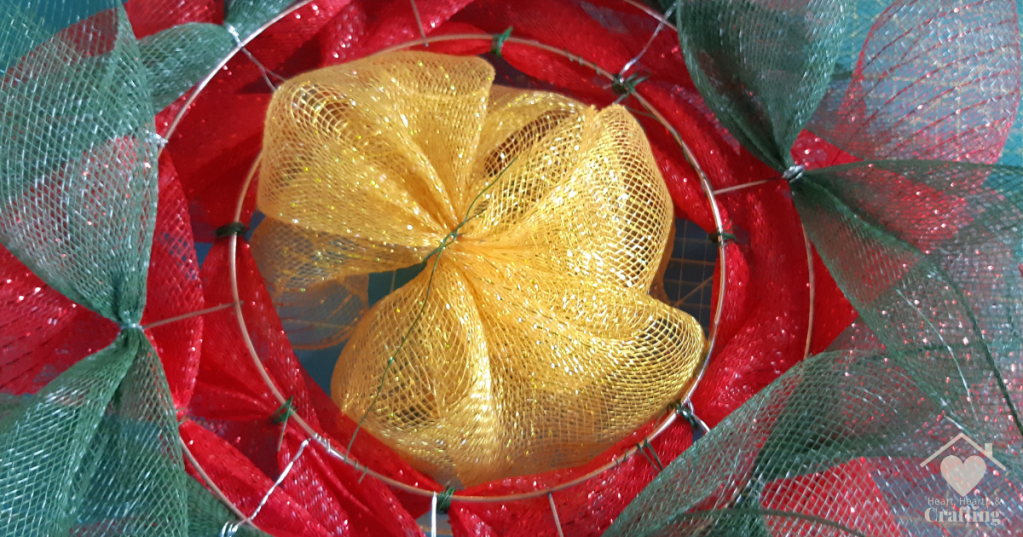
Step 6: Poinsettia Centre
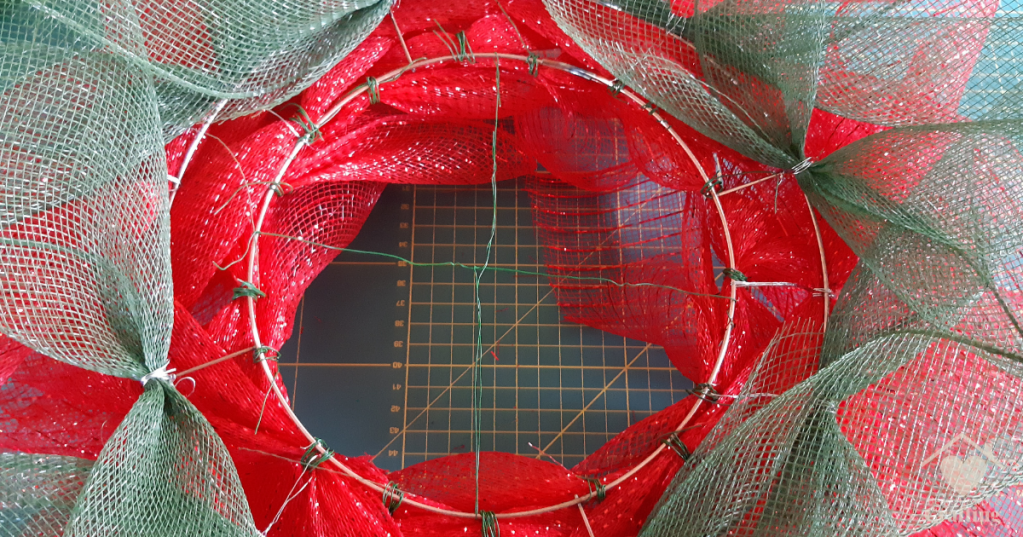
There’s lots of different ways to make the centre of the wreath. For this method, turn your wreath over to the back. Cut two lengths of Binding Wire about 50cm long. Wrap them securely around the inner ring of the wreath base at the top and bottom and the two sides so that the Binding Wires make a cross in the centre of your wreath base.
Cut 8 Golden deco mesh squares. Instead of creating bunches as you did for the leaves, roll them into a tube shape. Secure the middle with a length of Binding Wire.
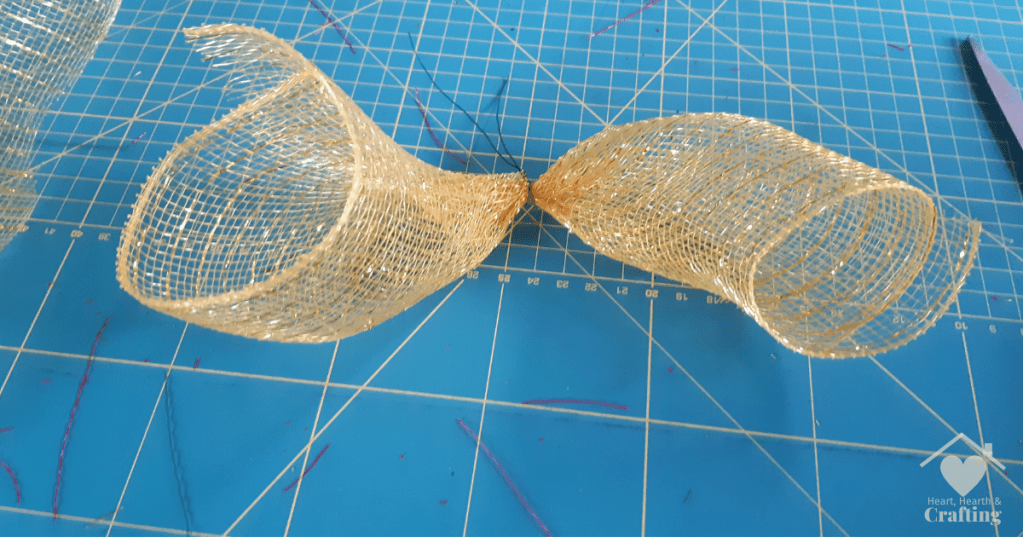
These rolls can then be tied to the Binding Wires that cover the centre of the wreath.
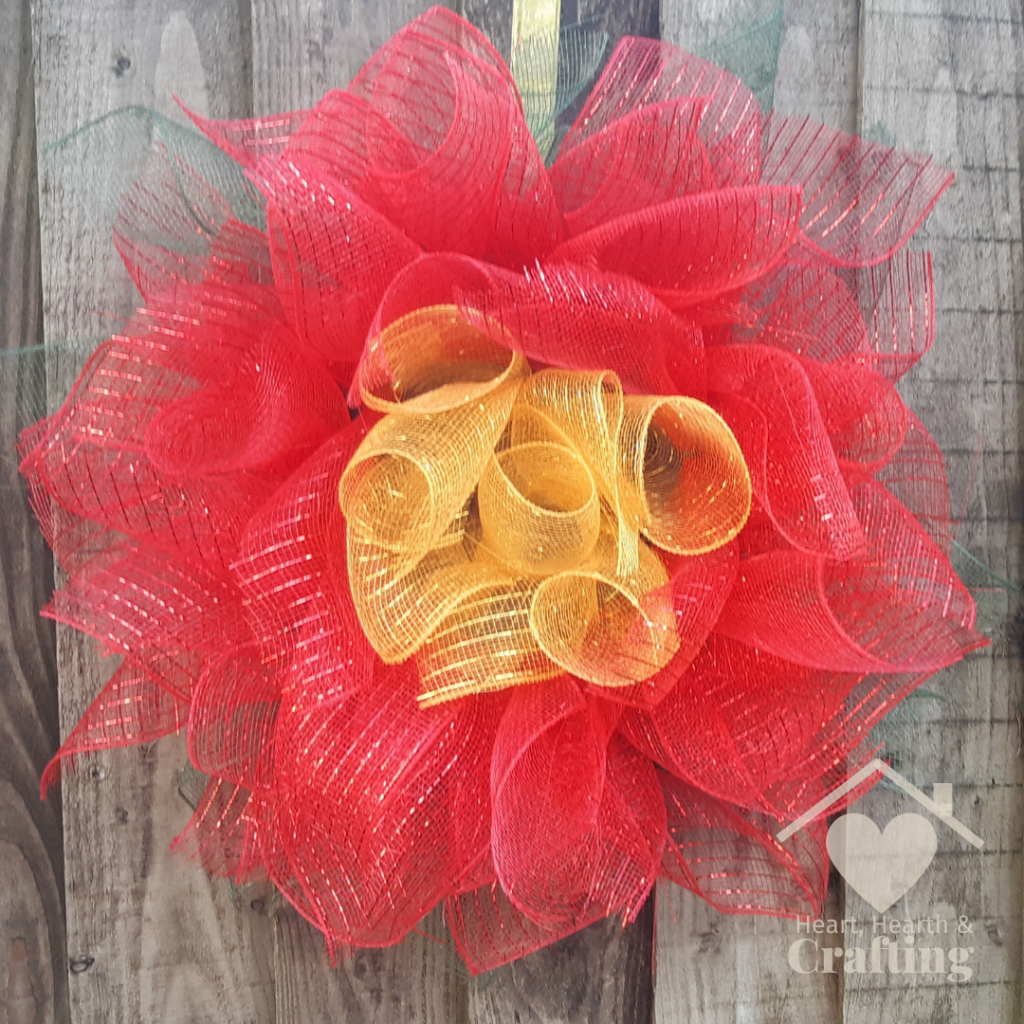
Your wreath is now all finished and ready for you to proudly display on your front door.
I do hope this wreath making project inspires you to have a go at making your own handmade wreaths. Follow me on your favourite social media channel to see more craft projects like this.
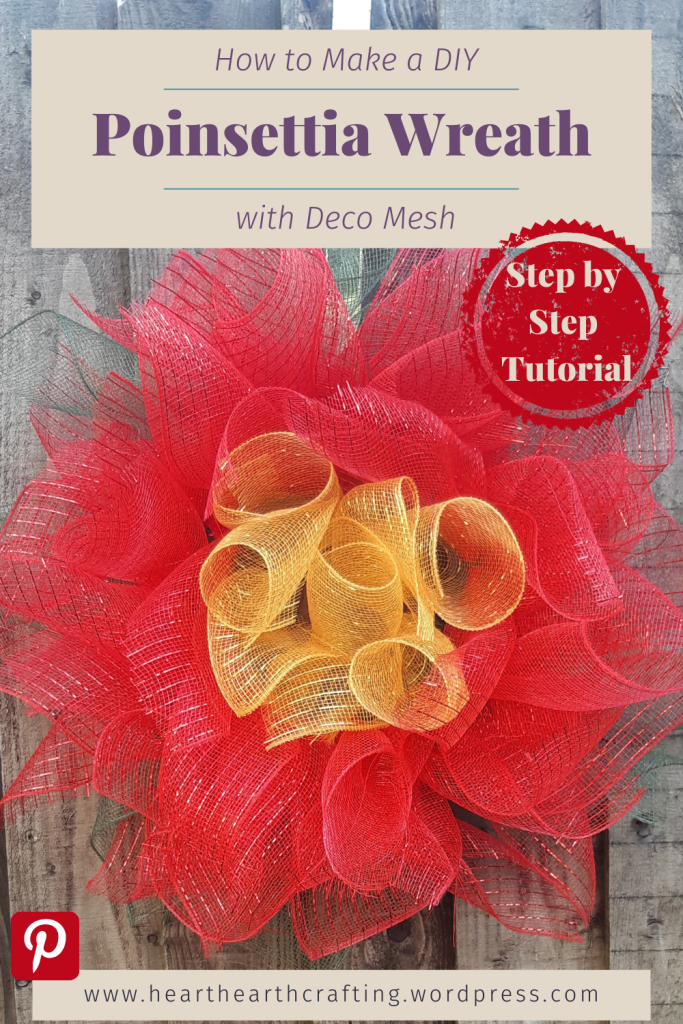
Pin it now, Craft it later
A Little Bit About Me . . .
Thank you so much for stopping by my little corner of the interweb. I’m Bridie, mum to two small humans, full time homemaker and full time craftaholic – which totally explains why I’m always short on time!

I’ve included links to my favourite retailers for the products I’ve used to make my crafts. Click on any of the product images and links for full details. If you decide to buy any of these products I may get a small percentage of what you spend. There’s no cost to you at all.

That is a clever idea on how to fill the center of the wreath form. Thanks for linking up this week. #HomeMattersParty
LikeLike
Thank you so much. All the other options I found involved extra expenses.
LikeLike
That’s so pretty, I love poinsettias so this is right up my street! Thank you for sharing it with us at Handmade Monday 🙂
LikeLike
Me too! Have a fabulous holiday season.
LikeLike
Thank you so much for sharing your post at our Senior Salon Pit Stop.
Pinned to Senior Salon Pit Stop InLinkz Linkup Shares board
LikeLike
Thanks so much. Hope you have a lovely Christmas.
LikeLiked by 1 person
Same to you, all the best Bridie
LikeLike