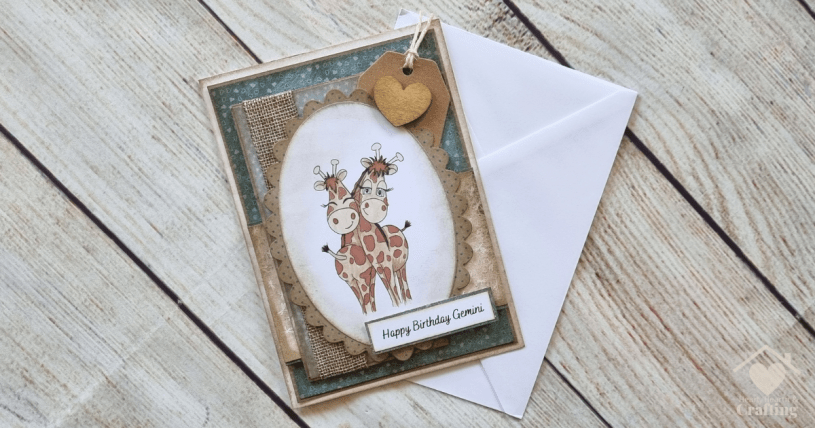
Learn how to make your own unique birthday cards using Polkadoodles Zodiac Digital Stamps and grungy papers from Craft Sensations. I’m sharing all my best tips & tricks for colouring techniques, which materials to use and how to embellish your cards so that you can create your own handmade Zodiac cards.
Keep on reading and I’ll show you how to make your own handmade cards. I’m including ProMarker blends and all the craft stash and crafting techniques I’ve used.
Digital Stamping
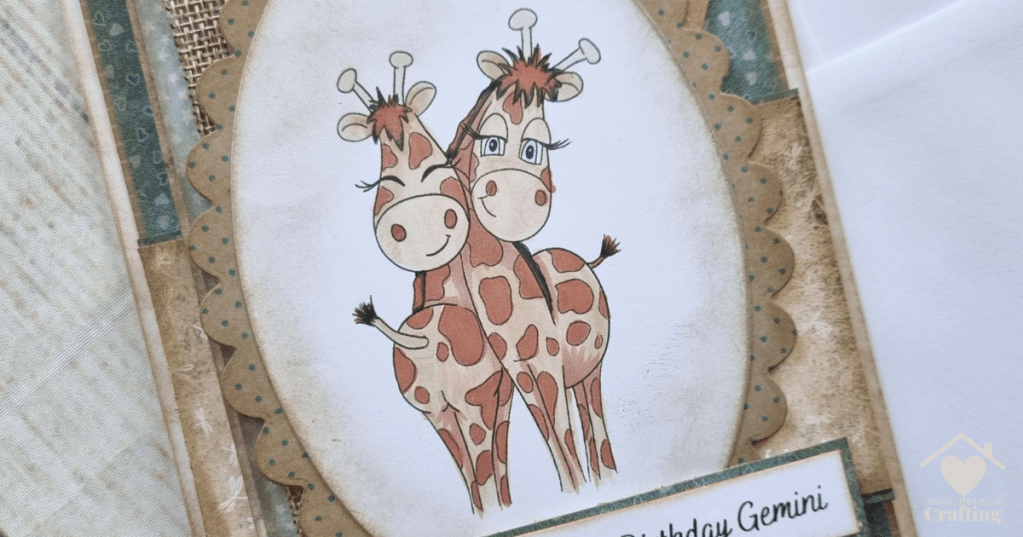
I’ve used this Digital stamp from Polkadoodles, it’s part of their Zodiac Digital Craft collection.
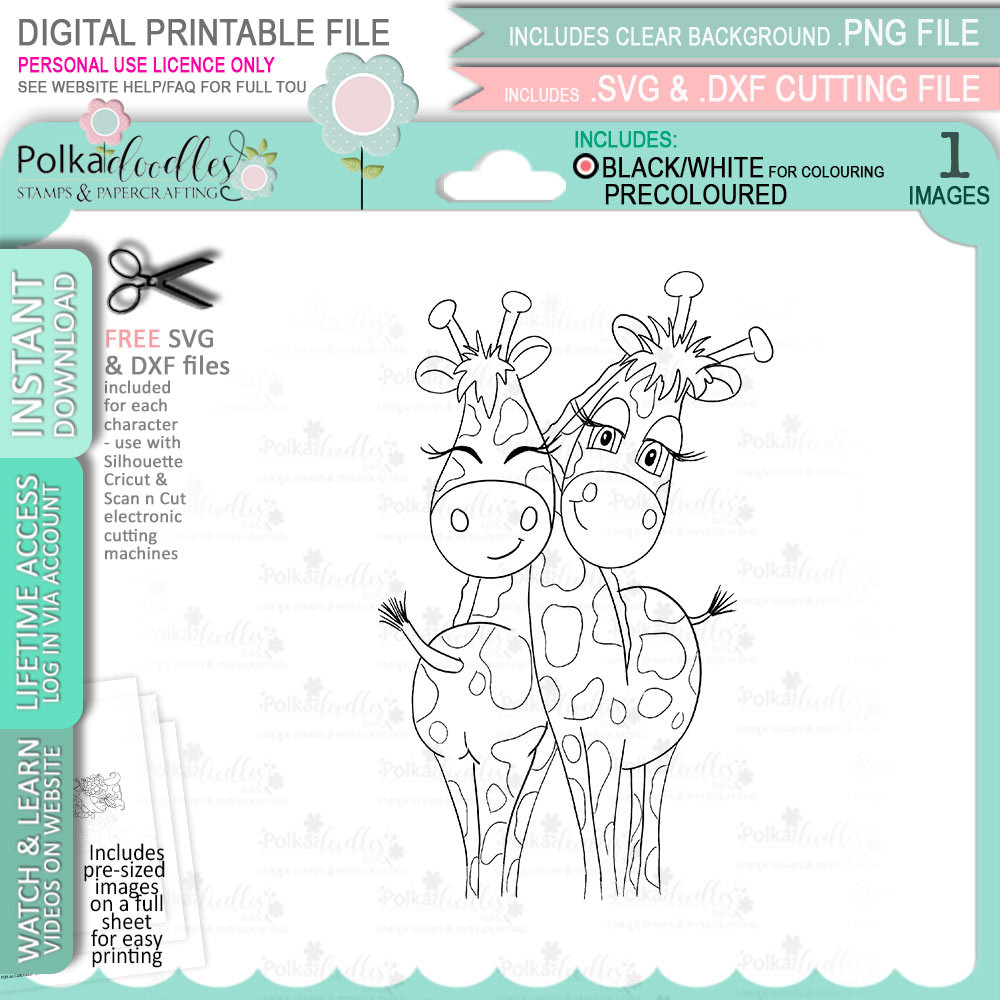
I print my digital stamps onto Ultimate Graphic 160gsm paper. It’s bright white so my colours really pop and it’s super smooth surface makes blending easier.
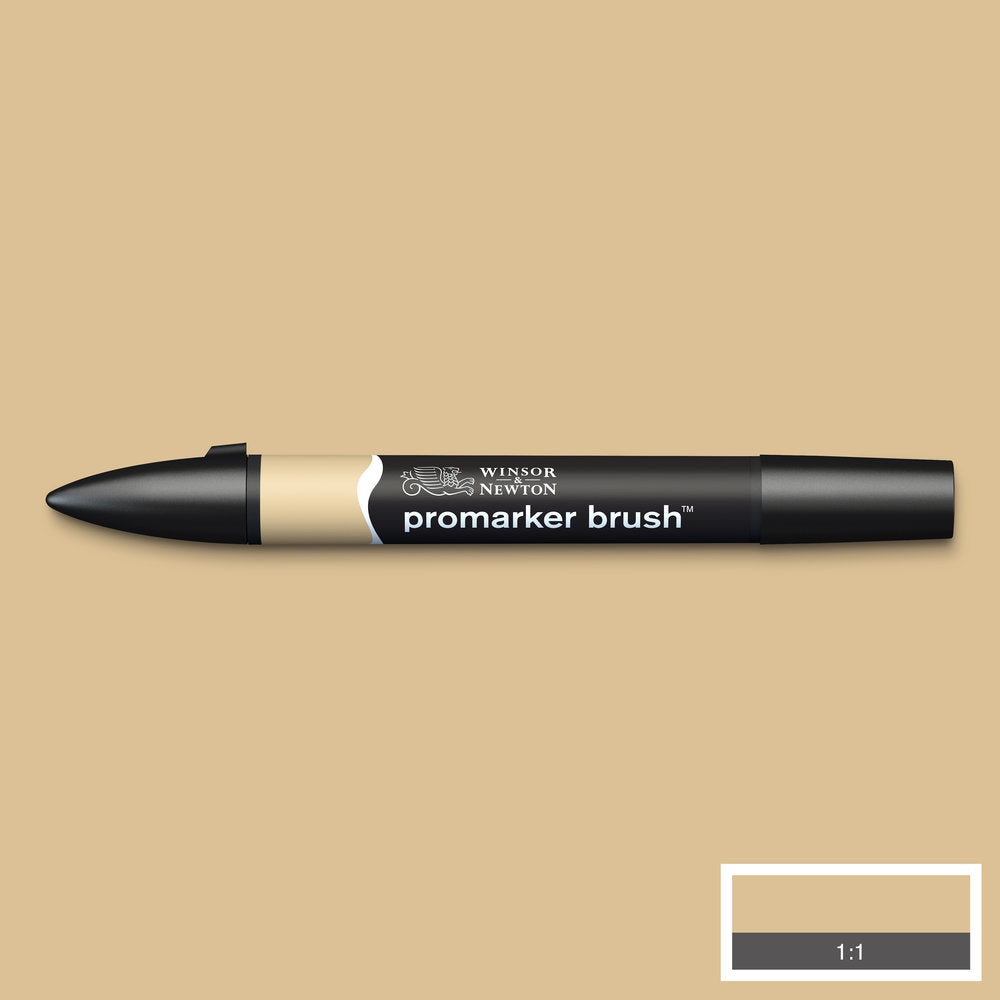
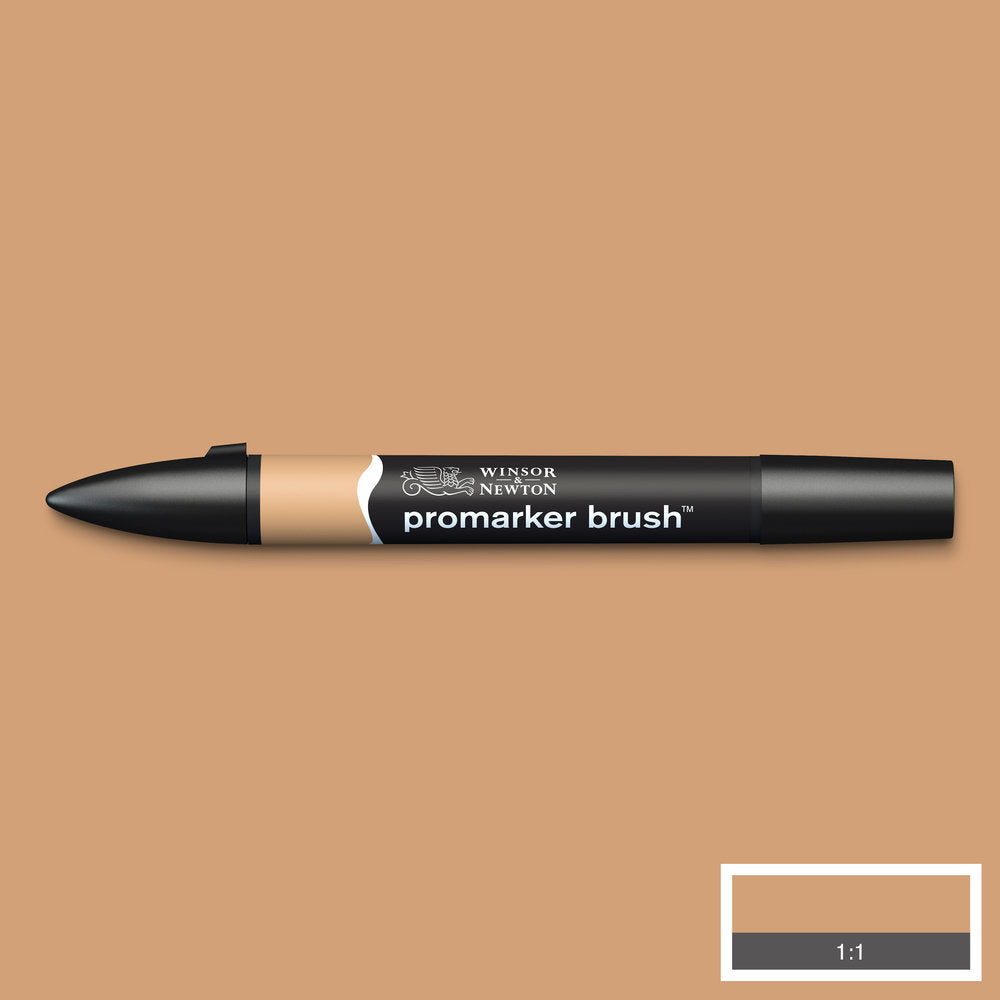
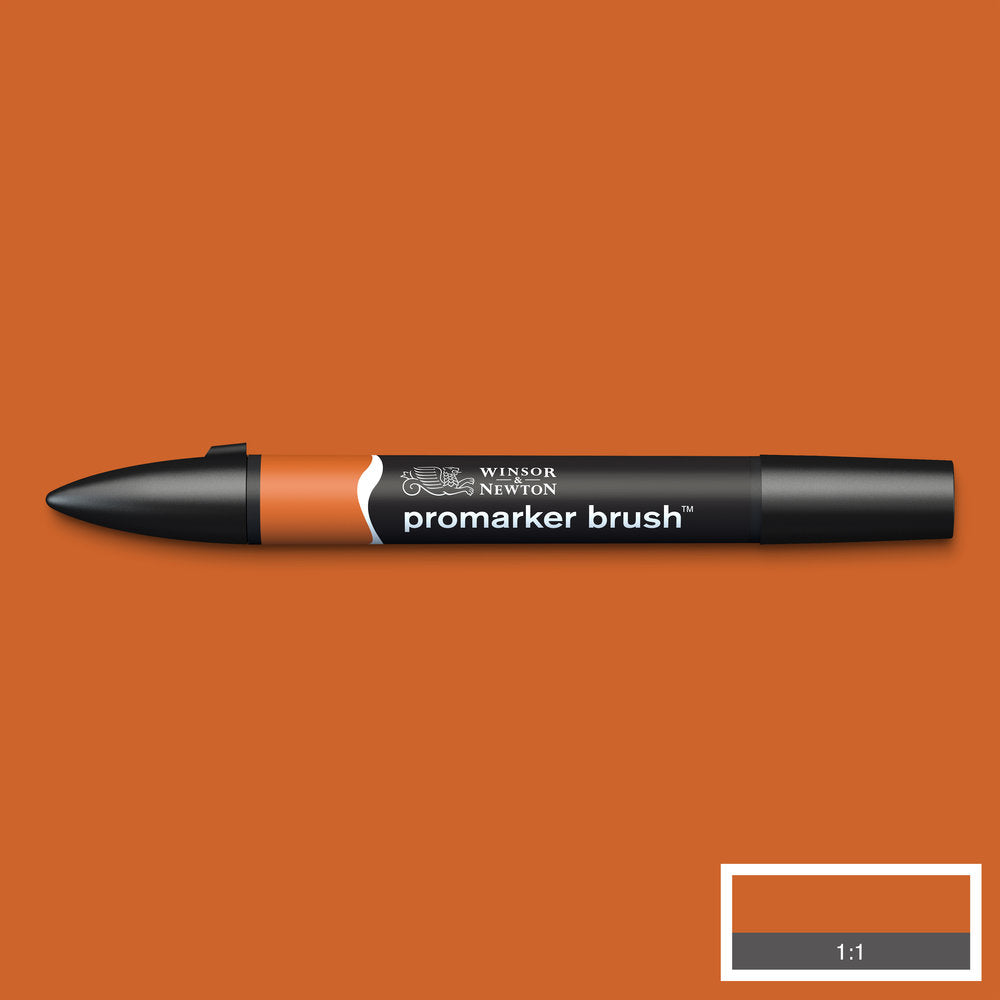
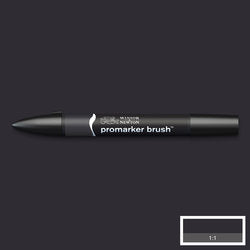
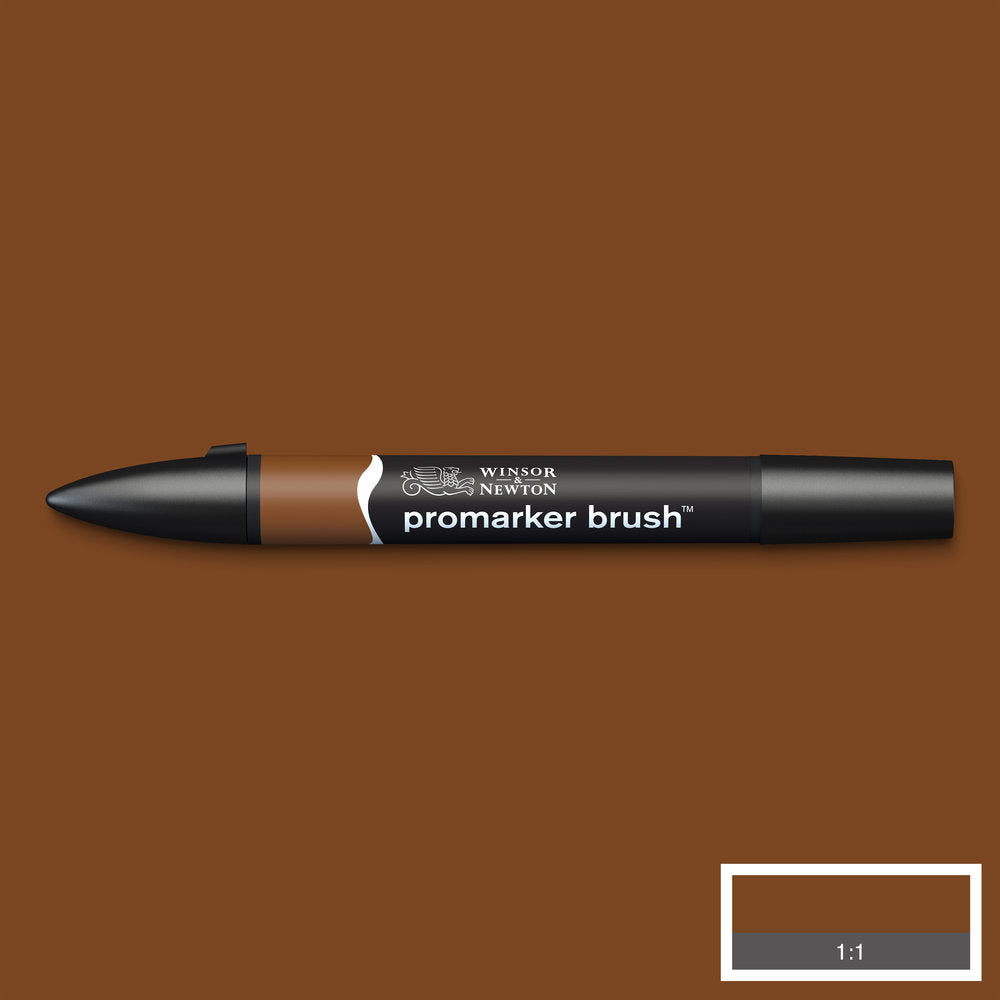
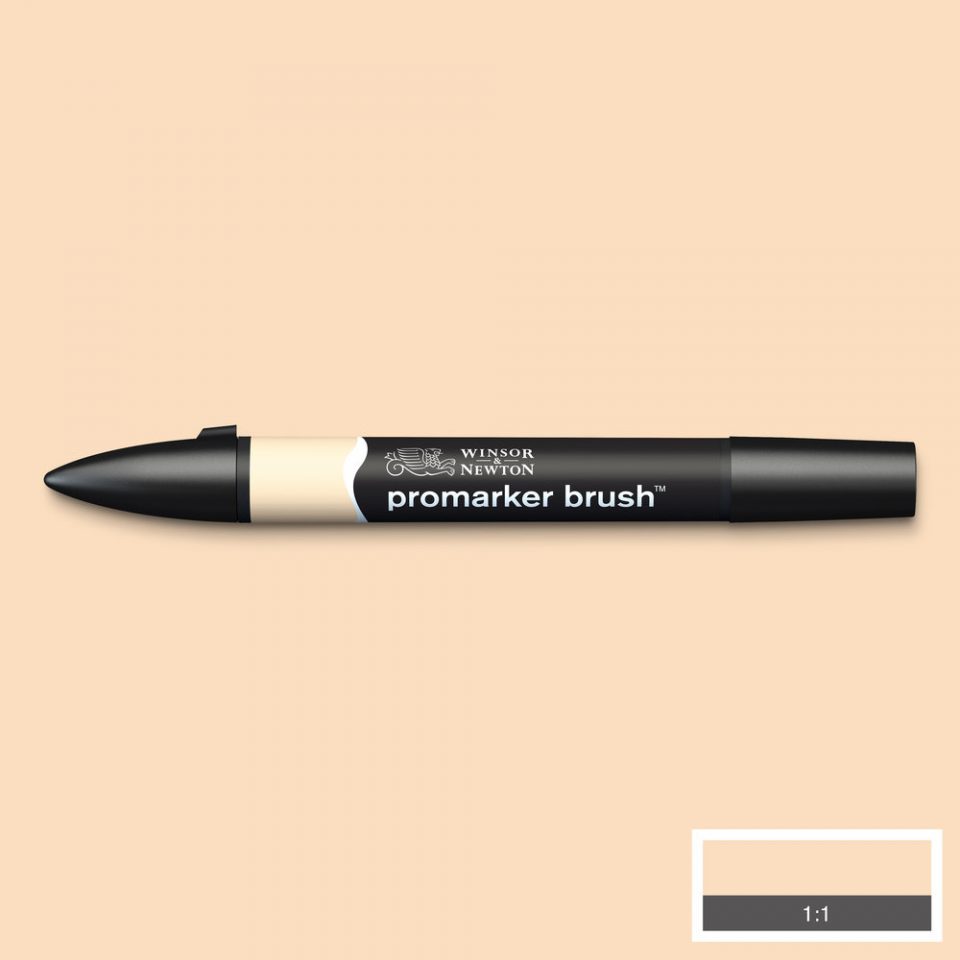
I’ve coloured this little cutie with my Winsor & Newton BrushMarkers. Here’s the shade’s I’ve used:
ProMarker Brush Colours


Designer Papers
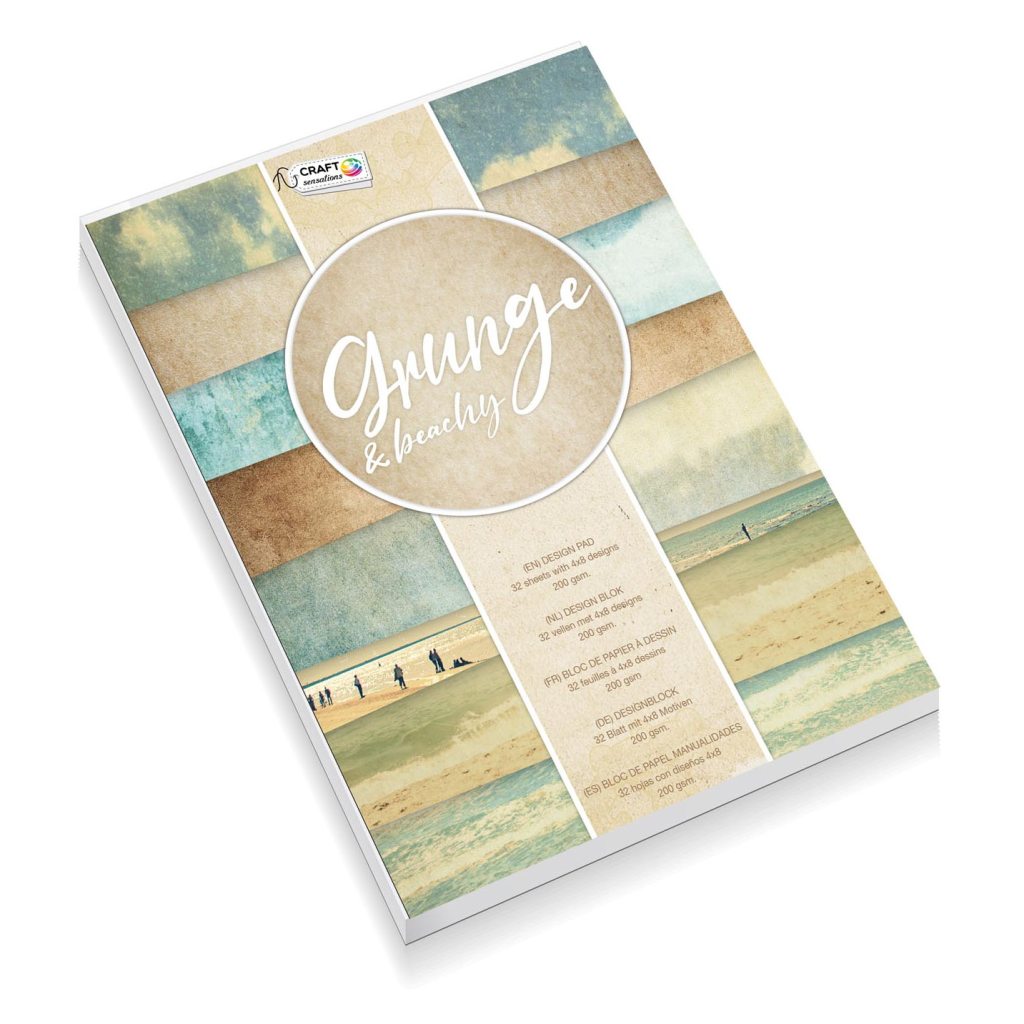
I picked out this Grunge and Beachy paper pack from Craft Sensations for the neutral nature colour scheme and textured rather than patterned papers.
I get most of my papers from The Range because they are always such great value. I believe this pack was just a pound.
Die Cutting
I use dies to make frames around my digital stamps. I always colour my image first in case I make a mess of it.
Then I choose a die shape and size that suits my image and run it through my die cutting machine.
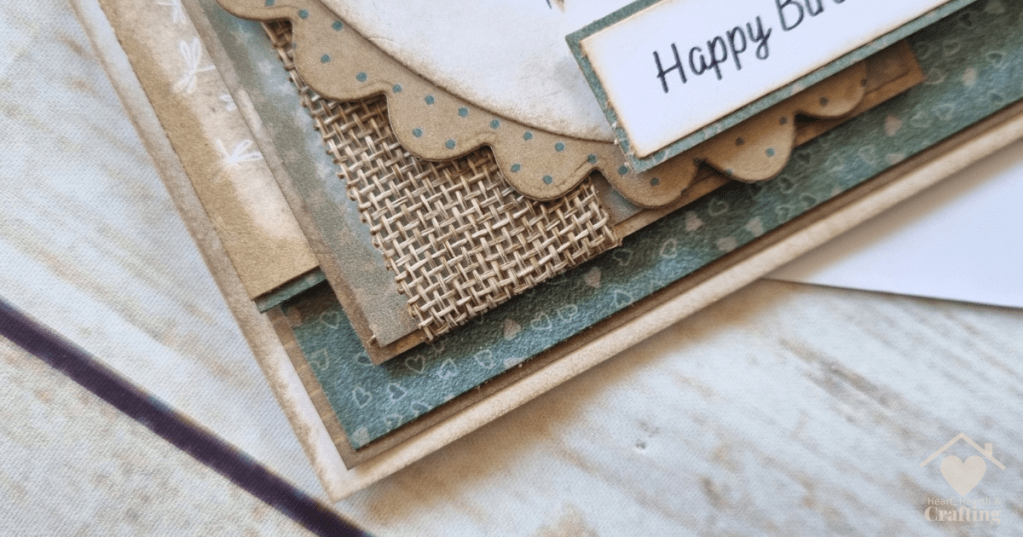
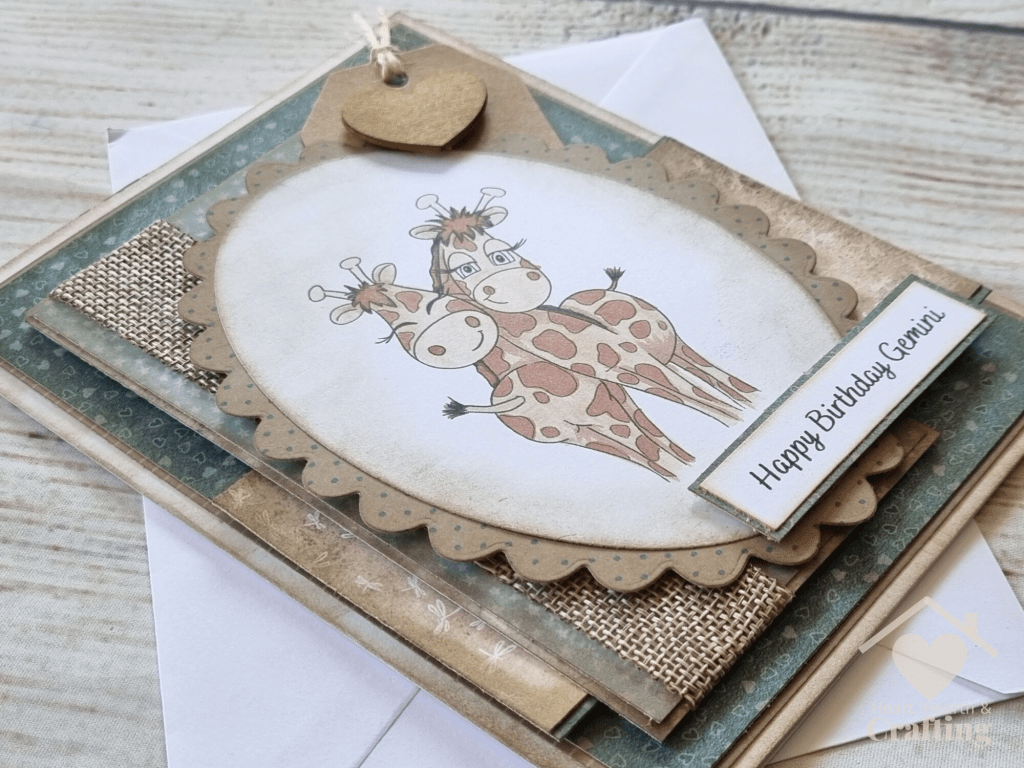
On this card I have used a simple die with a slightly larger scalloped die behind it. The scallops frame the image and help it to stand out on the card.
I like to use distress inks to add a bit of colour around my images. I use a Blending Tool to sweep the ink onto the edges of my die cut shape. For this card I’ve used Frayed Burlap.


Embellishments
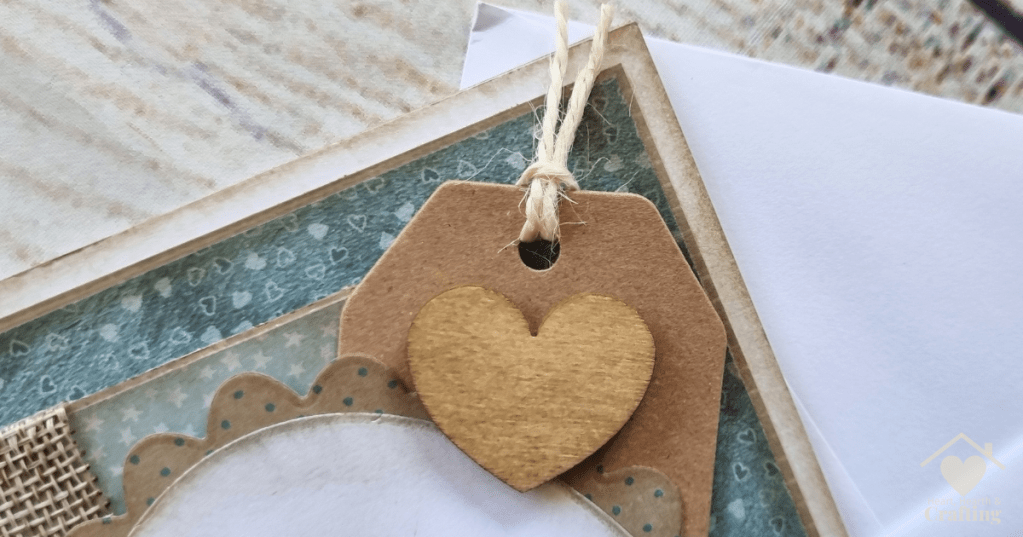
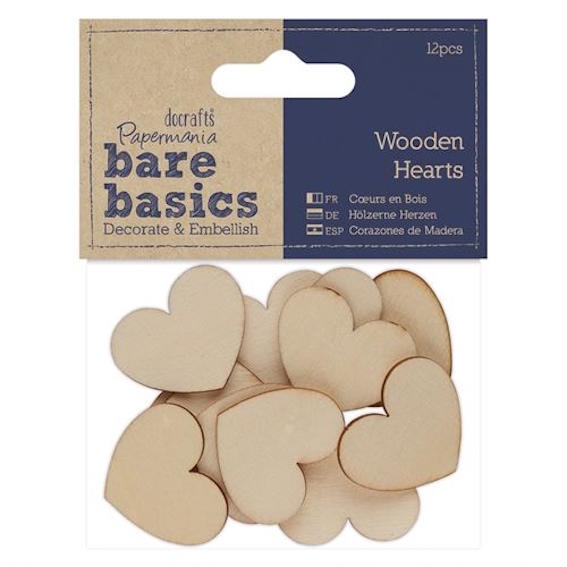
Embracing the grungy vibe, I’ve picked kraft and burlap embellishments for this card.
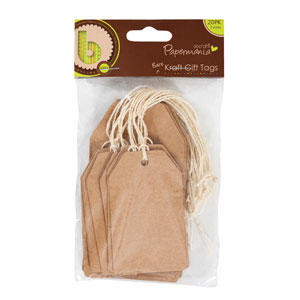
The kraft tags from Papermania made a great base. I’ve layered it with a wooden heart that I’ve distressed with Tim Holtz Distress Ink in Frayed Burlap.
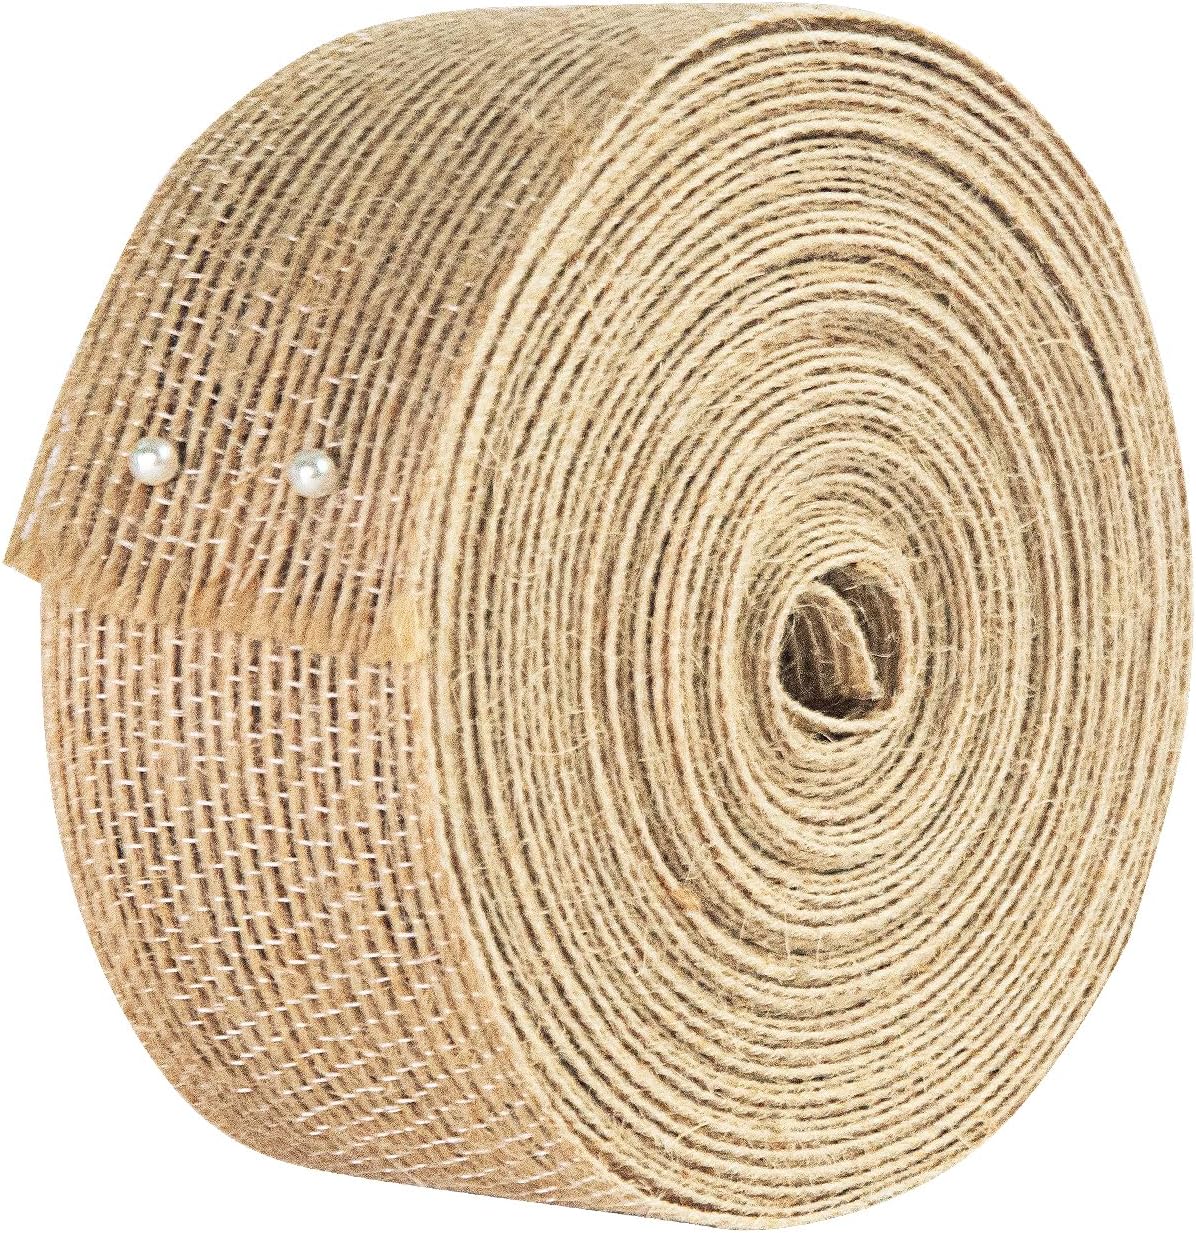
To add a bit of interest and texture to the background I’ve used a length of faux burlap ribbon.
Greeting
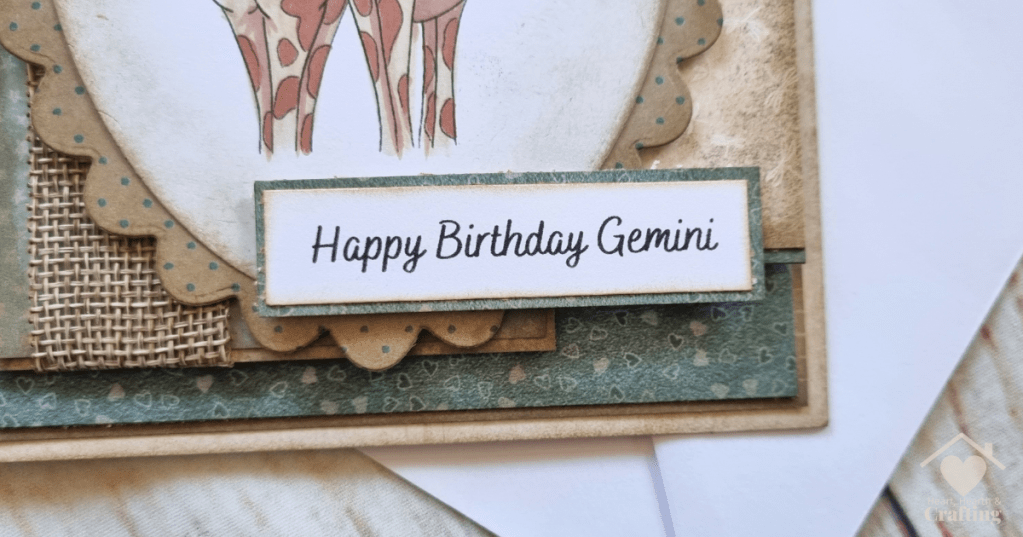
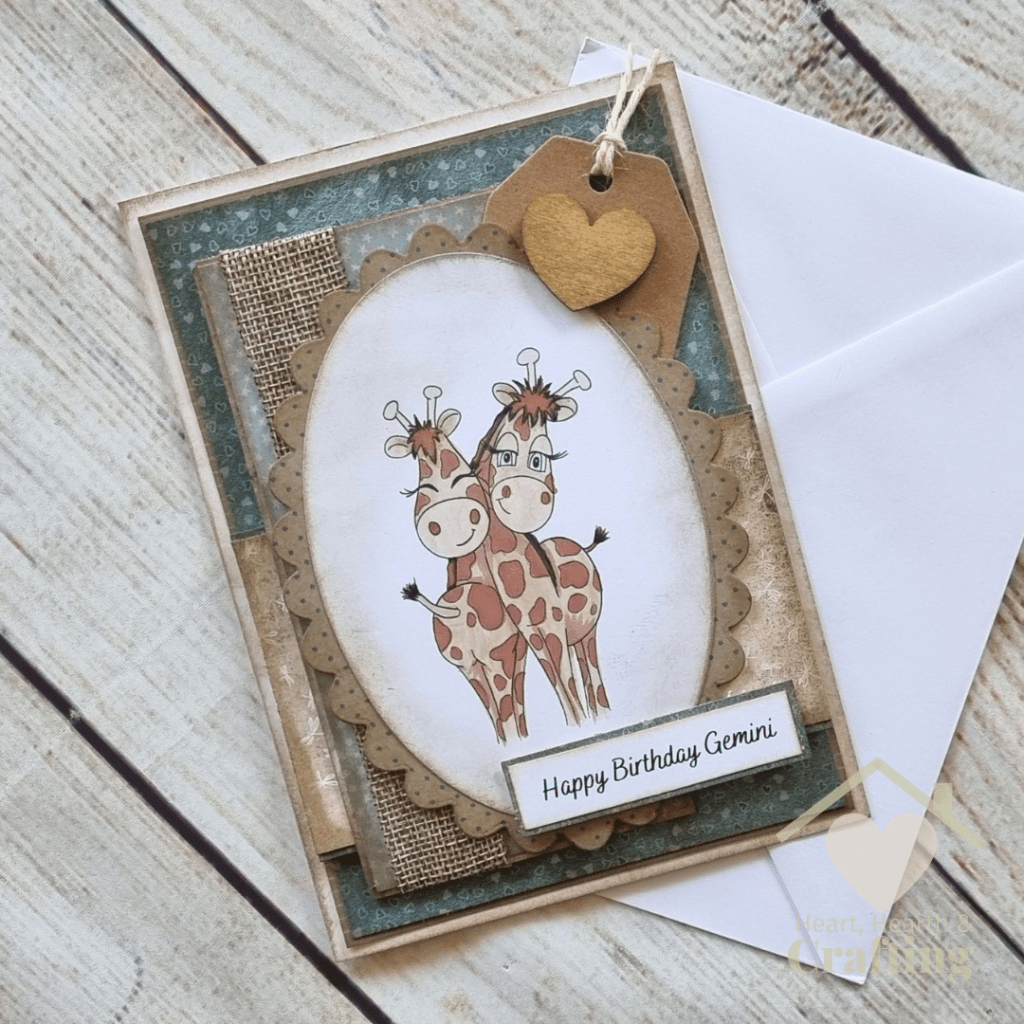
I struggled to find just the right greeting for this card. I ended up making my own in Canva and printing them out onto plain white card.
I used a simple Happy Birthday text followed by the zodiac sign.
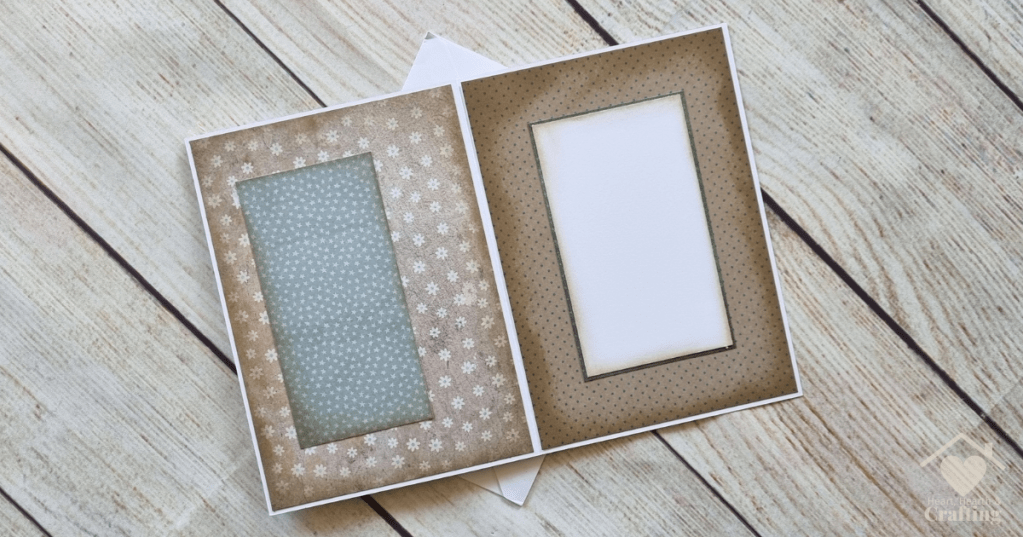
Take a Peak Inside
I think it’s such a shame to receive a beautifully decorated card only to open it and be faced with a blank page. So I use more of my designer papers to decorate the insides of my cards. I mostly use scraps leftover from the main design and a scrap of plain paper to write a nice message onto.
Products I’ve Used

Take a Look at my Etsy Shop
This handmade greeting card is availible to buy in my Etsy shop.
Follow me on your favourite social media channel for more card making ideas and inspiration.
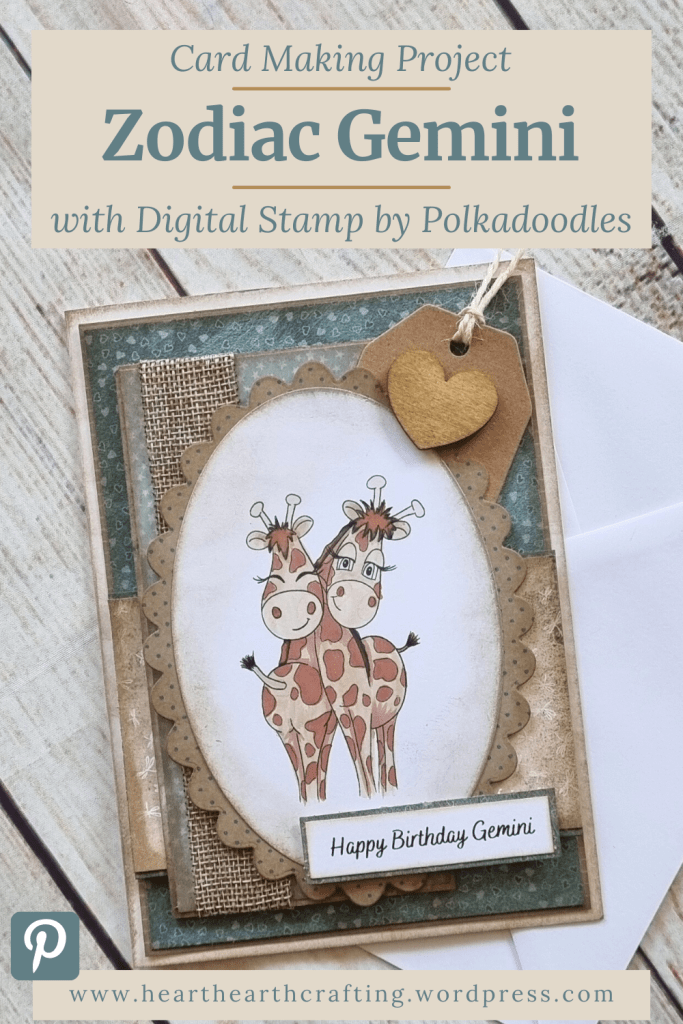
Pin it Now, Craft it Later
I do hope you have enjoyed having a peak at my latest card making project. Please feel free to use my handmade cards to inspire your own creations, pin it to your Pinterest for later.
A Little Bit About Me . . .
Thank you so much for stopping by my little corner of the interweb. I’m Bridie, mum to two small humans, full time homemaker and full time craftaholic – which totally explains why I’m always short on time!

I’ve included links to my favourite retailers for the products I’ve used to make my crafts. Click on any of the product images and links for full details. If you decide to buy any of these products I may get a small percentage of what you spend. There’s no cost to you at all.
