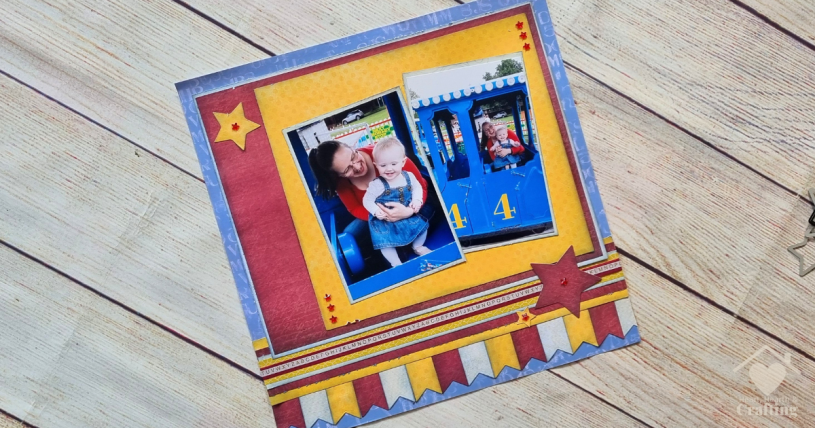
Step by step instructions on exactly how you can recreate this train ride scrapbook layout with your own photos. You can use the Timeless Texture papers shown in the pictures or substitute your own choice of papers. I’ll show you exactly how to cut, embellish and assemble your own scrapbook layout including how to make your own fun bunting strip.
Designer Scrapbook Papers
![How to Make a Train Ride Scrapbook Layout [Step-by-Step Guide]](https://hearthearthcrafts.com/wp-content/uploads/2024/10/blog-image-scrap-dcwv-timeless-texture-train-ride.png?w=1024)
I’ve picked out these bright Timeless Texture papers from Die Cuts With a View. I thought that the bright and cheerful colours in the photo would suit bold bright papers.

Scrapbook Embellishments
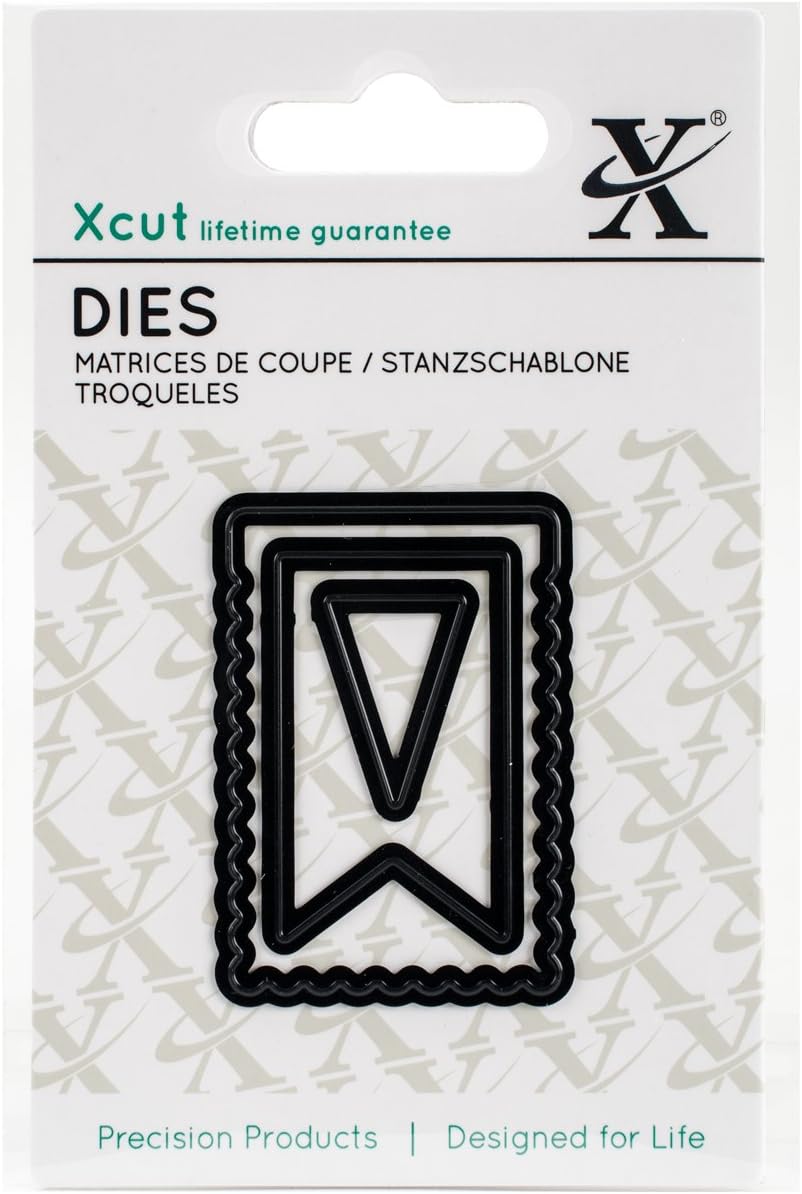
I’ve embellished my scrapbook layout with die cuts from XCut.
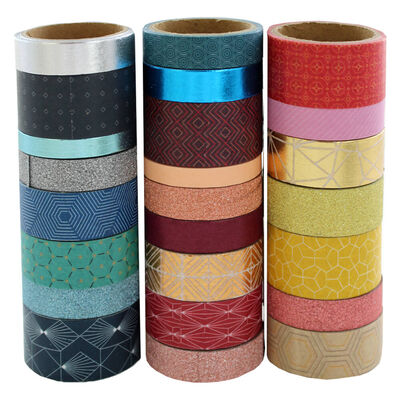
I’ve made this fun banner with the bunting die by XCut. I’ve layered the flags behind a strip of Timeless Texture papers layered with lengths of washi tape.
![How to Make a Train Ride Scrapbook Layout [Step-by-Step Guide]](https://hearthearthcrafts.com/wp-content/uploads/2024/10/blog-embellishment-scrap-dcwv-timeless-texture-train-ride.png?w=1024)
I’ve die cut a few stars from scraps of Timeless Texture papers and stuck them around my layout.
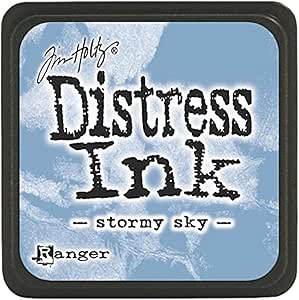
To give the paper layers an impression of depth I’ve inked all the edges with Stormy Sky Distress Ink by Tim Holtz.

How to Make this Scrapbook Layout
How to Prepare Your Papers
Start with a blue paper as the base.
Cut your two portrait photos to measure 3 3/4 x 5 3/4 inches.
Choose and cut your papers. You can substitute any papers you wish. I have used White, Red, Yellow and Blue papers from the Timeless Texture Stack by Die Cuts With a View.
For the Main Panel
- White 8 5/8 x 11 1/8 inches
- Red 8 1/2 x 11 inches
- Yellow 8 x 9 inches
- White 4 x 6 inches x 2 pieces
For the Embellishment Strip
- Yellow 2 x 12 inches
- Red 1 1/2 x 12 inches
- White 1 x 12 inches
Use the XCut nesting star die set to cut stars of various sizes from scraps of paper.
Use the XCut Bunting Mini die to cut bunting shapes. You will need 5 red, 5 white and 4 yellow.
![How to Make a Train Ride Scrapbook Layout [Step-by-Step Guide]](https://hearthearthcrafts.com/wp-content/uploads/2024/10/blog-accent-scrap-dcwv-timeless-texture-train-ride.png?w=1024)
How to Ink Papers with Tim Holtz Distress Ink
Ink the edges of each paper piece with Tim Holtz Stormy Sky Distress Ink.
I use the same colour of distress ink to shade the edges of my papers. It gives my layouts a co-ordinated look.
I start by laying my paper onto a piece of acetate. You can buy acetate in sheets or you can cut it from packaging which is just as good. You do need a flat sheet ideally bigger than the edge of your card.
After choosing my ink colour I dab the ink blending tool onto the ink pad and sweep it from the acetate onto the edge of my paper. I always use a smooth sweeping motion starting and finishing on the acetate sheet.
There are lots of blending tool availible. I have the Ranger one and I’ve been happy with it so I haven’t tried any of the other brands. I use one ink pad for each colour family instead of one for each colour. One pad for all the reds for example. This means that I don’t have to buy so many blending pads and saves me some money.


How to Assemble the Main Panel
Stick the photos onto the White 4 x 6 inch papers. Stick them onto the Yellow 8 x 9 inch paper. Stick this onto the Red 8 1/2 x 11 inch paper and this onto the White 8 5/8 x 11 1/8 inch piece.
I like to use 6mm double sided tape for most of my scrapbook layouts. It’s cheaper than the usual 12mm tape but it sticks just as well.
I use a pokey tool to remove the backing from the tape. It’s nice and easy and saves my finger nails from getting split.
For teeny tiny little embellishments I generally use silicone glue. I use my pokey tool to roll a little blob of silicone from the end of the tubes and then roll it onto my page.

How to Make the Bunting Strip
To make the embellishment strip stick the Red 1 1/2 x 12 inch strip onto the Yellow 2 x 12 inch strip. Stick the White 1 x 12 inch strip on top of them.
Place your layered strips onto a flat surface such as a cutting mat. Lay a length of red washi tape across the middle. Extend the ends of the washi tape beyond the ends of the strip. Place a second strip of thinner washi tape over the first.
Gently lift the paper off the craft mat and turn it over. It’s easy to press the washi tape ends to the back of the paper so that the ends are neatly hidden from the front of the scrapbook layout.
Turn the strip over and stick a length of double sided tape along the bottom. Stick your bunting die cuts along the tape making sure that each one buts up against the previous one. You will need to trim part of the last one off so that it lines up with the edge of the page.
How to Assemble the Scrapbook Layout
Stick the bunting strip in place at the bottom of your scrapbook layout.
Stick the main panel above it.
Last of all use double sided tape to stick your stars onto the layout.
I’ve added some gems for a touch of sparkle.
Shop this Layout:
Follow me on your favourite social media channel for more scrapbooking inspiration and ideas.
![How to Make a Train Ride Scrapbook Layout [Step-by-Step Guide]](https://hearthearthcrafts.com/wp-content/uploads/2024/10/instagram-post-scrap-dcwv-timeless-texture-train-ride.png?w=1024)
Scrapbooking Challenges I’m Entering
- Digi Choosday Challenge
- Polkadoodles Craft Challenge
- Creative Fingers Challenge
- Lil Patch of Crafty Friends
- Penny’s Challenge
- The Paper Funday Challenges
- Ally’s Angels
- The Creative Crafters
Pin It Now, Scrapbook It Later
I do hope you have enjoyed having a peak at my latest scrapbooking layout. Please feel free to use my scrapbook pages to inspire your own creations, pin it to your Scrapbooking Pinterest board so you can find it later.
![How to Make a Train Ride Scrapbook Layout [Step-by-Step Guide] Pinterest Pin](https://hearthearthcrafts.com/wp-content/uploads/2024/10/pin-2a-scrap-dcwv-timeless-texture-train-ride.png?w=683)
A Little Bit About Me . . .
Thank you so much for stopping by my little corner of the interweb. I’m Bridie, mum to two small humans, full time homemaker and full time craftaholic – which totally explains why I’m always short on time!

I’ve included links to my favourite retailers for the products I’ve used to make my crafts. Click on any of the product images and links for full details. If you decide to buy any of these products I may get a small percentage of what you spend. There’s no cost to you at all.

Beautiful creation! Thank you for sharing with us over at The Creative Crafters.
~ Sherry DT/Admin xx
LikeLike
Such a great design, Thanks for sharing it with us at The Creative Crafters Challenge Blog.
Ilonka DT
LikeLike
You’ve created another sweet memory page, I love the colors and design. Thanks for sharing your lovely layout with us at The Paper Funday Challenge, we’re always amazed by all the talent shared with us.
Donna xx
Paper Funday Challenges
Beautiful Blossoms Challenges
Inspiration Station Challenges
LikeLike
Great layout! Thank you for sharing at Polkadoodles Craft Challenge. Hope to see you again!
Merja DT
LikeLike