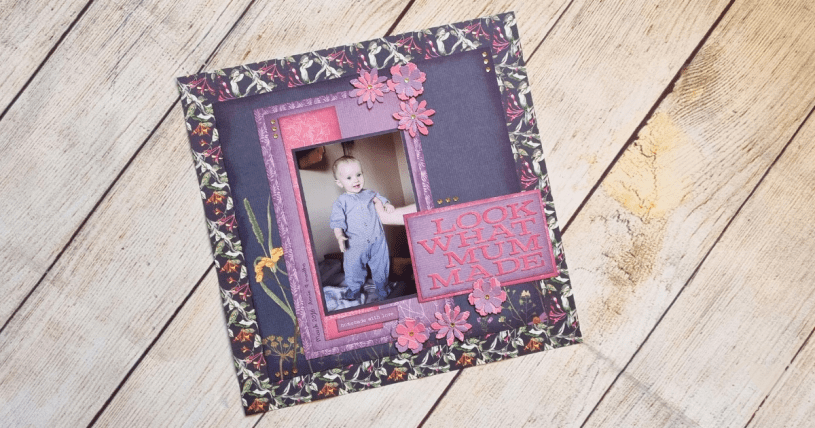
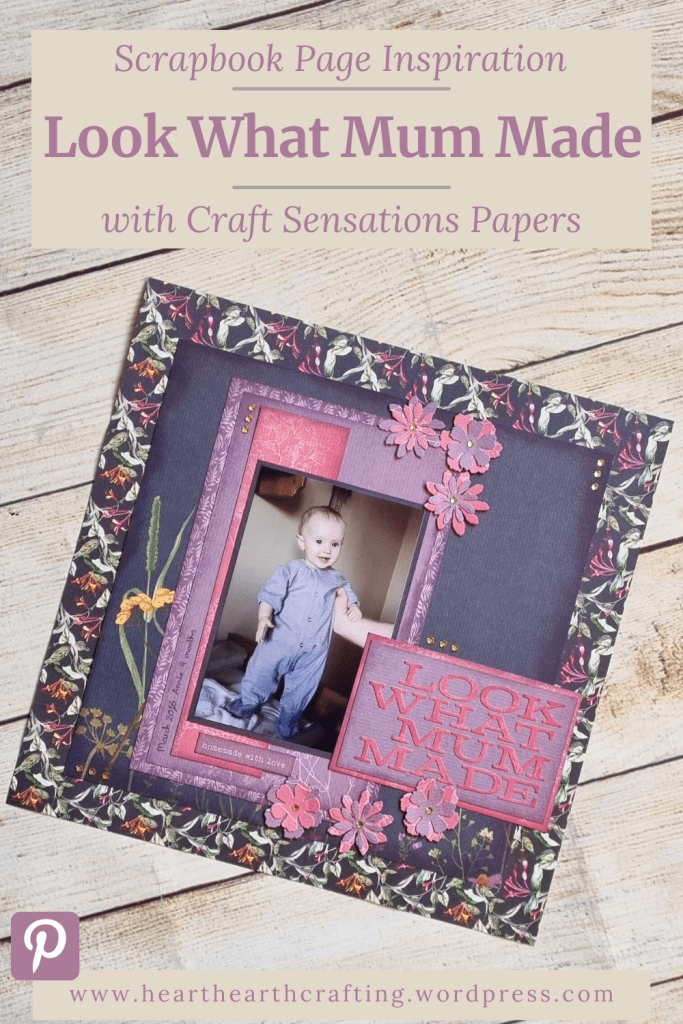
I’m scrapbooking this photo of my first baby romper sewing project. I was so stinking proud of my self! I’m pairing my photos with Live Life in Full Bloom papers from Craft Sensations and dies from XCut and Sizzix. I’m sharing my favourite technique for adding texture to die cut embellishments.
Designer Scrapbook Papers
I love the designer papers from Craft Sensations. There are loads and loads of different designs to choose from. I’m literally spoilt for choice. The quality is great, they don’t feel thin or flimsy but they are fantastically good value.
I get them from the Range and typically pay just £2.99 a pack. Even on a tight budget I can afford to have a whole stack to choose from.
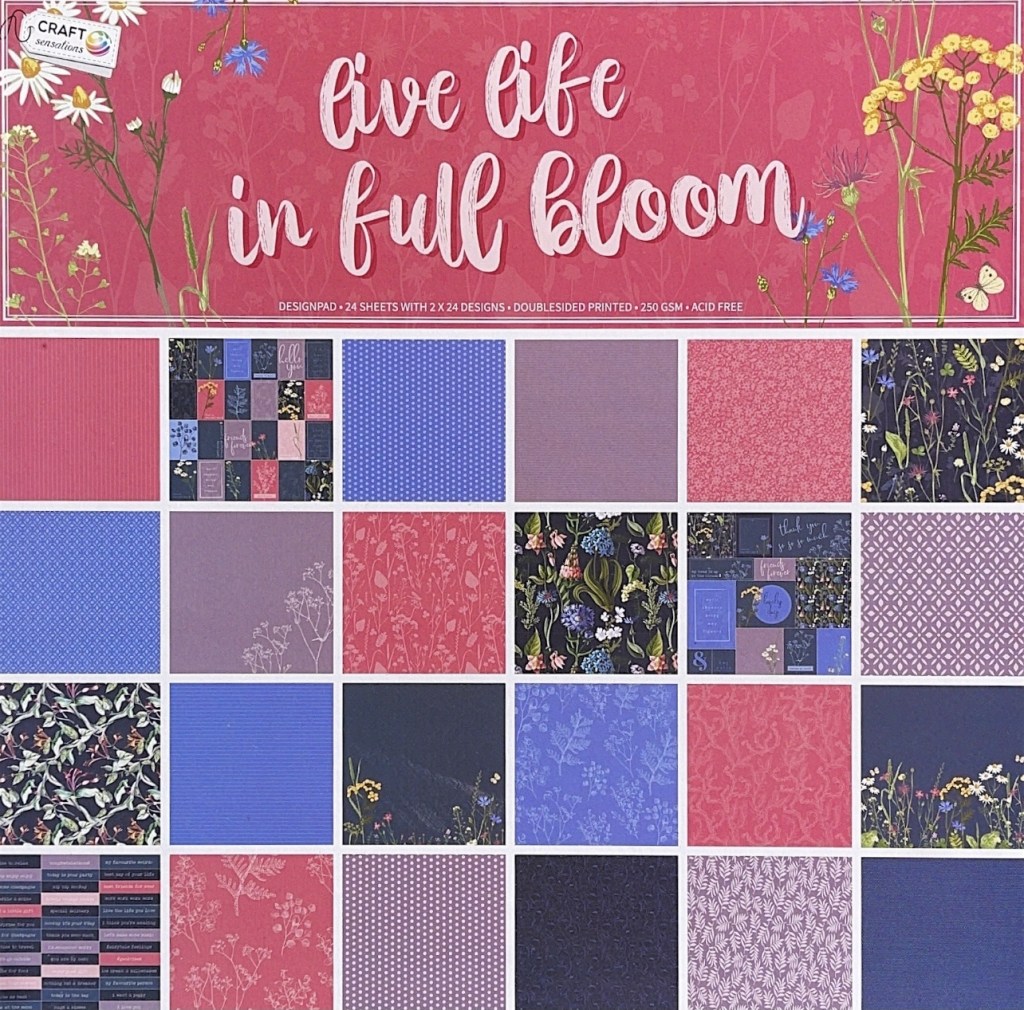
This Live Life in Full Bloom paper pack is one of my favourites. I love the purple and pink jewel tones and they were just the right colours to match my baby girl’s purple romper.
Scrapbook Embellishments
I felt like floral embellishments would suit this scrapbook layout and so I pulled out one of my favourite die sets, Tattered Florals by Tim Holtz. After running scraps of Craft Sensations paper through my Sizzix Big Shot I used a bone folder to shape the petals and make them stand out a little. You can do this with the palm of your hand but it is easier with a soft mat such as a paper piercing mat. You can also use a large embossing ball tool or even a tea spoon in a pinch. You just need to gently rub the centre of the flower in a circular motion. This stretches the paper very slightly and causes the petals to curl upwards. It’s a super quick and easy way to add dimension to your paper craft projects.
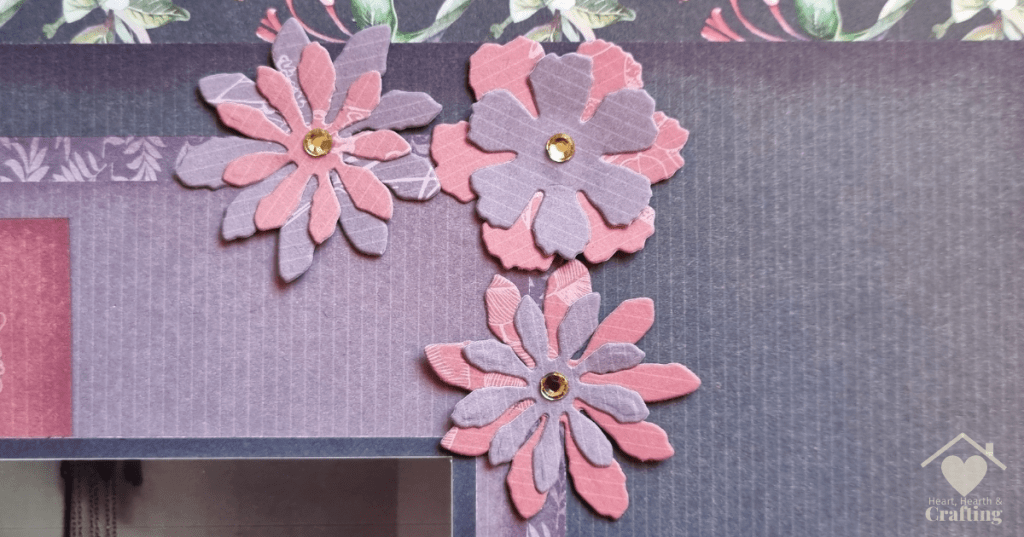
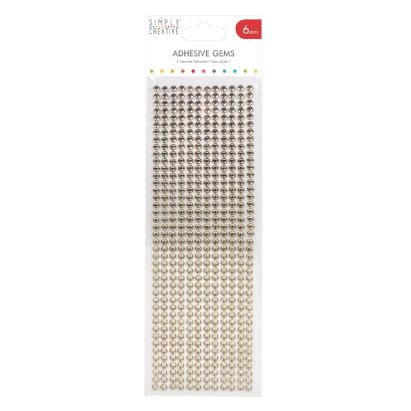
I’ve added a tiny touch of sparkle with these gold gems from Simply Creative.
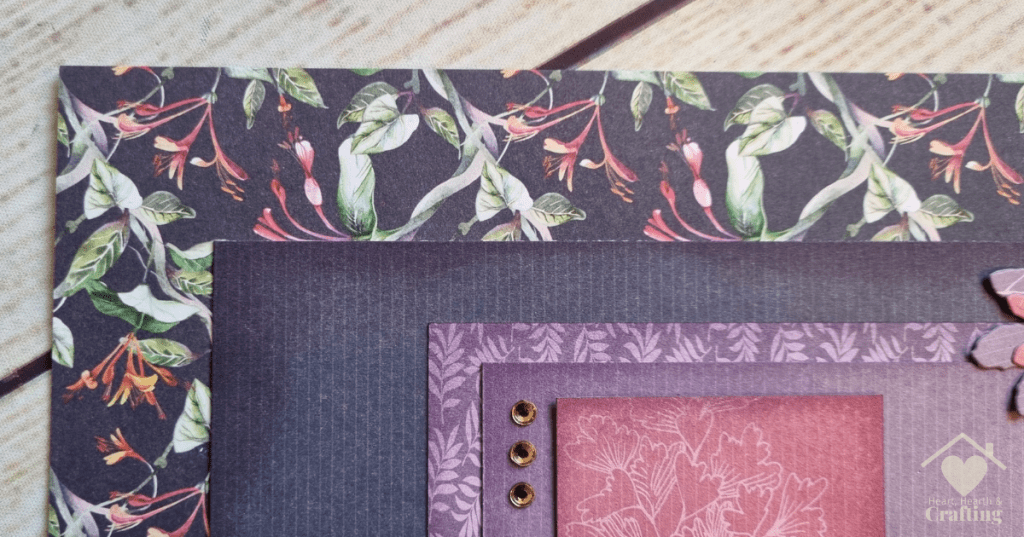
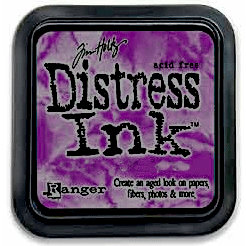
For a little extra texture I’ve inked the edges of my papers with Tim Holtz Distress Ink in Dusty Concord.

Scrapbook Page Title
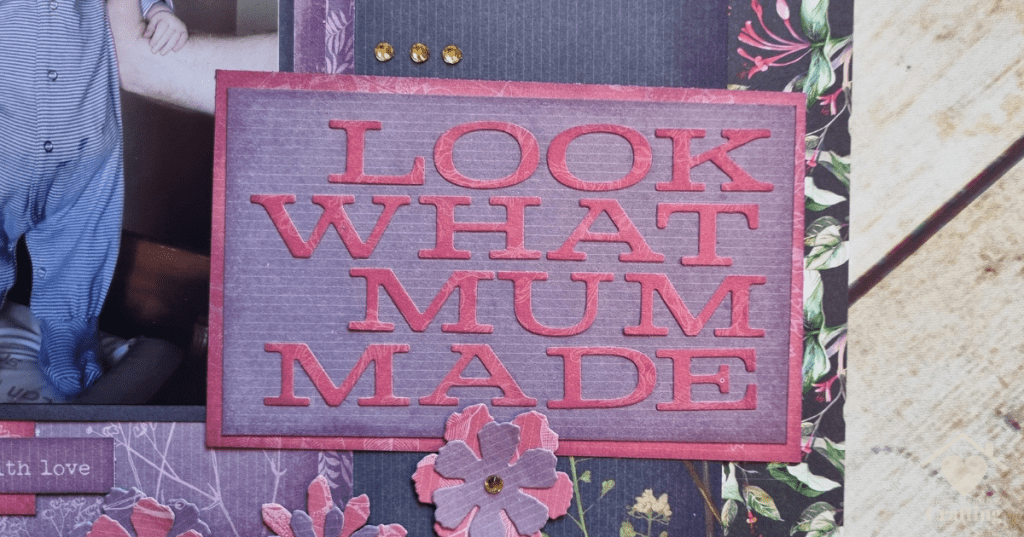
I wanted a big, bold title and so I reached for one of my favourite alphabet dies, the Mid West from XCut. It’s great for letters that make a real impact and stand out from the scrapbook page. On this layout I’ve made a mat to stick the letters onto so that they didn’t get lost on top of the fussy background paper.

Scrapbooking Supplies I’ve Used
Follow me on your favourite social media channel for more scrapbooking inspiration and ideas.

Pin It Now, Scrapbook It Later
I do hope you have enjoyed having a peak at my latest scrapbooking layout. Please feel free to use my scrapbook pages to inspire your own creations, pin it to your Scrapbooking Pinterest board so you can find it later.
A Little Bit About Me . . .
Thank you so much for stopping by my little corner of the interweb. I’m Bridie, mum to two small humans, full time homemaker and full time craftaholic – which totally explains why I’m always short on time!
I’ve included links to my favourite retailers for the products I’ve used to make my crafts. Click on any of the product images and links for full details. If you decide to buy any of these products I may get a small percentage of what you spend. There’s no cost to you at all.
