Step by step instructions on how to make your own DIY Rag Rug Coasters from scraps of fabric. Rag Rug Coasters are really easy to make and great fun too. The mini Rag Rugs can be used as mug rugs as well as plant mats and even place mats.
Materials You Will Need
All you need to make this craft project is some fabric scraps, sewing thread and a sewing machine.
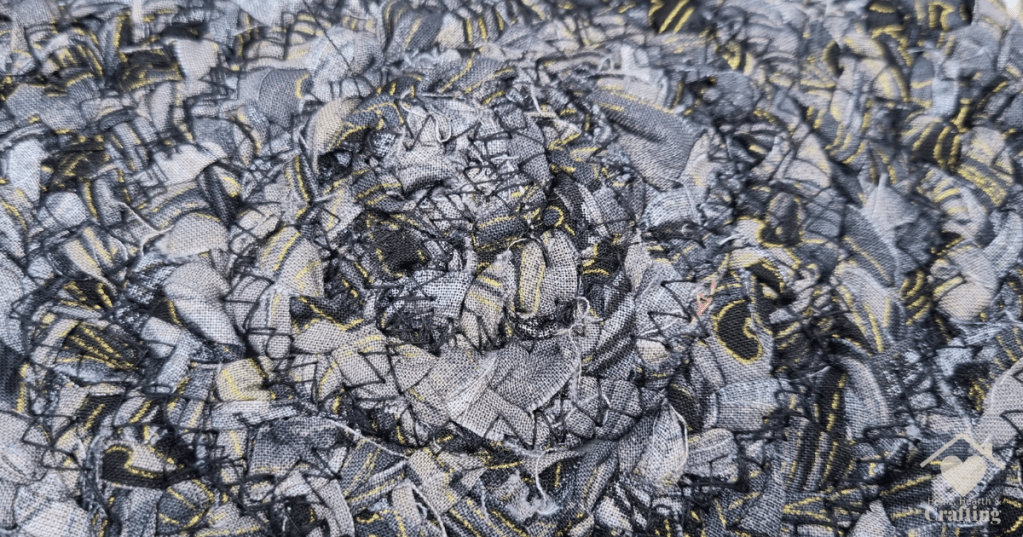
You can use any type of fabric, stretch fabric scraps work great because they don’t fray. I typically have woven fabric scraps and they work fine. The fraying fibres give the rugs a rustic look.
You can use fabric scraps that are all the same fabric as I have done here. Or you can choose co-ordinating pieces of fabric. Or you can go totally crazy and use any and every scrap you have. This craft project is a great stash buster!
You’ll need to cut your fabric scraps into lengths about half an inch wide. The length doesn’t matter too much, less than 6 inches will be difficult to work with and anything over a metre will be awkward too. Aside from that, whatever works for your fabric scraps will do fine.
The width doesn’t need to be accurate either. Roughly half an inch is fine.
How to Make DIY Rag Rug Coasters
Start with three strips of scrap fabric of different lengths.
Secure the fabric strips together at one end. You can do this by sewing a few stitches through all three pieces of fabric or you can just use a binder clip or even a paper clip instead.
Then start braiding the strips. Hold the three strips in your hands, one to the left one to the right and one in the centre. Take the right hand strip and move it to the centre. Take the left hand strip and move it to the centre, passing it over the strip that started on the right.
Keep going, making a nice neat plat with your strips of fabric.
As you approach the end of one of the strips of fabric you’ll need to add another strip. To do this just trap the end of the new strip underneath the old one and hold them together for a few rounds.
Keep going, replacing strips as they are used up. I like to do this whilst watching TV, it’s one of those repetitive, relaxing crafts that takes very little concentration.
When you have used all of your strips and need to replace the next one, use the other end of the longest strip. After a few more rounds of braiding you will be able to weave that loose end into the braids and secure it.
Then it’s over to the sewing machine.
Start by setting the stitch settings on your sewing machine. The stitch length needs to be on the maximum. And the stitch width needs to be set to the maximum too.
Getting started stitching is the tricky bit, once you’re past this it’s plain sailing. Fold the end of your braid back on itself and place this folded bit underneath the presser foot of your sewing machine.
Sew a couple of zig zag stitches. Then stop stitching and gently turn the rope so that you’re coiling it around the fold you started with.
Keep stitching and keep coiling, slow and steady is the name of the game until you get started.
Keep stitching, coiling the braid round and round until you make a flat circle. If you have an extension table for your sewing machine it will help to keep the circle flat and prevent it from curling up at the edges.
When your coaster has reached the size you want trim off the excess braid and keep on stitching until you get to the end of the braid.
Then reverse your stitches over the end of the braid to secure it.
If your coaster is more bowl than plate you can stitch from side to side across the centre to help it stay flat. Popping it underneath some heavy books for a while should force it flat too.
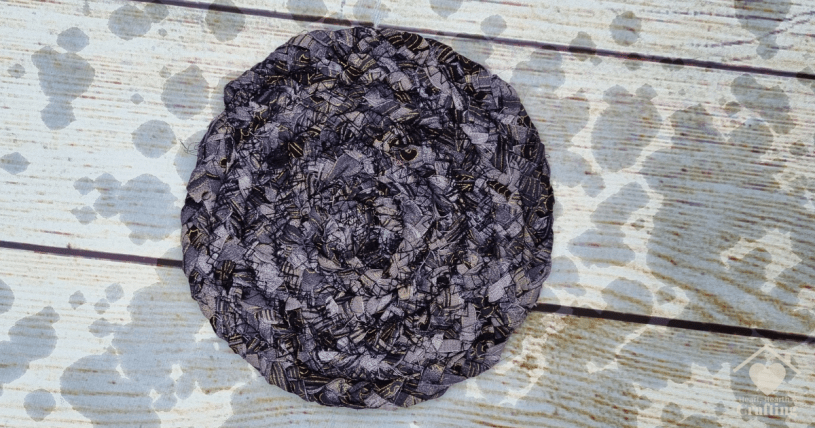
Congratulations, you’ve made your very own DIY Rag Rug Coaster, ready to beautifully protect your surfaces. Once you start you won’t be able to stop! Have fun experimenting with different colours and sizes.
I’d love to see what you come up with!
I do hope you have found this DIY Rag Rug Coaster tutorial useful.
Follow me on your favourite social media channel for more crafty projects and inspiration.
![How to Make DIY Rag Rug Coasters [Step by Step Craft Tutorial]](https://hearthearthcrafts.com/wp-content/uploads/2023/12/instagram-post-craft-rag-rug-coaster-black.png?w=1024)
Pin It Now, Craft It Later
I do hope DIY Rag Rug Coasters have inspired you to have ago at making your own.
Pop this step by step tutorial on your Pinterest board so you can find it later.
![How to Make DIY Rag Rug Coasters [Step by Step Craft Tutorial] Pinterest](https://hearthearthcrafts.com/wp-content/uploads/2023/12/pin-9-craft-rag-rug-coaster-black.png?w=683)
A Little Bit About Me . . .
Thank you so much for stopping by my little corner of the interweb. I’m Bridie, mum to two small humans, full time homemaker and full time craftaholic – which totally explains why I’m always short on time!

I’ve included links to my favourite retailers for the products I’ve used to make my crafts. Click on any of the product images and links for full details. If you decide to buy any of these products I may get a small percentage of what you spend. There’s no cost to you at all.
