My Merryweather tops have become a wardrobe staple and my go to pattern for comfortable tops. I love the shape they give me and the fit is perfect. I’ve worn them so much I’m sewing myself some more.
Sewing Pattern
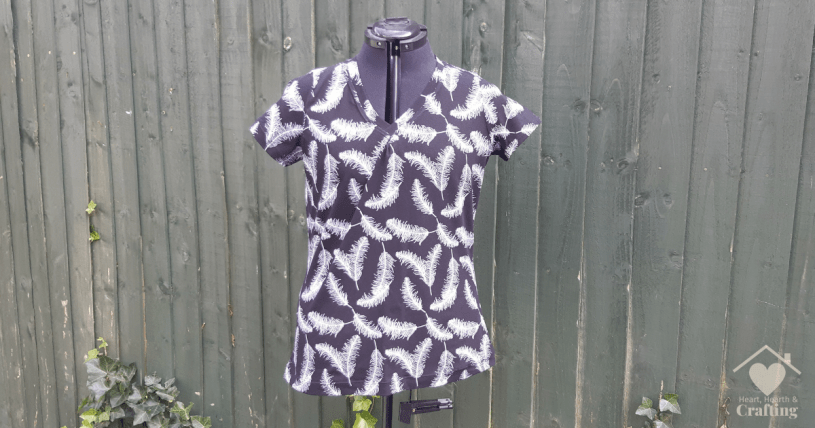
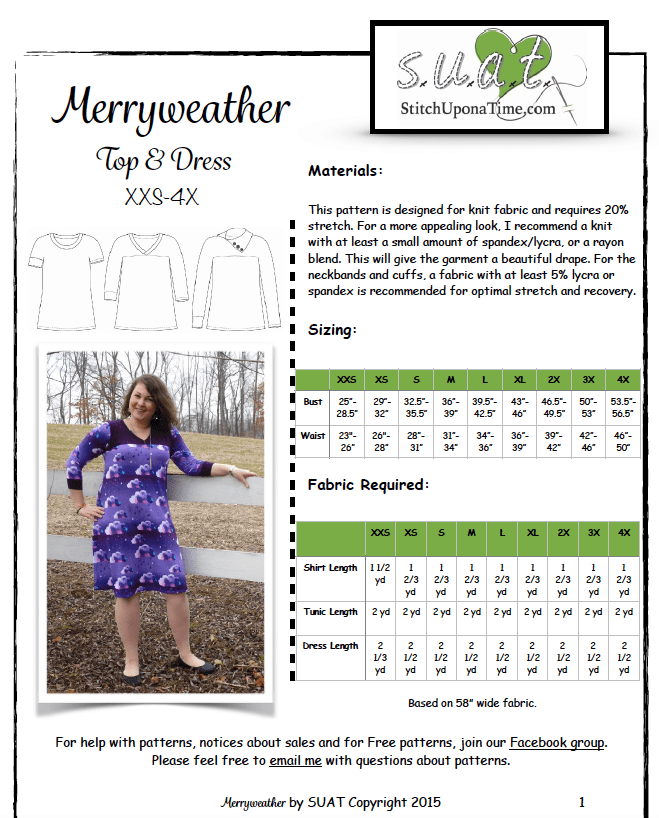
The pattern is the Merryweather from Stitch Upon a Time.
It’s a super simple jersey top with optional colour blocking. I’ve not tried the colour blocking yet as the line sits right on the bust and I feel like this would draw attention to my ample bust. But actually now I’m looking closer the line is at the top of the bust just below the V neckline so it might actually flatter my figure. I’ll have to try it at some point. It would be very useful for putting large scraps to use.
There’s the usual long, short and three quarter sleeve length options. It’s nice to have the versatility. I wear the short sleeve for summer, the long sleeve in autumn and spring. For winter wear I layer two of them together.
I’m particularly fond of the neckline options. I think a V neckline is the most flattering on my figure. There’s a simple round neck line too. And a turtle neck which I haven’t tried because I don’t find them comfortable to wear.
I almost forgot about the dress option. I’ll have to give that a try at some point, I think it would make a lovely comfortable casual dress.
Fabric Choices
I love this soft and stretchy cotton Lycra. It has fabulous recovery so it hugs my figure in all the right places and skims over all the bits I want it to.
I have sewn this pattern in a buttery soft organic cotton jersey and it’s very comfortable but the recovery just isn’t up to the job. It’s become baggy and shapeless so it’s now a lovely pyjama top.

Sewing the Neckline
The only vaguely involved part of sewing is the neckband.
I’ve made a right mess of the neckband on this sew of the Merryweather. My first attempt came out perfectly. I think it’s one of those techniques that’s beautifully simple IF you follow the instructions correctly! I think I lined up the tacking (basting) stitches on the neckband incorrectly. I also didn’t take the time to tack it in place before sewing. I’m very prone to rushing sewing projects and not taking the time to follow the instructions carefully enough. It’s definitely my sewing goal going forward!
I’d love to say I’ve learned from this mistake but I know it will take many more such errors for me to get it through my thick head.
I did try to unpick the neckband and try again but the thread colour was so well matched that I ended up damaging the fabric and gave up. I’ll just have to live with the unsightly pucker right in the middle of the neckline.
As always I’ve added a row of top stitching around the neckline with a twin needle. This secures the potentially irritating seam on the inside and leaves a neat finish on the outside of the neckband.

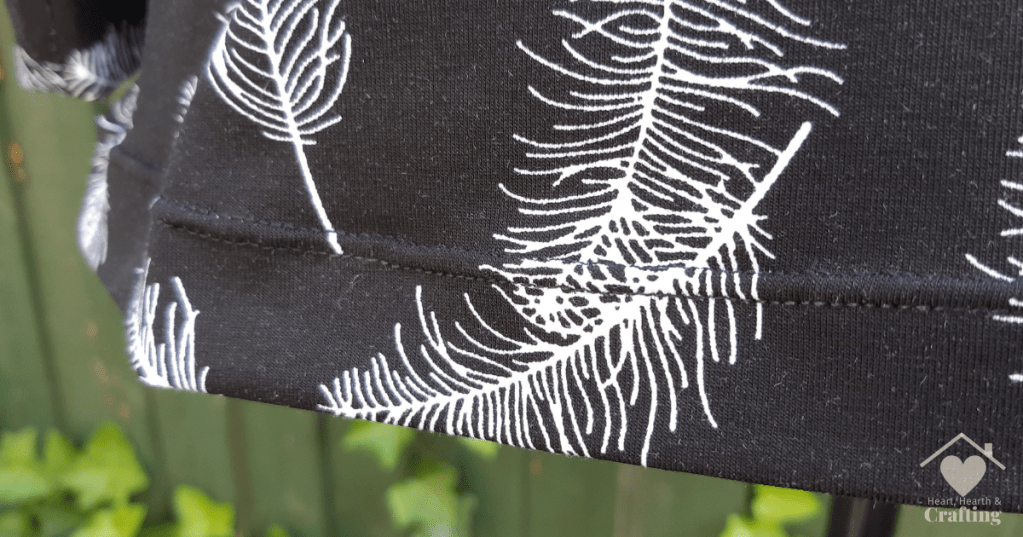
Sleeve and Body Hems
I use a twin needle on my hems. I love the professional looking finish it makes.
I do hope you have enjoyed having a peak at my latest sewing project. Please feel free to use my handmade crafts to inspire your own creations, pin it to your Pinterest for later.

A Little Bit About Me . . .
Thank you so much for stopping by my little corner of the interweb. I’m Bridie, mum to two small humans, full time homemaker and full time craftaholic – which totally explains why I’m always short on time!

I’ve included links to my favourite retailers for the products I’ve used to make my crafts. Click on any of the product images and links for full details. If you decide to buy any of these products I may get a small percentage of what you spend. There’s no cost to you at all.
