My Little Dude insists on living in shorts for about 10 months of the year – crazy boy!! At least they’re nice and quick to sew so he can have a good variety to choose from. He loves character prints but they’re so pricey!! So I’ve come up with a nifty little trick to make fun character shorts for a fraction of the price. And I’m using a free pattern to sew them too.
Keep on reading and I’ll share my trick and details of the free pattern I’ve used.
Fabric Choices
My Little Dude is currently obsessed with Batman and Spiderman so I treated him to some new character fat quarters. They’re quite pricey, particularly the character prints that my kids love. A fat quarter isn’t really enough fabric for a pair of toddler shorts, not by half. So I’d have to buy two fat quarters for each pair of shorts.
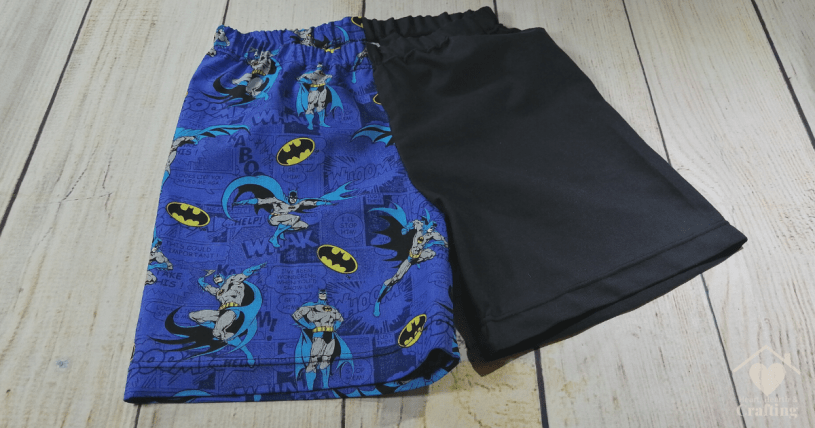
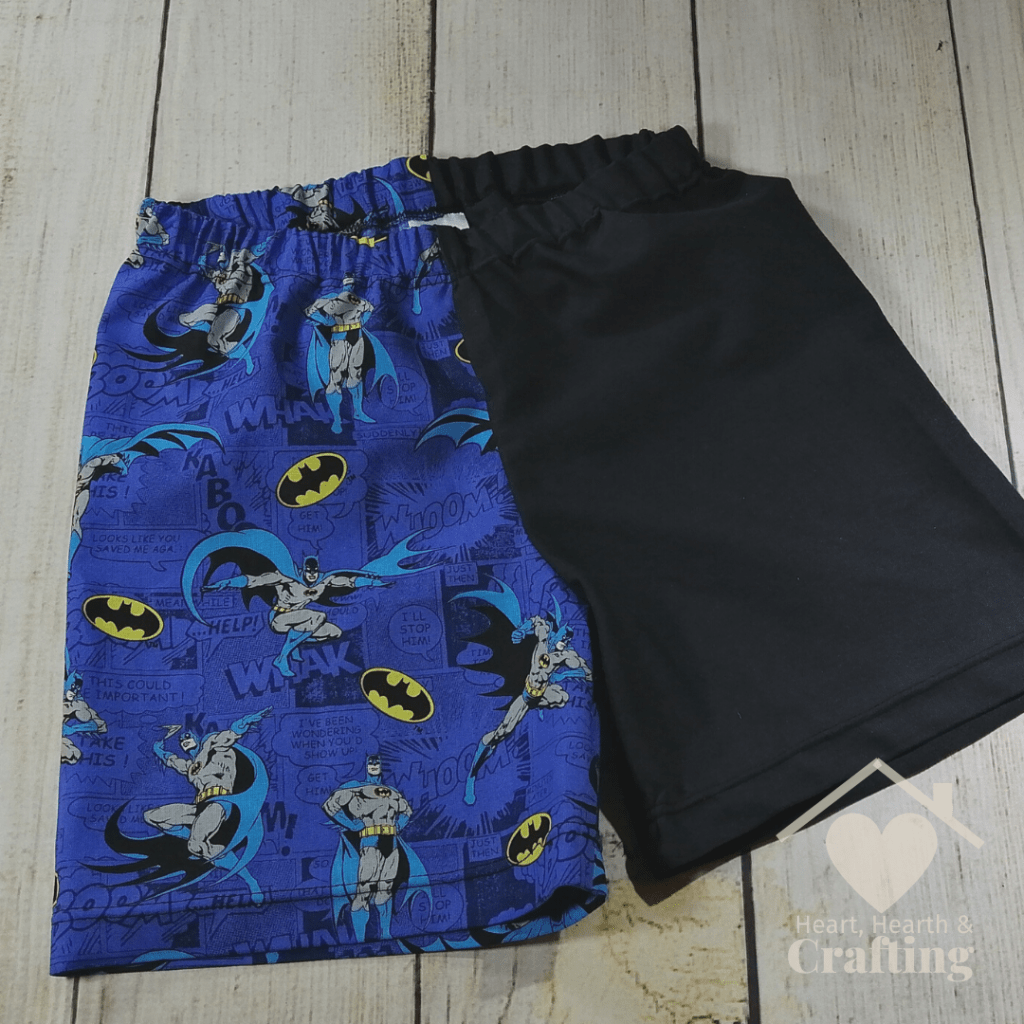
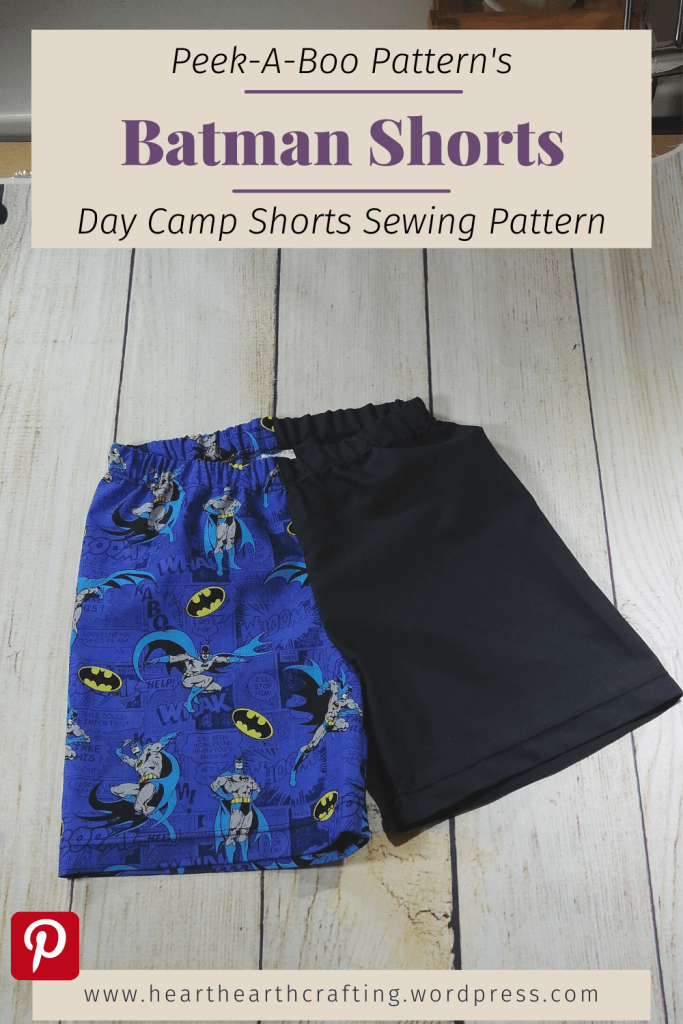
A few years ago I came up with the idea of using a premium fabric for one half of the shorts and a cheaper plain fabric for the other side. The result is a really fun harlequin effect. If I use scraps of plain fabric it literally halves the cost of the shorts.
So for one fat quarter and some scraps of plain black cotton, I’ve got a premium looking pair of shorts that will make my Little Dude’s day.
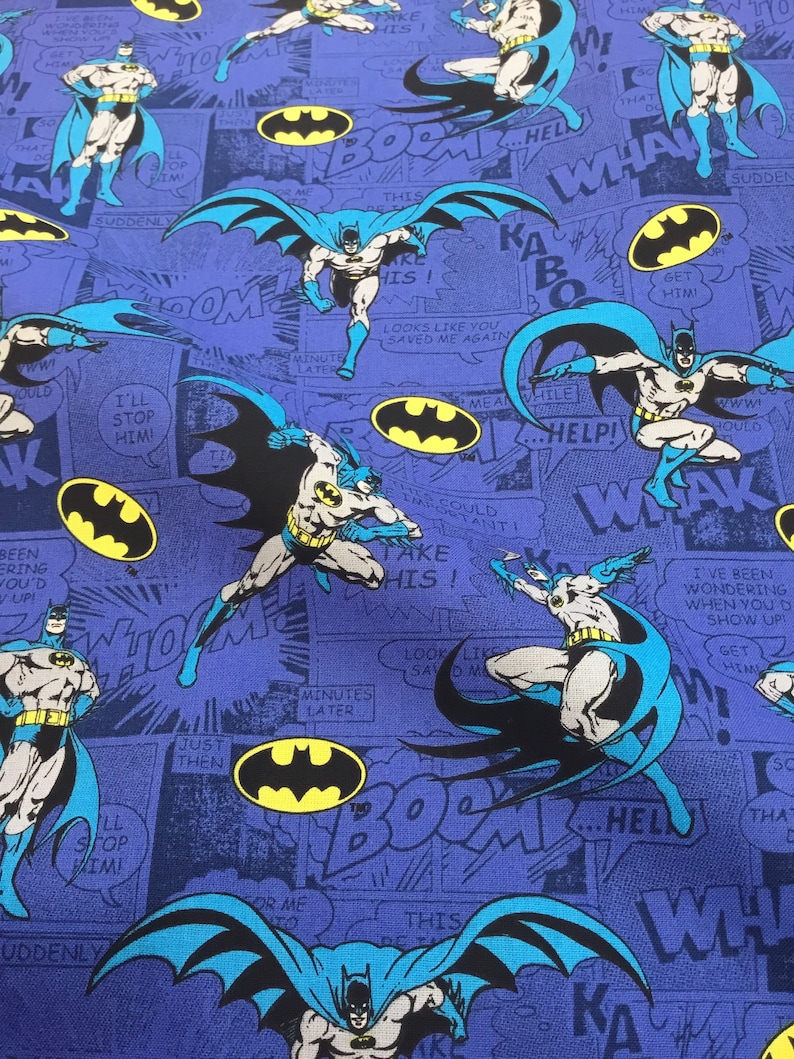
This is the character fabric I’m using for this pair of shorts.
The plain black fabric is cut from an old bed sheet so it’s nice quality 100% cotton fabric that cost me nothing!
How to Get the Free Sewing Pattern
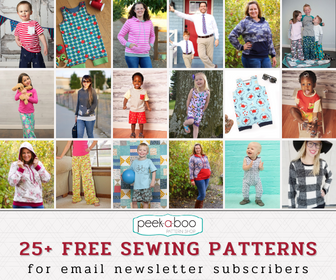
I’ve cut the cost of these shorts even further by using a FREE sewing pattern. Don’t worry it’s not complicated or poorly written. The wonderful people at Peek-A-Boo Patterns will give you a sample of their patterns completely free.
Follow this link and head over to Peek-A-Boo Pattern’s website.
Follow the link to their Facebook Group and join. If Facebook isn’t your thing you can subscribe to their newsletter instead.
Once you’ve joined you will receive a code to get all of these sewing patterns for FREE.
Peek-A-Boo Pattern’s Day Camp Set Sewing Pattern
The free sewing patterns include this super useful Day Camp Set. It includes the simple woven shorts I’m sewing up and a straightforward t-shirt in stretch jersey. It’s a perfect toddler summer wardrobe.
I’m making a whole bunch of shorts in loads of different fabrics so that My Little Dude has loads of options and I don’t have to stress about keeping on top of the washing because, well, Little Dude is a toddler boy – enough said.

I like Peek-A-Boo Patterns, they are nice and straightforward sewing patterns. The Day Camp Shorts were true to form, nice and simple.
Every Peek-A-Boo pattern I’ve tried so far has been very straightforward to sew. They are easy to print and the instructions are super clear. They don’t generally include more than one of two fiddley details. I generally complete a Paak-A-Boo pattern with zero swearing but they are still interesting enough to be just the right level of challenging. Perfect for making kids clothes quickly enough to keep up with their growth spurts.
How to Use Digital Sewing Patterns
Once you’ve bought your digital sewing pattern you will receive a link to download your copy.
Save the PDF file to your computer. You’ll need a PDF reader to view it. I use Adobe Acrobat, you can get a free copy by clicking this link.
The pdf patterns are printed on plain A4 paper using your home printer. Make sure that you Print at 100% with no scaling. Patterns include a test square which you can measure to check that you’ve got the scaling correct.
You can print the pattern instructions if you wish to. They may take a lot of paper and ink because digital patterns often include very detailed instructions with lots of photos. This makes them a fantastic choice for beginners. I prefer to copy the PDF file onto my tablet so that I can view the instructions while I sew.
Digital sewing patterns are fantastic for kids clothes because you just print the size you want, no tracing or messing about trying to preserve the larger sizes of the pattern for using as your child grows. When you print your pattern you can usually choose to print only the layer that corresponds to the size you’d like to sew. This makes it easier to cut out because you don’t have to figure out which line you’re cutting.
You then stick the pages together with Sellotape and cut out your pattern pieces. I like to use my dining table for this as sometimes the pieces can be quite big.
Digital Sewing Patterns generally come with loads of different options and a wider size range than traditional paper sewing patterns. Most of the digital sewing patterns I own go all the way up to the teenage years.
For me one of the huge benefits of using digital sewing patterns over their paper counterparts is space. I can keep as many digital patterns as I like on a tiny hard drive taking up hardly any space in my sewing room. My traditional paper sewing patterns have to squeeze into a box on a shelf. I don’t feel guilty keeping that digital pattern that I’ll probably never find the time to use because it doesn’t take up any resources in my home. That paper dress pattern on the other hand – that has to justify the space it takes up.
Have I convinced you to give digital sewing patterns a go?
With free sewing patterns from Peek-A-Boo Patterns you’ve nothing to lose. So go on, give them a try and join me in a new addiction!!
Sewing Thread
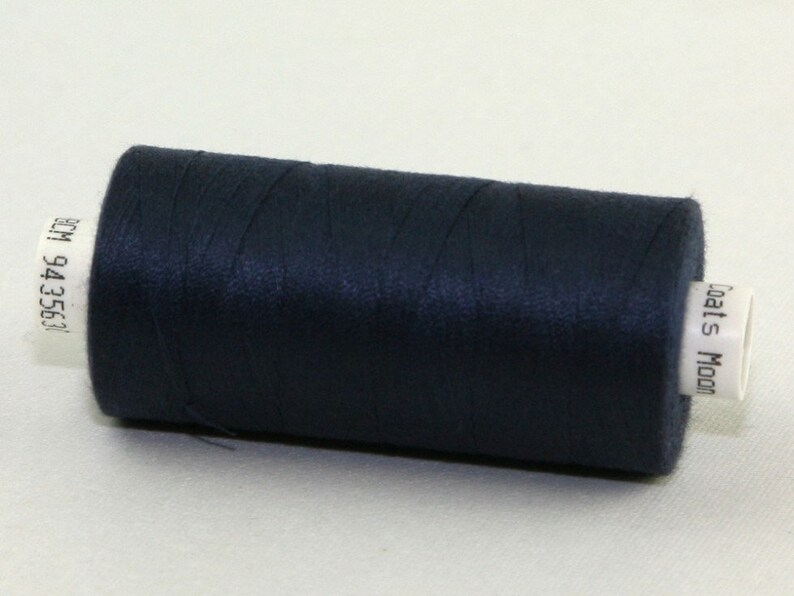
I use Coats Moon Thread for all of my sewing projects. It’s a fantastic all rounder great for machine sewing, hand sewing, quilting and top stitching. Best of all it’s fantastic value. I use it for literally everything!
Sewing Techniques
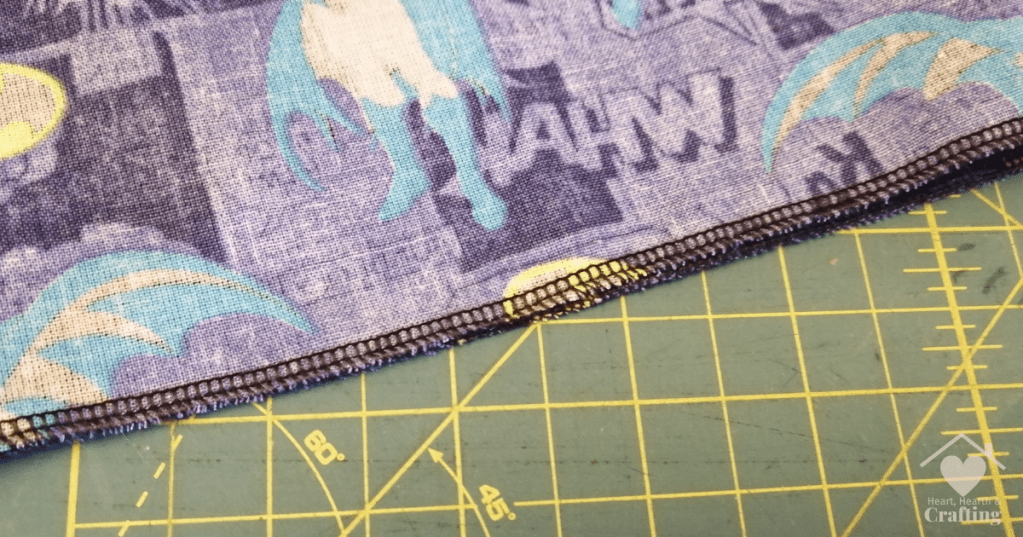
I like to stitch my seams on a standard sewing machine then overlock them for a neat and professional finish.
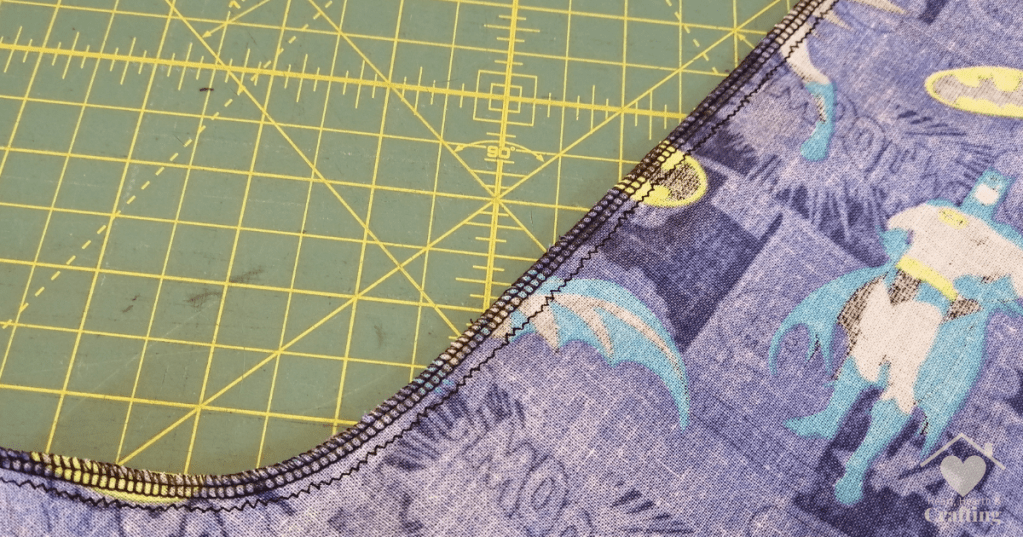
When it came to finishing the hems I ignored the instructions and used my favourite technique of overlocking the raw edges. The instructions say to double fold the hems which is a better technique if you don’t have an overlocker handy.
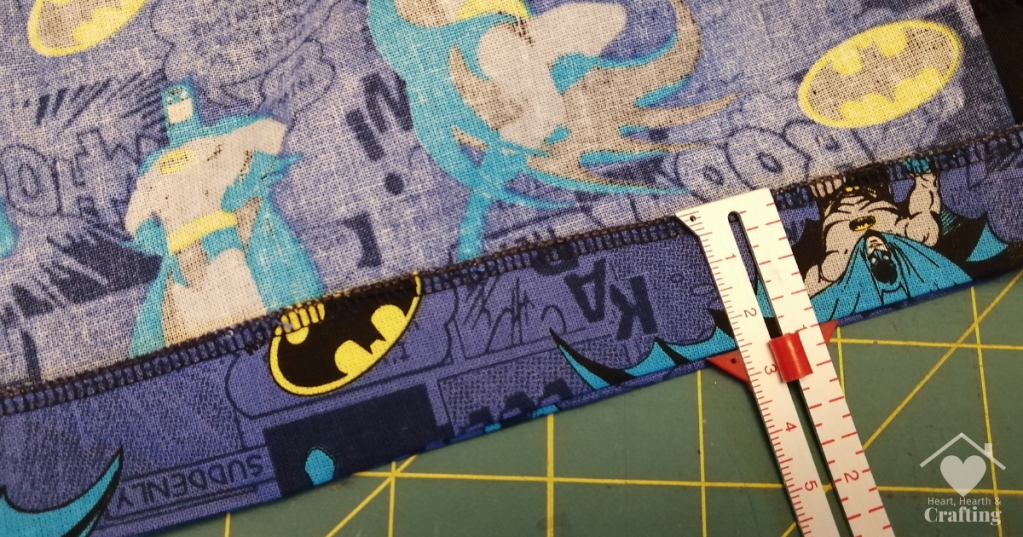
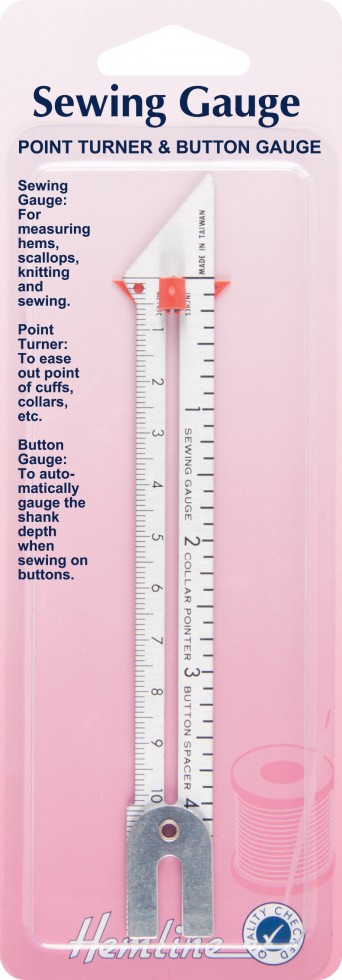
Experience has taught me to always, always measure my hems and waistbands. By getting the measurement right I can consistently catch the hem with my top stitching for a perfect finish.
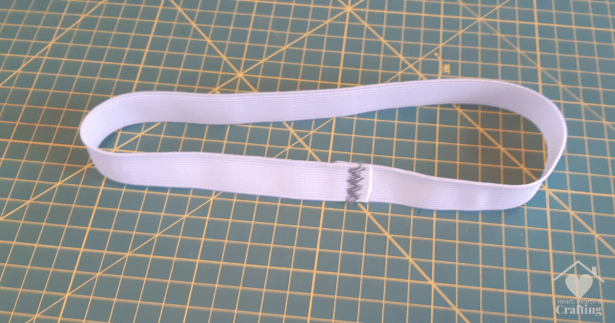
The instructions used the traditional technique of inserting the elastic into a casing then stitching the two ends together. I prefer to stitch the two ends of my elastic together with a zig zag stitch. Then I make the elastic casing around the elastic loop, top stitching it in place as I go. It’s a more fiddly technique but I think it leaves a neater finish as there is no hole to sew up.
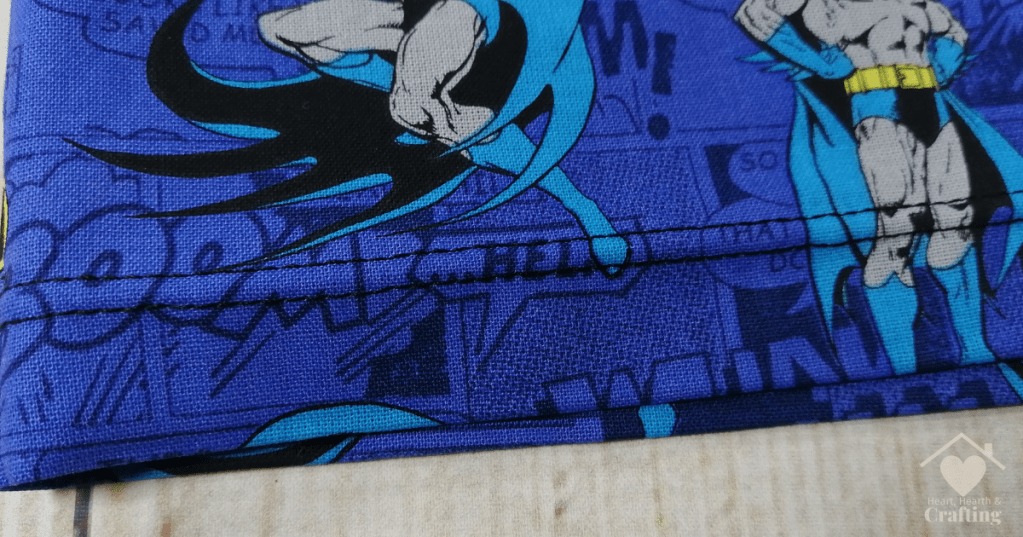
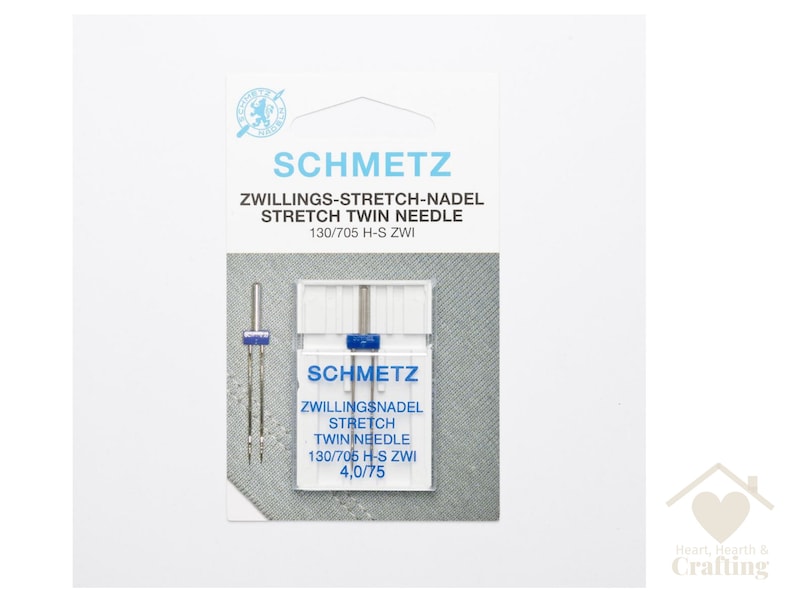
I used a twin needle for the topstitching. It creates two perfectly parallel lines of stitching, just like you see on a lot of commercial garments. It makes such a professional looking finish for virtually no extra effort. You just need an extra reel of thread for the second needle. Easy peasy and such a great feature.
I do hope my sewing project has inspired you to have a go at sewing shorts for the Little Dude in your own life.
Follow me on your favourite social media channel for more stitching inspiration.
Shop this Sewing Project
Pin It Now, Sew It Later
I do hope my Batman shorts has inspired you to have ago at sewing your own toddler shorts.
Pop this post in your Pinterest board so you can find it later.
A Little Bit About Me . . .
Thank you so much for stopping by my little corner of the interweb. I’m Bridie, mum to two small humans, full time homemaker and full time craftaholic – which totally explains why I’m always short on time!
I’ve included links to my favourite retailers for the products I’ve used to make my crafts. Click on any of the product images and links for full details. If you decide to buy any of these products I may get a small percentage of what you spend. There’s no cost to you at all.

Oh adorable, Bridie!!! I am so glad you shared these shorts at Share Your Style a couple of weeks ago… because now I can feature them!!! (SYS #332 this evening). I’ll have to look for this pattern as our little Milo is just moving into 2T. My son and daughter-in-law drove down from South Dakota with our grandson for an early Christmas and we had fun going to the zoo and to a local aquarium here in the Dallas-Fort Worth area. Wish we lived closer than 900 miles apart!!!
Happy 2022 and happy sewing,
Hugs,
Barb 🙂
LikeLike