I’m feeling all autumnal with this Bella Bear digital stamp form Polkadoodles. Today I’m colouring the Ladybug design and pairing her with My Minds Eye papers and die cuts by Spellbinders.
Digital Stamping
The Digi image I have used is from Polkadoodles, from their new Too Cute Agnes & Bella Collection. This one is Bella the Bear. Isn’t she just the cutest!? Click on the image to get her for yourself. The images are availible individually or you can save money by buying the whole set like I did – I can never choose just one!!

Once you’ve got your own copy of the digital stamp print it out using a normal printer onto high quality paper or thin card. It’s best if you can leave the image to dry overnight as this reduces the chances of the ink smudging.
I print my digital stamps onto Winsor & Newton Bleedproof Marker paper. It’s bright white so my colours really pop and it also helps to stop the inks bleeding into each other.
![Polkadoodles Bella Bear Ladybug Handmade Card [Step by Step Card Making Tutorial]](https://i0.wp.com/hearthearthcrafts.com/wp-content/uploads/2021/09/polkadoodles-bella-bear-ladybug-image-blog.png?resize=1200%2C630&ssl=1)
I’ve used the following ProMarkers and ProMarker Brush pens to colour my Bella Bear digital stamp:
Bella Bear


Clothes and Accessories


Preparing the Layers of the Card
This card is made up of two layers of mounted papers plus the image and die cut flower. I start by cutitng the largest layer and then work my way down to the smallest. This way I can make use of the scraps leftover from cutting the bigger pieces of paper.
Each layer of paper is mounted onto a piece of kraft cardstock that measures 3mm larger than the paper. This gives a lovely little border around the papers. Kraft card is great for this because it subtly goes with everything leaving the lovely designer papers to take centre stage.
For this card the layers measure: Base Layer: 14cm square Strip: 13cm x 6.5cm.
The digital stamped image is die cut to make it a perfect oval.
The mount for the digital image is die cut from more of the Kraft card. I’ve used a slightly bigger scalloped oval die.
The card blanks come scored but unfolded. It’s simple to fold them along the crease line and press the crease really sharp with a bone folder.
![Polkadoodles Bella Bear Ladybug Handmade Card [Step by Step Card Making Tutorial]](https://i0.wp.com/hearthearthcrafts.com/wp-content/uploads/2021/09/polkadoodles-bella-bear-ladybug-arty-blog.png?resize=1200%2C630&ssl=1)
Inking the Layers
Instead of buying and storing lots of different colours of card blanks I save money and buy a bulk pack of white card blanks. Then I use my Distress inks to give the edges of the card a hint of a colour that perfectly co-ordinates with my design.
I use the same colour of distress ink to shade the edges of my digital stamp. It stops them looking like they’re floating in a bowl of ice cream as my school art teacher used to say.
But I don’t just use them on card and paper. Distress inks can also be used on lace. I have just one big roll of lace and I can colour it any shade I like to perfectly match the rest of my card.
I’m always looking for distressable white embellishments because it’s so east to co-ordinate them. I’ve given these glittered white flowers a little hint of the distress colour I’m using.
![Polkadoodles Bella Bear Ladybug Handmade Card [Step by Step Card Making Tutorial]](https://i0.wp.com/hearthearthcrafts.com/wp-content/uploads/2021/09/polkadoodles-bella-bear-ladybug-embellish-blog.png?resize=1200%2C630&ssl=1)
Distress inks can also be used to colour plain card for die cutting embellishments. I’m using Peeled Paint for these leaves.
You might notice that I’m making use of the scraps leftover from the bigger layers of my card. Waste not want not!
The distressed scraps are easy to die cut just the same as if I’d bought lots of colours of plain card.
![Polkadoodles Bella Bear Ladybug Handmade Card [Step by Step Card Making Tutorial]](https://i0.wp.com/hearthearthcrafts.com/wp-content/uploads/2021/09/polkadoodles-bella-bear-ladybug-accent-blog.png?resize=1200%2C630&ssl=1)
Applying the Ribbon and Lace
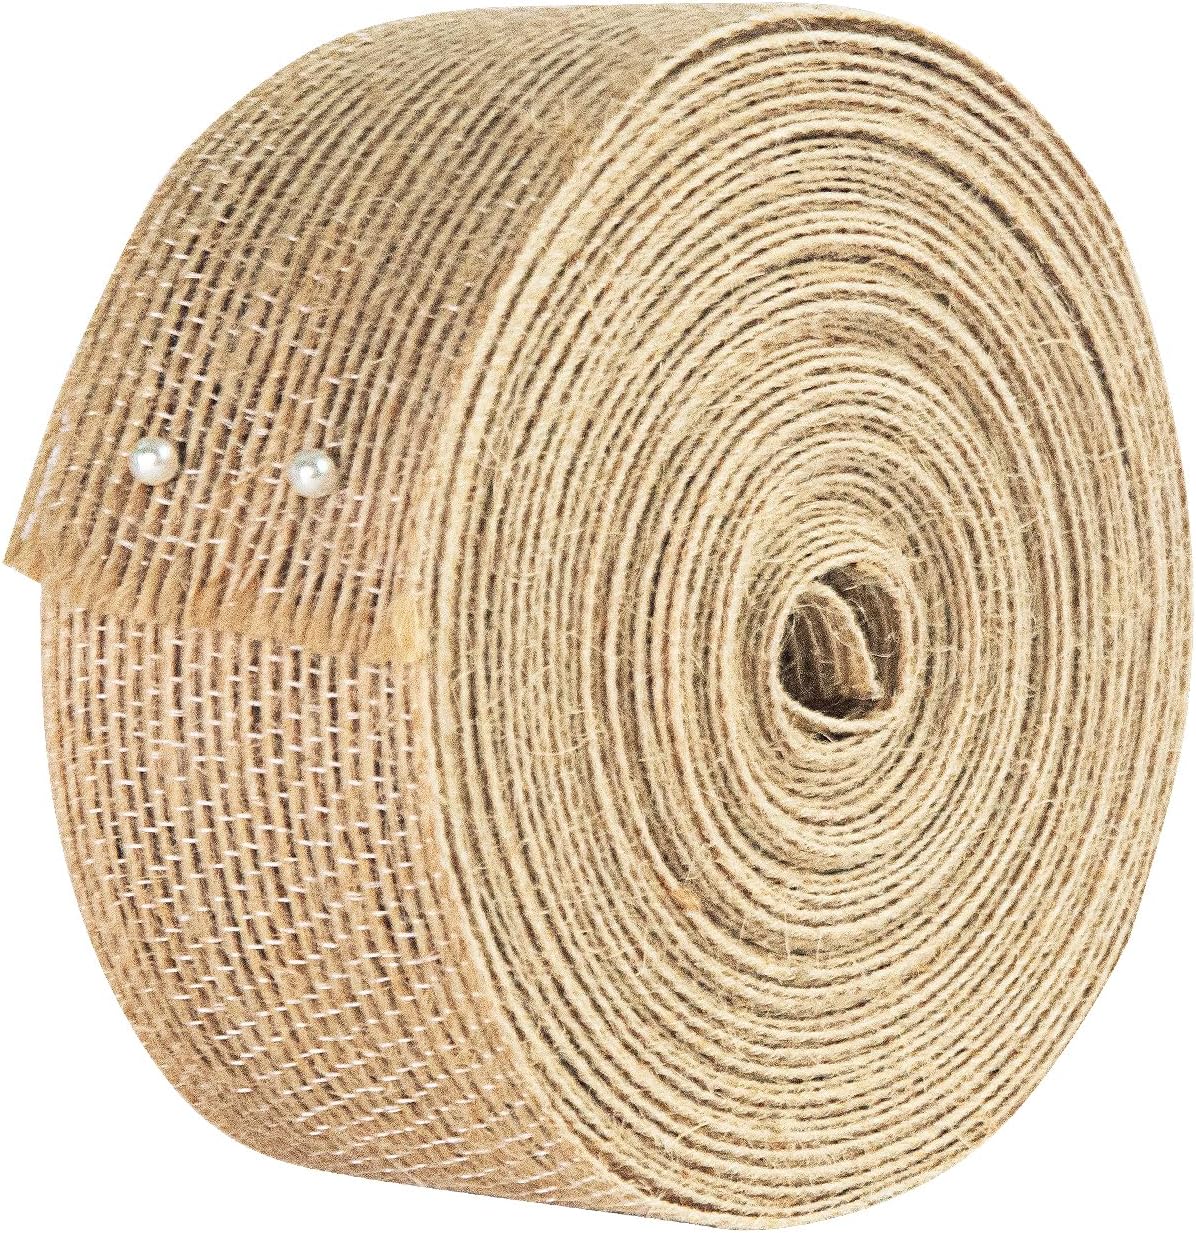
Ribbon can be tricky to stick onto cards. This is my favourite technique for neatly hiding the raw ends and stopping them from fraying. I start by sticking the strip of paper to the Kraft card mount using double sided tape. It’s quick and easy to use and it always leaves a neat finish. Removing the back of the tape can be tricky so I use a pokey tool to lift up a corner. I recently retired my old pokey tool and replaced it with the Design Knife, it’s a pokey tool, craft knife and embossing tool all in one.
Next I lay my strip of mounted paper flat on my craft mat and stick a length of double sided tape where I want my ribbon. I make sure that the ends of the tape extend over the ends of the paper and left them stick lightly to the mat.
Then I place my length of ribbon to the exposed tape and press it onto the paper.
I gently lift the paper off the craft mat and turn it over. It’s easy to press the ribbon and the extra tape to the back of the paper so that the ends are neatly hidden from the front of the card.
Making the Embellishments
Sometimes an embellishment needs a little extra adhesion, like these little paper flowers. Silicone glue is my go-to glue for embellishments that won’t be lying flat on the card. I use my pokey tool to scoop a blob of silicone glue from the end of the tube. Then I put it on the back of the flower and roll the pokey tool away, leaving a neat blob of silicone glue on my embellishment.
I pop my flower onto my card and leave it to dry. Sometimes I hold the embellishment in place with a paperclip while the silicone glue dries but these flowers are light enough to make this unnecessary.
Instead of flat and boring die cut shapes I like to add a little dimension by placing them onto a soft matt then rubbing the shape with the rounded edge of my bone folder. This makes the petals pop up beautifully.
I’ve used 3D foam pads to stick my die cut and shaped flower onto the corner of my card.
![Polkadoodles Bella Bear Ladybug Handmade Card [Step by Step Card Making Tutorial]](https://i0.wp.com/hearthearthcrafts.com/wp-content/uploads/2021/09/polkadoodles-bella-bear-ladybug-greeting-blog.png?resize=1200%2C630&ssl=1)
I love adding a little something extra to die cuts and in this case I’ve used silicone glue
and added a little ivory button from my stash – it’s probably come off an old shirt that went in the bin. I love making use of what would otherwise be thrown away and best of all it’s free!
I confess I’m not a fan of buttons on cards, they never look quite right to me. So I have a habit of putting a little gem in the centre to finish it off nicely.
Angled tweezers are great for gripping gems and pearls while you stick them in place.
Inside the Card
The inside of the card is also decorated with matching papers along with a blank square for a personal message.
![Polkadoodles Bella Bear Ladybug Handmade Card [Step by Step Card Making Tutorial]](https://i0.wp.com/hearthearthcrafts.com/wp-content/uploads/2021/09/polkadoodles-bella-bear-ladybug-inside-blog.png?resize=1200%2C630&ssl=1)
Products I’ve Used




This card is availible to buy in my Etsy shop.
![Polkadoodles Bella Bear Ladybug Handmade Card [Step by Step Card Making Tutorial]](https://i0.wp.com/hearthearthcrafts.com/wp-content/uploads/2021/09/polkadoodles-bella-bear-ladybug-main-etsy.png?resize=2000%2C1500&ssl=1)
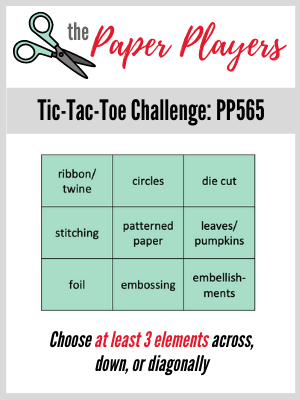
Linking Up To: Pammie’s Inky Pinkies Challenge – Crafty Sentiments – Through The Craft Room Door – Incy Wincy Designs – All Creatures Great and Small – Inspiration Station Challenge #17 – Animal Antics – AAA Birthday #31 – Animals – Stamping Sensations – Animals, Birds and Bugs – PP565 – A Tic-Tac-Toe Challenge – Crazy 4 Challenges – C4C608 – Texture – Stay Crafty with Hero Challenge #28 – Fall Colours
Pin it Now, Craft it Later
![Polkadoodles Bella Bear Ladybug Handmade Card [Step by Step Card Making Tutorial]](https://i0.wp.com/hearthearthcrafts.com/wp-content/uploads/2021/09/polkadoodles-bella-bear-ladybug-pinterest-1.png?resize=1000%2C1500&ssl=1)


A Little Bit About Me . . .
Hi there! Thank you so much for stopping by my little corner of the interweb. I’m Bridie.
I’ve been crafting since I was toddling around craft shows while my mum sold knitting yarn. She used to buy me a new craft kit to keep me busy. When I grew up I set up my own online craft shop and loved every minute of it. There’s is nothing like the thrill of getting to be one of the first people to see new craft collections.
I sold my business to focus on raising my two children. They’re still young so for now I’m blogging my craft projects and sharing tutorials to inspire you. I love creating handmade cards with digital stamps. I scrapbook to preserve precious memories of my kids childhoods. I knit and sew to keep my kids in comfortable, unique clothes they love. I create batch cooked meals that give me more time to craft. And because I’m not currently earning I do all of this on a teeny tiny budget.
I’ll show you all the best ways to craft on a tight budget so you can still create a life you love.

I’ve included links to my favourite retailers for the products I’ve used to make my crafts. Click on any of the product images and links for full details. If you decide to buy any of these products I may get a small percentage of what you spend. There’s no cost to you at all.
Aran Knitting Baby Baby Scrapbooking Batch Cooking Beginner Scrapbooking Beginner Sewing Pattern Birthday Cards Budget Recipes Cards for Children Cards for Girls Chicken Recipes Christmas Christmas Cards Craft Sensations Dovecraft Easy Sewing Pattern Elasticated Channel First Edition Free Knitting Pattern Free Sewing Pattern Healthy Eating Healthy Recipe My Minds Eye Papermania Peek-a-Boo Patterns Polkadoodles ProMarkers Scrapbooking Sewing Sewing for Kids Sewing Pants Sewing Tops Sewing with Jersey Sewing with Wovens Simply Creative Sizzix Slow Cooker Recipes Soup Recipes Spellbinders Stitch Upon a Time Tim Holtz Top Stitching Vegetable Gardening Winsor Newton XCut





Leave a Reply